7 iPhone Photo Editing Tips And Tricks You May Not Realize You Can Do
-
 Loading...
 - Isabella Borja
- 20 Jul 2022
- 101 Views
- 0 Like
- 0 Comment
In an increasingly digital age, it’s amazing what our phones can do. These little gadgets not only have incredible capacity for all of our photos, texts, calls and social media apps, but the cameras are no joke, either. In fact, the latest iPhones, the iPhone 13 Pro and 13 Pro Max, have a 12-megapixel camera system with three cameras, all in the palm of your hand.
You no longer need a clunky Nikon or Canon camera to create some impressive work.
If you don’t know where to start, though, you’re definitely not alone. Just because you have fancy cameras and settings attached to your iPhone doesn’t mean it’s a breeze to understand how they work and put them in action. Below, you’ll find tips and tricks you can do with a fingertip touch (or two).
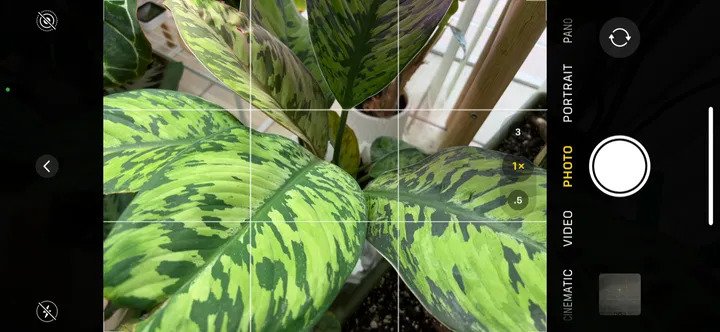
1. Turn on the grid in your viewfinder
According to Greg McMillan, a longtime “iPhoneographer” and host of “The iPhoneography Podcast,” having the grid setting turned on is one of the most important tools for creating a balanced photo.
“I always have this turned on because it helps me keep the camera level, so I don’t have a crooked photo,” McMillan said. “I’m a firm believer in having a level horizon in my photos.”
This is an option you have to switch on in your iPhone’s Settings app. Scroll down to Camera, then, in the Composition section, flip the grid toggle on.
“The grid is a great tool to help with composition,” McMillan noted. The composition is essentially a fancy word for how you arrange the elements of the photo that your eye will be drawn to. The grid option will split the camera view into thirds, both vertically and horizontally.
2. Tap to set focus and exposure (and lock it, too)
“While composing your image, tap on the screen at the point where you want your focus to be, and a yellow square will appear to show you the focus point,” he said. “This also sets the exposure.”
Once you place your focus, you can drag your finger up to increase the exposure (brightening the image) or down to decrease it (making it darker).
The focus of your image is the main subject, so regardless of whether you’re taking a photo of a sunset, a waterfall or a person, you’ll want to make sure that’s what the eye naturally is drawn toward. According to the rule of thirds above, you should place your focus somewhere near the lower, upper, left or right third of your image.
McMillan pointed out that you can also lock your focus and exposure on the Camera app, which is especially helpful for “those times when you may want to achieve [your] focus, then move the camera to recompose your photo without having to worry about refocusing.”
To do this, tap and hold the focus point, and the yellow square will flash a couple of times at the top of the screen. Then, a yellow indicator will appear with the words “AE/AF LOCK” to show you the focus and exposure are locked in place.
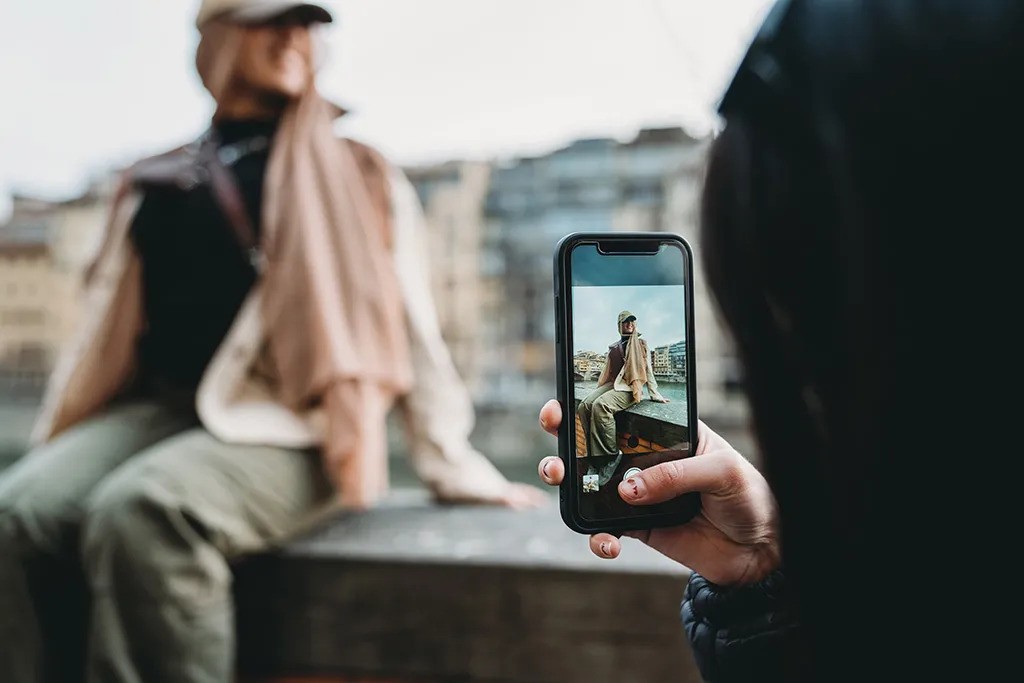
3. Consider the wide-angle lens
“Mobile cameras have so many great features that help with framing your composition,” she said.
On the iPhone, the wide-angle lens (the 0.5x perspective option you see each time you open your camera) can help you capture a subject super-broadly.
Portrait mode, which can be found by swiping once after the Photo option at the bottom of the Camera app, allows you to capture photos with a sharp focus on the subject and a blurred background.
Both of these built-in composition options help with changing perspective and depth of field.
Goodrich also noted that it’s important to avoid capturing too many things in your photo. “Leave empty or negative space around your subject,” she said. “Give your subject room in the photo.” Read More...