8 Mistakes I Have Made in Night Photography and How You Can Avoid Them
-
 Loading...
 - Logan Devine
- 14 Jul 2022
- 120 Views
- 0 Like
- 0 Comment
A few years ago, I published the groundbreaking article 8 Mistakes I Have Made in Photography and How You Can Avoid Them—a mea culpa that exposed me to endless ridicule around the halls of B&H. Well, I am back with another confessional—this time focusing on mistakes I have made in the dark while engaged in night photography. Although I made some of those aforementioned mistakes after dark, here are some night-specific pitfalls for you to avoid!
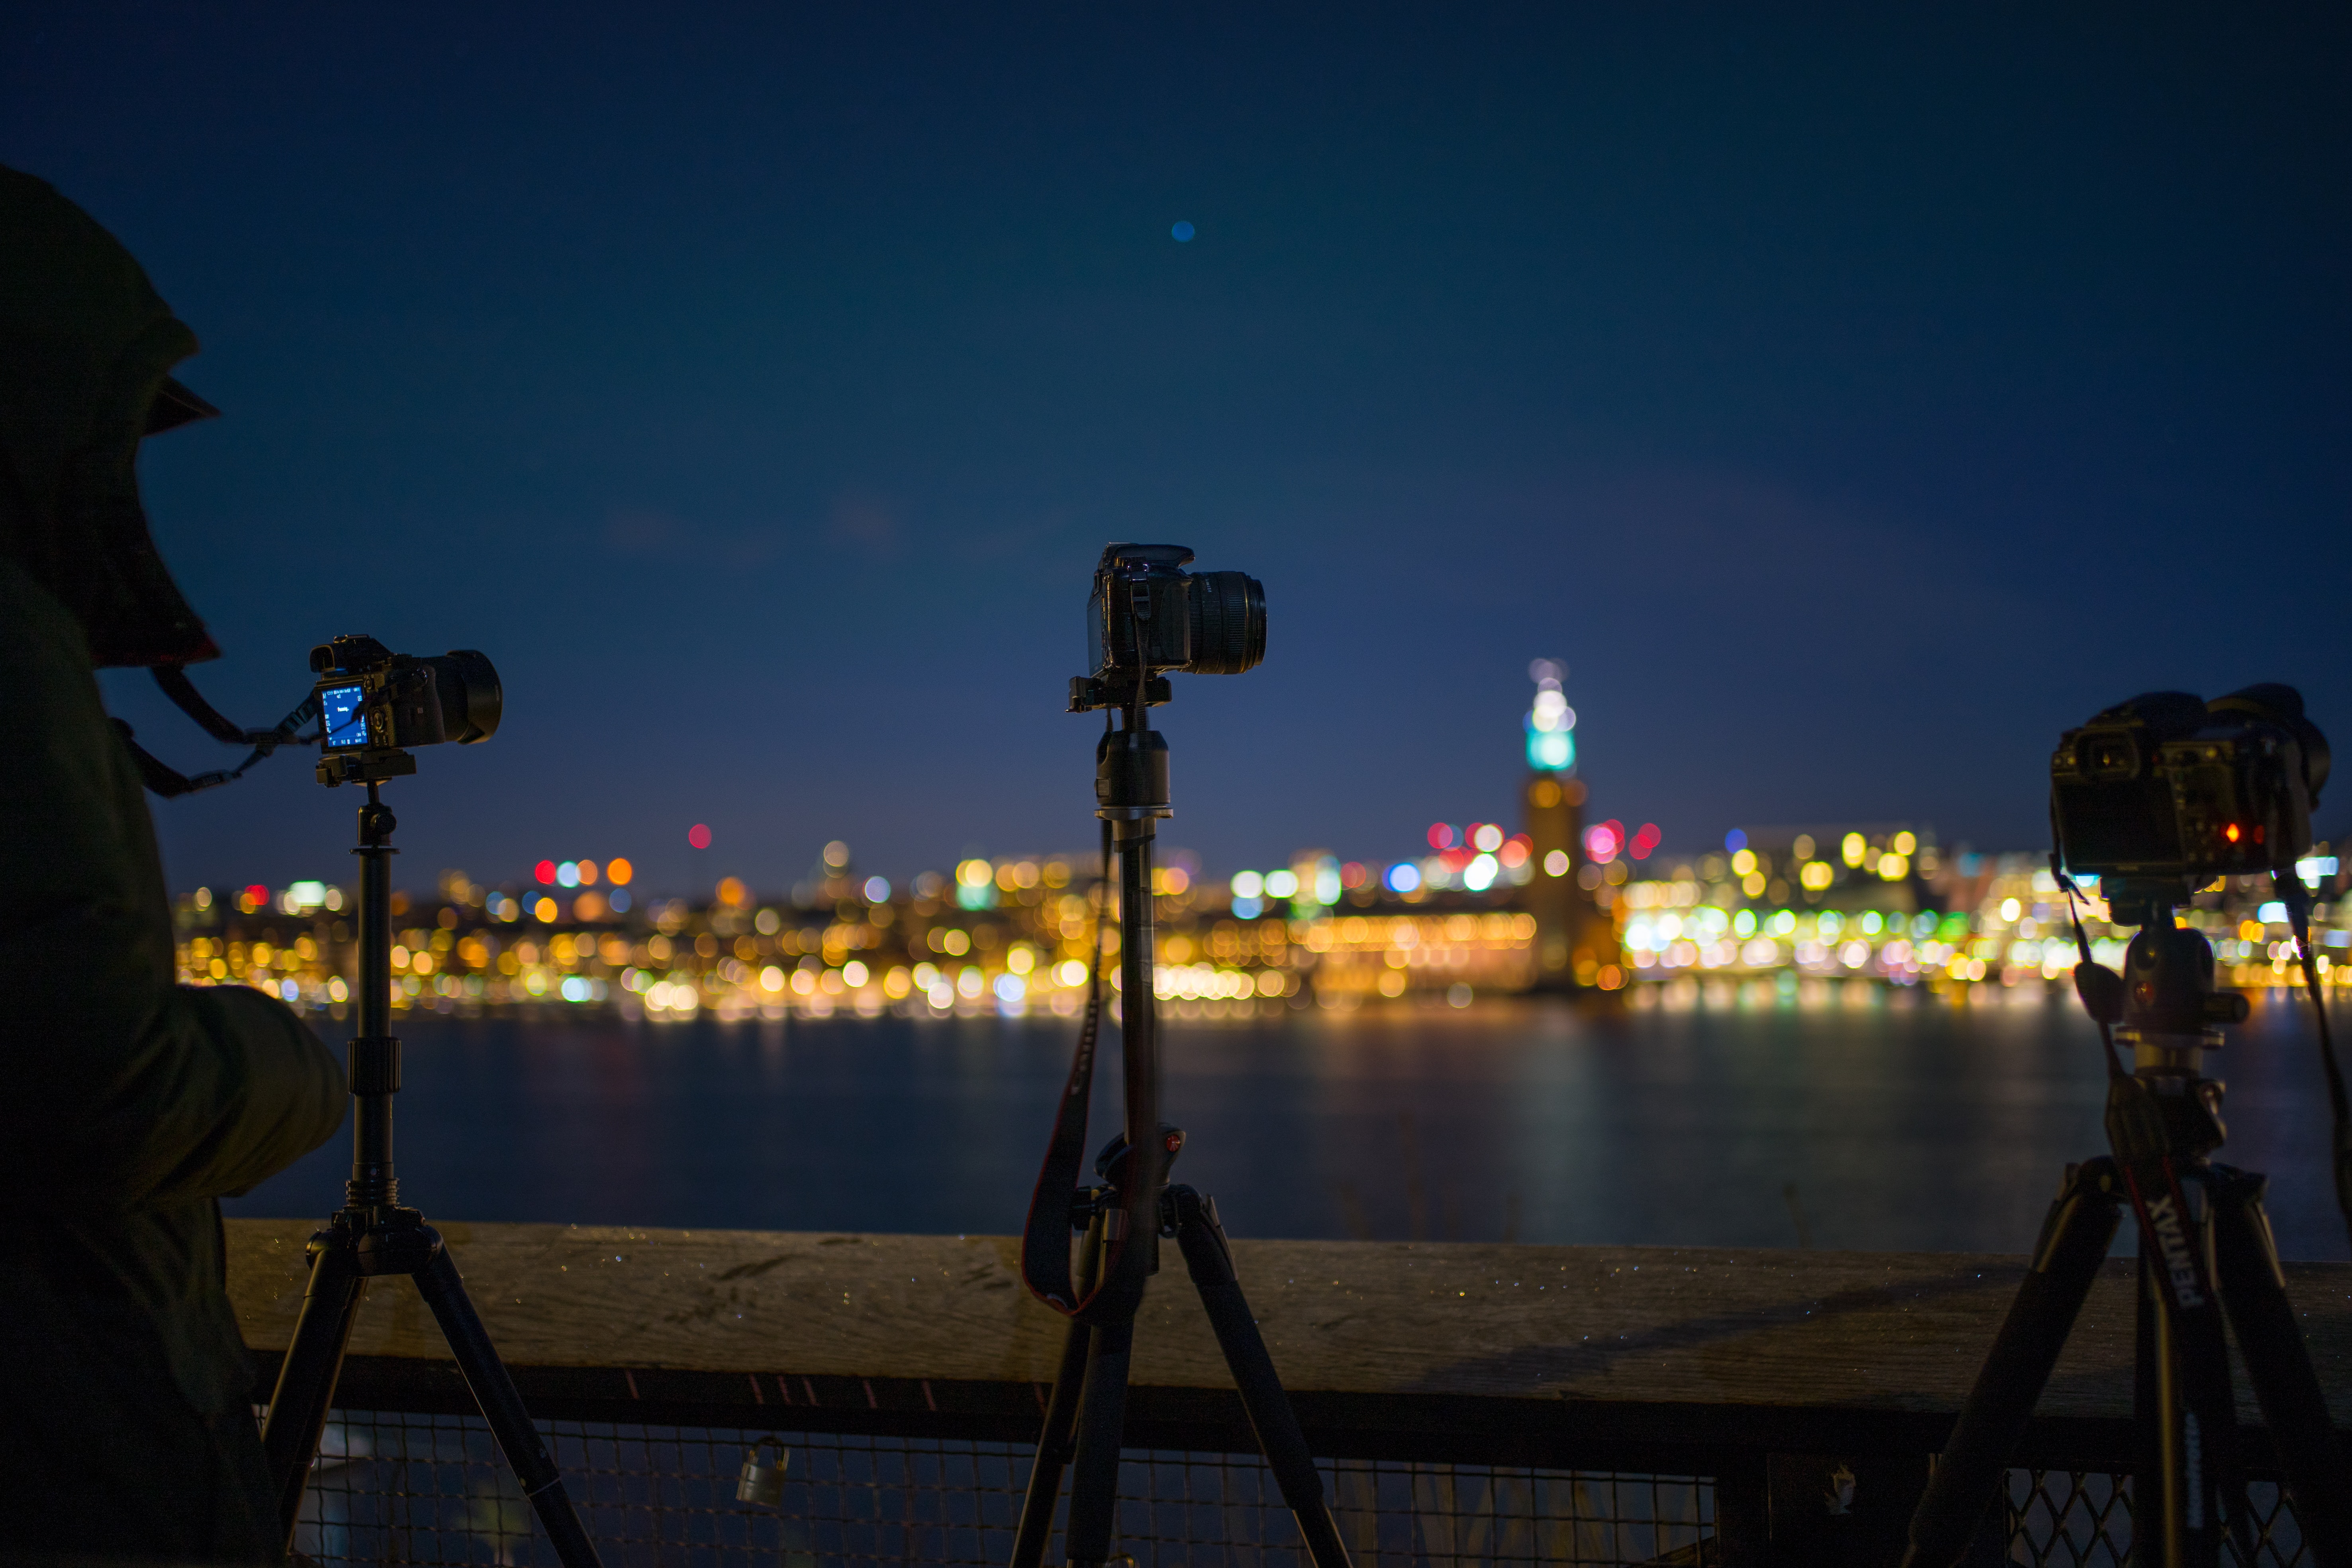
1. Forgotten release I own several shutter releases, including the sexy, now-discontinued Nikon AR-3 but, on occasion, all of them have avoided being in my camera bag on a few night photo excursions—either because I was using them in the studio or they figured it was too cold and dark to be outside. A remote shutter release is mandatory gear for night photography. If you leave yours at home, like I sometimes do, use the self-timer and, if you have a DSLR, mirror lock-up to avoid as many vibrations as possible.

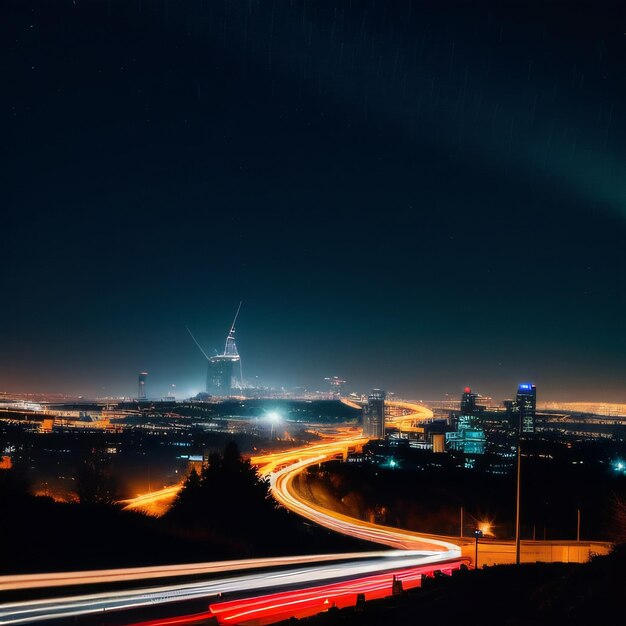
2. Late to the high ISO test-shot party After years of shooting in the dark and minutes of my life spent waiting for a long exposure to finish, I learned about the high-ISO test shot—where you crank your ISO to ridiculous levels, set your aperture where you want it, and pick (using the camera’s light meter), a (relatively) fast shutter speed. Take the shot and evaluate the exposure. If everything looks good, lower the ISO to its native setting (making these adjustments in full-stop increments helps my weak math brain) and then slow the shutter the same number of stops. Then, take the “real” photo and know your exposure is likely good.

3. Kicking the tripod This is similar to one of my daytime confessionals, but, yes, I have accidently kicked my tripod in the middle of a long exposure. Impressive, I know. Seriously. Who does that? The tripod is designed to hold the camera completely still and it does a pretty good job without any human intervention—so don’t try to help it by holding it or, yes… kicking it.

4. Manufacturing personal earthquakes Continuing the tripod theme, if you are shooting night photography on any sort of surface that vibrates or moves, either stand completely still while the camera is doing a long exposure, or use the self-timer to allow you to get some distance between yourself and the camera before the shutter opens. I have found this especially important when doing photography at industrial sites where the tripod is not always standing on terra firma but is, instead, on a platform, staircase, metal floor, etc.

5. Blurry stars One of the biggest challenges in astrophotography is achieving sharp focus when shooting celestial objects. If you are lucky, and shooting an autofocus lens, you might have a target in your field of view that is bright enough for the autofocus to lock onto. If you are using a telescope, spotting scope, astrograph, or manual focus lens, then accurate focus becomes a process involving your eyes, the camera’s viewfinder or LCD screen, your hands and a focus ring or knob, a good amount of patience, and a fair amount of luck. And, yes, I have gotten home after a night of shooting to find that, on some images, my focus was a hair off. To help, use magnified live view (DSLR) or a magnified image on a mirrorless EVF or LCD, a focus mask (telephoto lenses or scopes), or make tiny focus adjustments and shoot several exposures of the same image. Read More…