Downloading Of Canon Printer Driver With Easy Process
-
 Loading...
 - Ashly Wilsin
- 04 Aug 2022
- 90 Views
- 0 Like
- 0 Comment
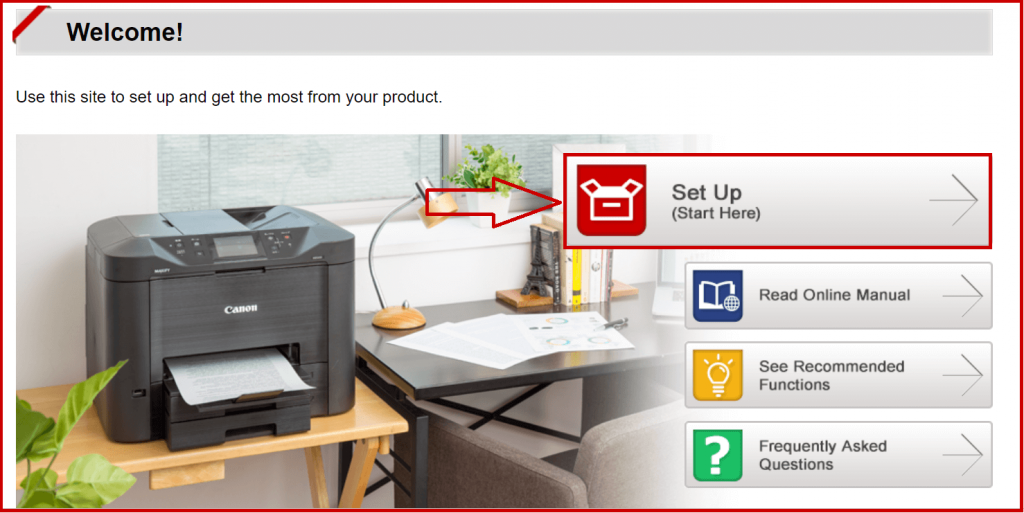
As IJ.Start.Canon Setup provides you free access to the canon printer drivers suitable for your canon printer. There are various instances when you may need to install or update your Canon printer, such as a new purchase. Not sure how to get the job done? Well! Here is a handy post that can guide your way through the installation of Canon printer using the Canon ij setup method. The installation of the drivers and software is essential, be it wired or wireless models. Navigate through this post until the end for simple and comprehensive steps & Visit http ij start canon setup and download the Canon driver.
Canon also offers cloud-ready printers, which allows you to connect to the cloud storage and printer files within just a few seconds. Canon printers stand out when it comes to offering innovative features. You can pro-actively manage and control various printer functions using the printer management software that can be installed on a computer. One such software is the Canon IJ setup.
Steps to Complete Canon IJ Setup Using http ij start canon setup
Here we have discussed in detail the steps that you need to follow to complete http ij start canon setup mx490 in Windows and Mac operating system. While trying to complete the IJ setup for the printer it is also important to install the latest version of the drivers to avoid errors.
That is why it is also important to know the model number of the printer so that you can download and install the latest version of the drivers. Besides, you also need to have an active wi-fi network connection and access points that are in working condition. So, let’s get started now.
Download the Software
Canon does not offer manual software installation using a CD driver anymore. That is why it is important to download and install the correct drivers for the printer model you are using.
For example, if you are using Canon mg 3600 model, then you can download and install the drivers from http //canon.com/ijsetup mg3600. Other than that, make sure the software you have installed is specific to Windows or Mac OS.
1- Select the Wireless Connection for http ij start canon setup
2- Once the driver software for the particular printer model has been successfully installed, double-click on the setup files to start the installation process.
3- Now, you will see an option that says, ‘choose the method you want to connect the printer’. Here you need to select the wireless option and for wired connection, you need to select USB cable.
4- If you need to complete http ij start canon setup Mac then you will be prompted to enter the password. So make sure to enter the correct details and then proceed to the next step.
5- Turn on the Canon printer. Also, double-check and make sure the printer is connected to the power outlet, and these are no loose cable connections.
6- If you have chosen the ‘wireless setup’ option then press and hold the wi-fi alarm button on the Canon printer until you see two lights flashing.
7- Now you will see a blue and green light flashing. This indicates that the printer is now connected to the wi-fi network.
8- Then click to agree on the Terms and Conditions. Here you will also see the name of the printer model and the wi-fi network it is connected to.
9- Canon Printer IJ Setup Using the USB Cable
10- If you want to complete the http ij start canon setup through a wired connection then you need to choose the USB option when prompted to select the network connection.
11- Now you will see on the screen where you need to jump on the USB connection option on the computer. If you are a Mac user click on the next option.
12- Now, you will see on the screen the access points that are connecting the computer. If you want the printer to connect to that network, click on the yes option.
13- In the case of Mac, click on the allow option. Now on the screen, you need to dismantle your printer from the computer and then click on allow.
14- In the case of Windows, click on ok.
15- Then click on the add printer option.
16- Then select the particular driver and click on add.
17- Once the Canon IJ setup is complete click on the next.
Steps for Canon IJ Setup for Windows
1- First of all, turn on the Canon Printer.
2- Open the settings option on your printer and navigate to select the Device Settings option.
3- Here choose LAN settings and press ok. Navigate to select Wireless LAN setup and press ok.
4- Now, the Canon printer will start looking for the wi-fi network that is available and the light will start flashing.
5- You can choose the wi-fi network from the list of the network that is shown on the screen.
6- Enter the password to connect to the wi-fi network and then click on ok. Again press ok to finish the wireless setup.
7- Now visit http ij start canon setup mg3000 to download and install the driver for the particular printer model you are using.
8- Go to Devices and Printers and click to add the printer.
9- From the next window choose the printer model you are using.
10- Well, that is it you Canon printer ij setup is now complete
Steps for IJ Start Canon Setup for Mac
You can follow the steps mentioned below to complete wireless http ij start canon setup on Mac.
1- Turn on your Mac, Canon printer, and the wi-fi router.
2- Now you need to set the Canon printer with the wireless network.
3- Open http ij start canon setup mg2522 to download.
4- Install the driver for the particular printer model.
5- Complete the setup following the on-screen instructions.
6- Click on the Apple menu and then select System and Preferences.
7- Click to choose the Printer and Scanner option.
8- Then click on + sign and choose the Canon printer from the list.
9- Click to select the add button.
10- Well, that is it you have now completed the Canon IJ setup on Mac.
Canon Printer Setup to a Wireless Network
If you are trying to set up the Canon printer to a wi-fi network then here are things that you need to follow.
Connect the Canon Printer to WiFi
This is the first step that you need to follow while trying the Canon ij Setup. These steps are very easy and won’t take a lot of time.
1- Turn on the Canon printer by pressing the power button.
2- Press the ‘settings’ button. Navigate using the arrows to go to the ‘device settings’ and then press ok.
3- Navigate using the arrows until you reach to LAN settings and then press ok.
4- Now, navigate using the arrows to go to the ‘wireless LAN setup’ and then press ok.
5- After, the above steps the printer will start looking for the wi-fi network and the lights will be blinking.
6- However, if it is taking way too long then press the stop button.
7- It will redirect you to the ‘wireless LAN setup’ standard setup’ option. Press ok.
8- Navigate using the arrows to go the ‘wi-fi network’ and then press ok.
9- Once you are connected to the wireless network press ok to confirm.
Install Canon Printer Setup on Windows
If the computer you are using runs on Windows then you will have to log in as administrator.
Then you will have to install the printer driver software from the Canon printer setup Canon.com/ijsetup CD or the official site or click here Download Canon Printer Driver for Windows 10
1- Once you are done with downloading the software run it.
2- Once the printer setup is complete, you will have to follow a set of instructions to add the printer on the computer.
3- Go to the ‘control panel’ and then ‘Add a printer’ here.
Install Canon Printer on Mac
The process of printer setup or installation is similar to Mac and Windows.
1- Once you are done with installing the software, you will have to install the printer on the computer.
2- Go to ‘printers and scanners’ in the ‘system and preferences’ option.
3- If you have installed the printer software correctly then your printer will be shown here.
4- Go to the connected printers list and then click on the ‘Add’ button.
Canon printer setup is easy and can be done in just a matter of time. However, sometimes you may get stuck up while trying to set up the printer. In such a case, get help from the Canon printer technicians as they can help you in troubleshooting the issues and get the setup process done.