How to Add a Smile to a Portrait in Photoshop: 4 Ways
-
 Loading...
 - Chiara Accardi
- 17 Jun 2022
- 253 Views
- 0 Like
- 0 Comment
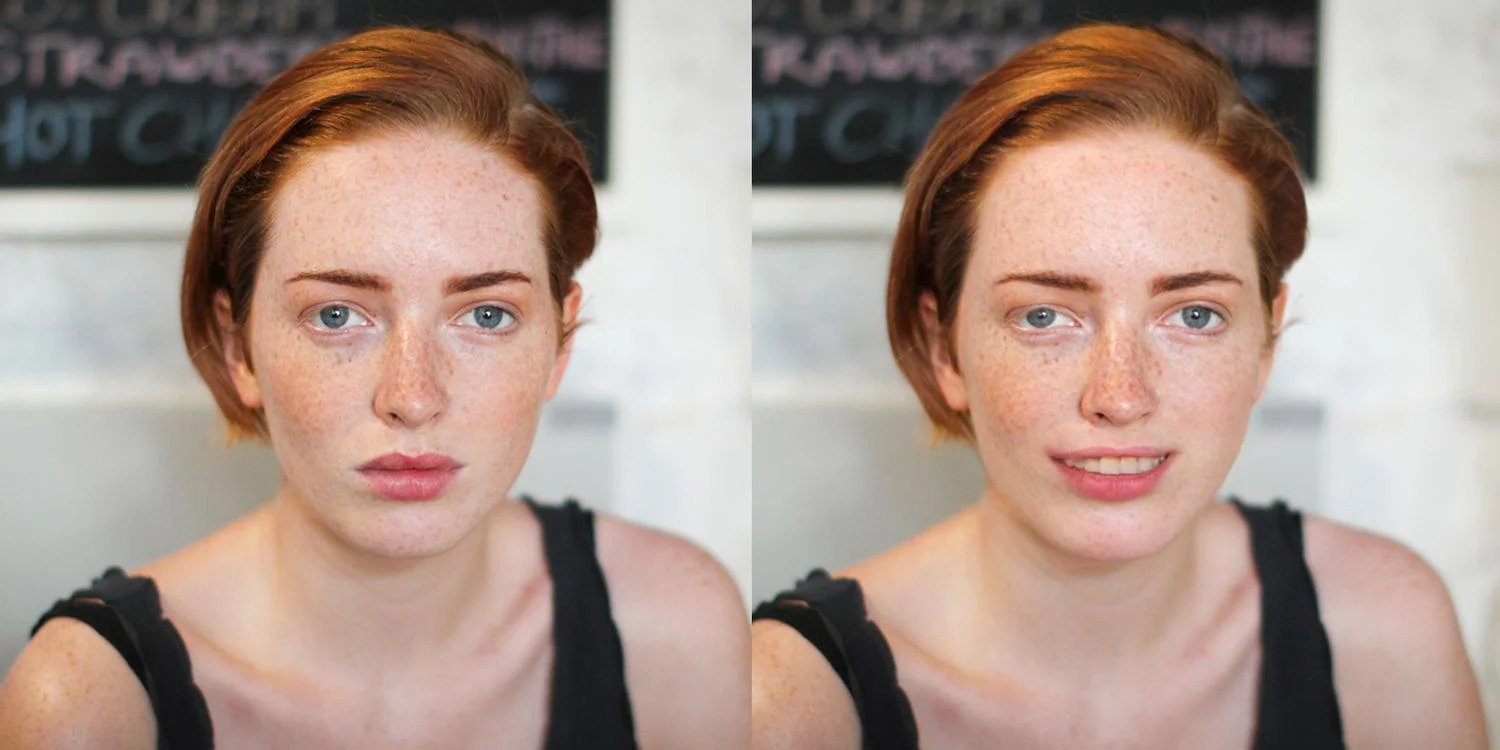
Do you have the perfect photo of someone, but you just wish they were smiling instead of scowling? It’s an easy fix in Photoshop. There are several ways to add a smile to a picture, and we’re here to break down each one.
We will be using the Liquify tool, neural filters, layers, and the Puppet Warp tool. Let’s jump right in.
1. Add a Smile Using Another Image

Superimposing images and using Photoshop Layers and the Selection tool is an older technique to replace smiles. While this technique can work with much success, it is dependent on having suitable images.
It works best to use another photo of the same person rather than a similar photo of a stranger. It may be the case that you took multiple photos of a group, and most of your subjects look great, but one person isn’t smiling. If you have another shot of them smiling, it’s easy to “transfer” that smile onto the better shot.
If you don’t have a photo of the same person smiling, you may be able to replicate this with an image of someone who looks similar from the same angle. You could match their skin tone to help stitch the images together.
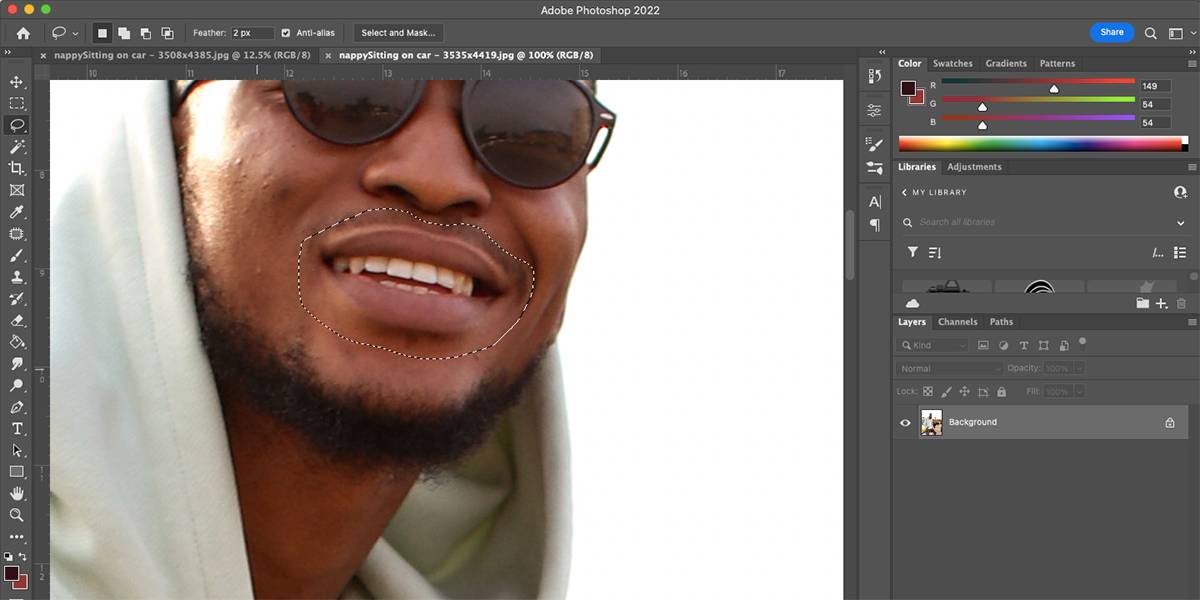
Open both of your images in Photoshop. On the smiling image, use the Magnetic Lasso (L) to select around the smile and then copy the selection (Cmd + C for Mac and Ctrl + C for Windows).
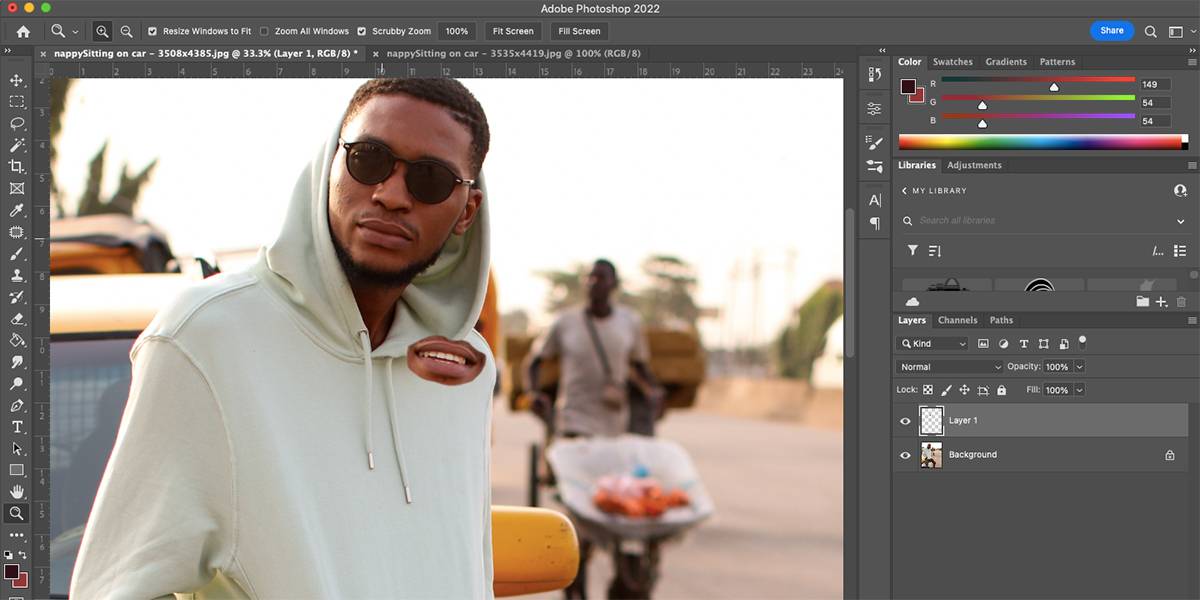
Paste your selection (Cmd + V for Mac and Ctrl + V for Windows) onto a new layer on the non-smiling image. Use Free Transform (Cmd + T for Mac and Ctrl + T for Windows) to select the smile.
![]()
Move the smile so it fits perfectly over the non-smiling mouth. You can resize it by dragging the corner nodes, and rotate the smile by hovering your cursor near a corner until the cursor changes to arrows, then click and drag the corner to rotate.
You may want to flip the smile horizontally to reflect the new facial angles. While in Free Transform mode, right-click the smile and choose Flip Horizontal. Move the smile around until it fits the new image.
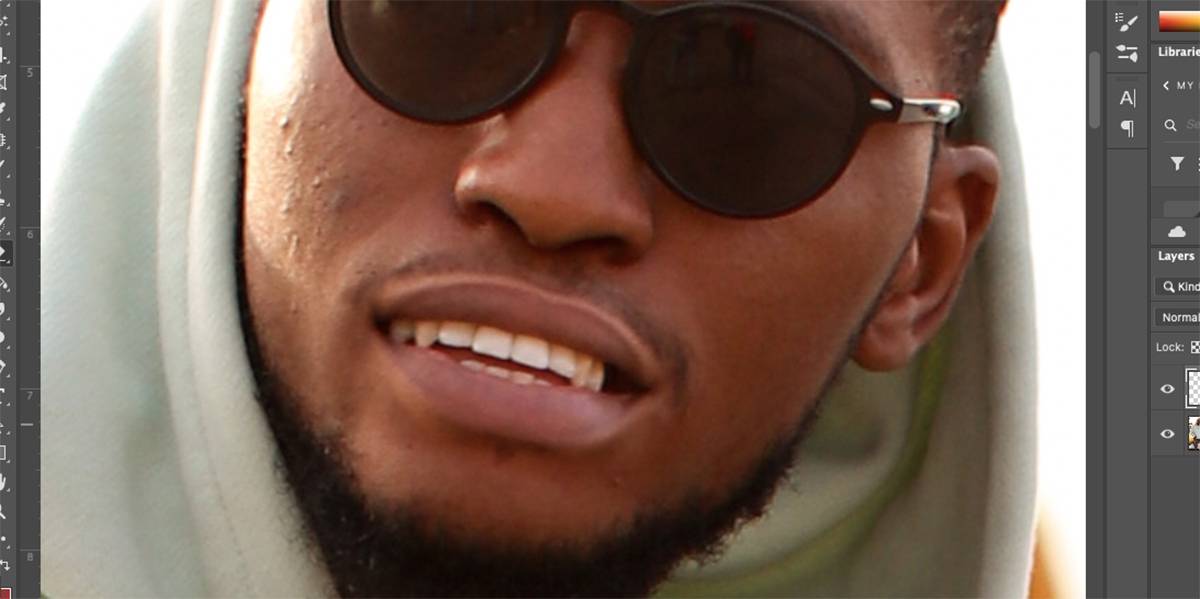
Once happy with the placement, double-click the smile to get off the Free Transform tool. Use the Eraser Tool (E) to remove any unwanted parts of the superimposed image, like extra skin around the mouth.
2. Add a Smile Using the Be Happy! Filter