How To Apply Nail Extensions Perfectly: A Step-by-Step Guide for Flawless Results
-
 Loading...
 - Brienes Benjie
- 18 May 2023
- 70 Views
- 0 Like
- 0 Comment
Have you ever dreamed of having beautiful, long, and flawless nails? Nail extensions can be a game-changer, transforming your natural nails into stunning works of art. However, applying nail extensions perfectly requires skill and precision. In this step-by-step guide, we will walk you through the process of achieving flawless results. Whether you're a nail enthusiast or a professional nail technician, these tips and techniques will help you master the art of applying nail extensions perfectly.
Applying nail extensions requires attention to detail and a steady hand. Follow these steps to ensure a flawless application every time:
1. Prepare Your Natural Nails
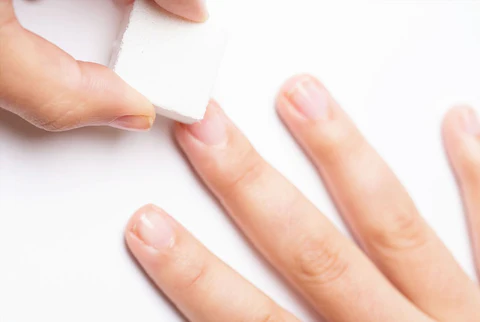
Before applying nail extensions, it's essential to prepare your natural nails properly. Follow these steps:
Start by removing any old nail polish using an acetone-free nail polish remover.
Gently shape your nails using a nail file, focusing on creating a smooth and even surface.
Use a cuticle pusher to gently push back your cuticles, creating more space for the nail extensions.
2. Select the Right Nail Extensions
Choosing the right nail extensions is crucial for a perfect application. Consider the following factors:
Material: Nail extensions are typically made of acrylic, gel, or dip powder. Each material has its advantages and disadvantages, so choose one that suits your preferences and needs.
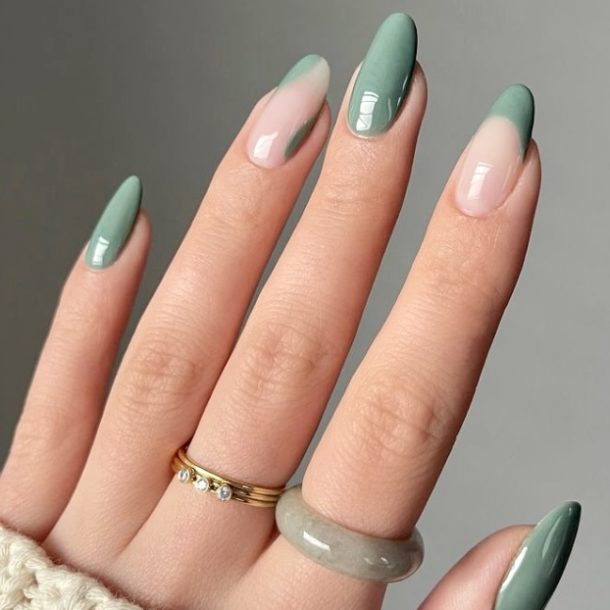
Shape and Length: Decide on the desired shape and length of your nail extensions. Consider your lifestyle and daily activities to ensure practicality.
3. Apply the Nail Tips
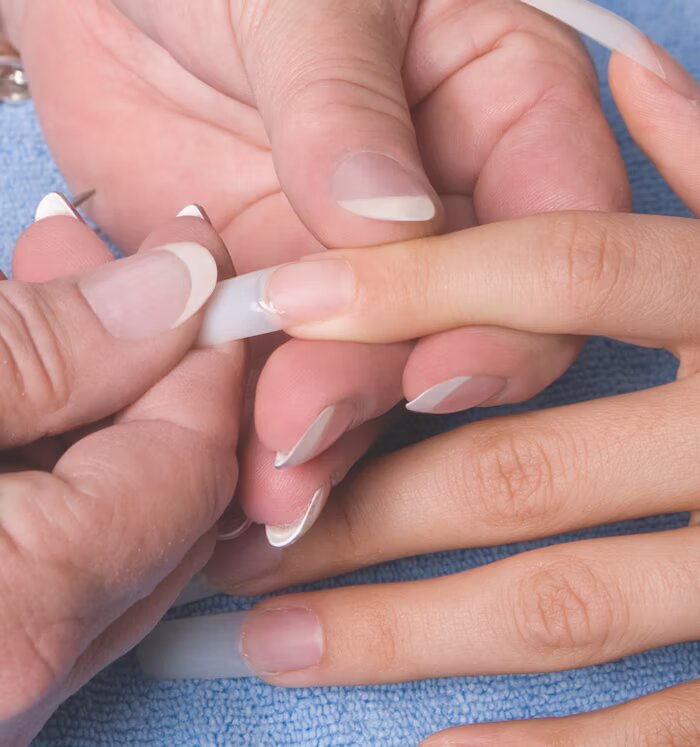
Nail tips act as the foundation for your nail extensions. Follow these steps to apply them accurately:
Select a nail tip that matches the width and shape of your natural nail bed.
Apply a small amount of nail glue to the tip and press it firmly onto your natural nail, aligning it perfectly.
Trim the tip to the desired length using nail clippers and file the edges to smooth them out.
4. Create the Nail Extension
Now it's time to create the actual nail extension. Here's how:
Choose your preferred method of extension application, whether it's acrylic, gel, or dip powder.
Follow the manufacturer's instructions for preparing the product and applying it to the nail tip.
Use a brush or applicator to shape and sculpt the extension, ensuring a smooth and even surface.
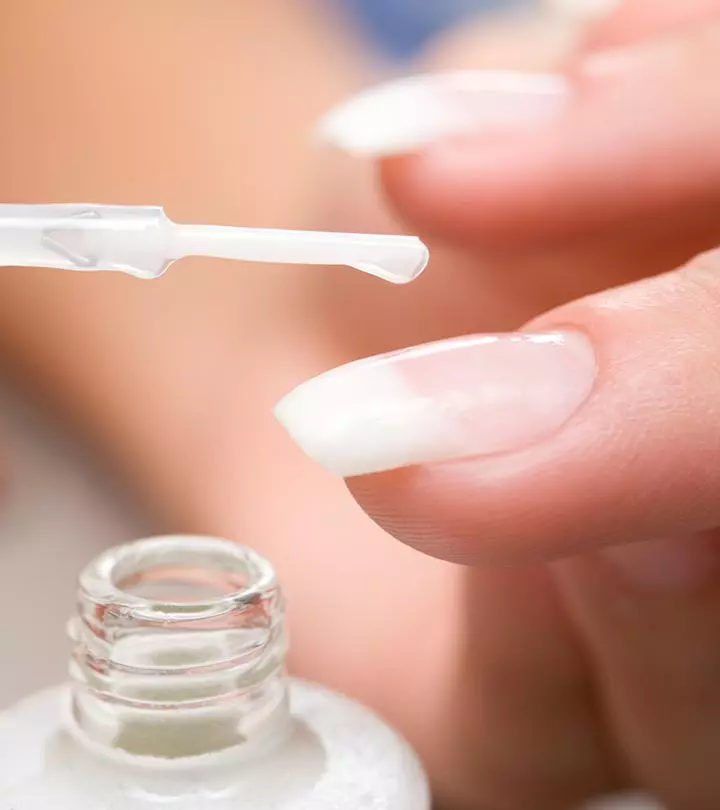
5. Refine and Perfect
To achieve flawless results, pay attention to the details. Follow these steps:
Once the nail extension has dried or cured, file the surface to refine the shape and remove any imperfections.
Buff the surface of the nail extension to create a smooth and natural-looking finish.
Apply a top coat to seal the nail extension and add shine.
6. Finishing Touches
Complete your nail extension application with these final touches:
Apply cuticle oil to nourish your cuticles and promote healthy nail growth.
Add nail polish or nail art for a personalized and stylish look.
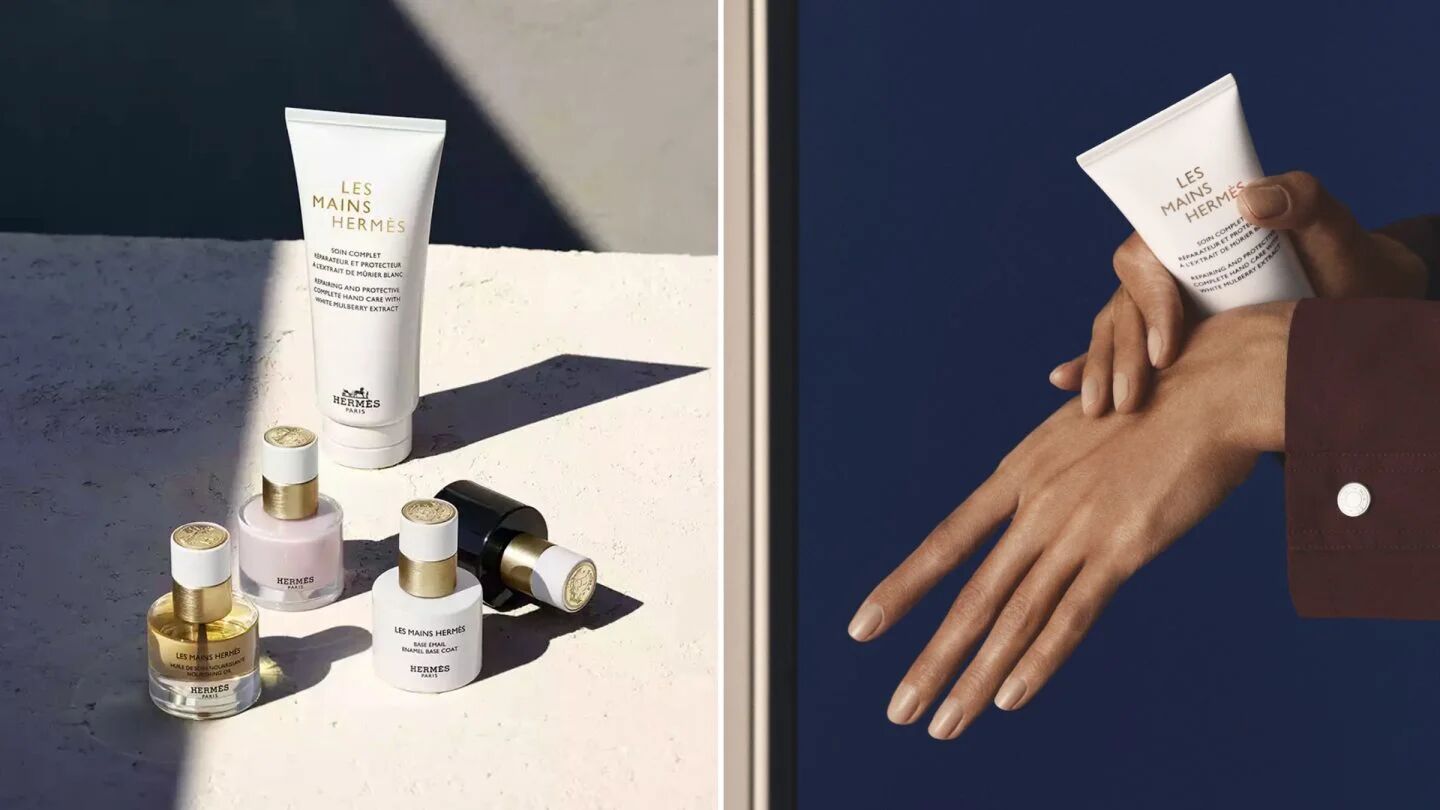
Moisturize your hands and nails regularly to maintain their health and vitality.
FAQs
Q1: Can I apply nail extensions on my own, or should I visit a professional?
A1: While it's possible to apply nail extensions on your own, it requires practice and skill. If you're a beginner, it's advisable to seek professional assistance for the best results.