How to Fix Blurry Pictures
-
 Loading...
 - Ayame Hayashi
- 24 Jun 2022
- 166 Views
- 0 Like
- 0 Comment
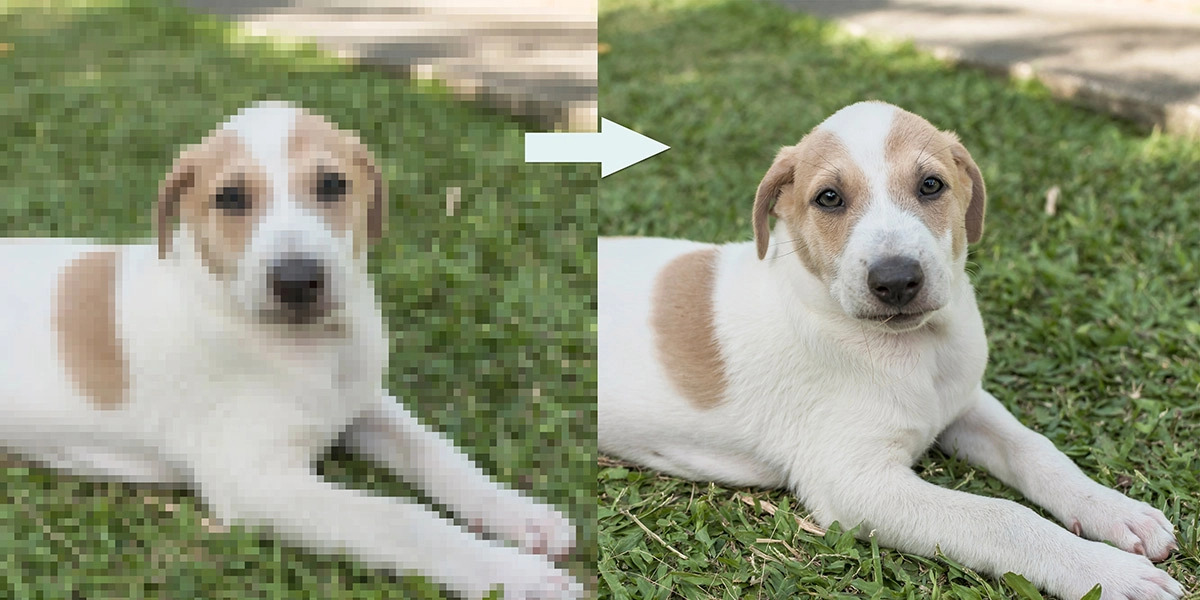
In a perfect world, every photo we take would be perfectly sharp coming right out the camera. Most photographers strive to take high-quality, in-focus images. However, even photographers make mistakes sometimes. Nothing is worse than returning home to see that your favorite photo from your recent photoshoot turned out blurry. Luckily, you can still fix blurry pictures using the latest software.
With today’s technology, a slightly blurry photo isn’t necessarily an end-all. If you’ve just slightly missed the focal point and have a photo with a small amount of blur, it may still be salvageable. In this post, you’ll learn how to fix a blurry photo using Photoshop. Let’s jump right in.
How to Fix Blurry Pictures
Step 1: Open in Photoshop
Open your blurry photo in Photoshop. Unlock the background layer by clicking on the lock button next to your photo layer in the Layers panel.
Step 2: Duplicate the Background Layer
With the photo layer selected, use Command + J (Mac) or Control + J (PC) to duplicate the layer. This will make an identical layer that we can use to apply the sharpening. This way, we can easily toggle between before and after, or adjust the opacity to perfectly blend the sharpening.
Step 3: Use the Unsharp Mask
The Unsharp Mask is a way of sharpening in Photoshop that happens to work quite well for sharpening blurry pictures to help remove blur. To use the Unsharp Mask, go to Filter > Sharpen > Unsharp Mask.
Once you select Unsharp Mask, this box will appear. Change the amount to 150% and threshold to 0. Then, adjust the radius. Start at one pixel, and bring the radius up. Continue to increase the radius until the amount of sharpening feels right for the image. Depending on the size of the photo and how blurry it is, the radius may need to be anywhere between one pixel and 25 pixels.
Step 4: Click OK, and Make Final Adjustments
Select OK once you’ve dialed in the settings for your Unsharp Mask, and let it load out. Once loaded, you can adjust the settings and make final adjustments on your photo. Click on the eye symbol in the Layers panel. Toggle the layer on and off to see the difference that the Unsharp Mask is making. If you wish, adjust the opacity slider within the Layers panel to reduce the effect if it appears too strong. Read More…