Photographing Waterfalls: Tips For New Photographers
-
 Loading...
 - Jennifer Wood
- 24 Jan 2023
- 68 Views
- 0 Like
- 0 Comment
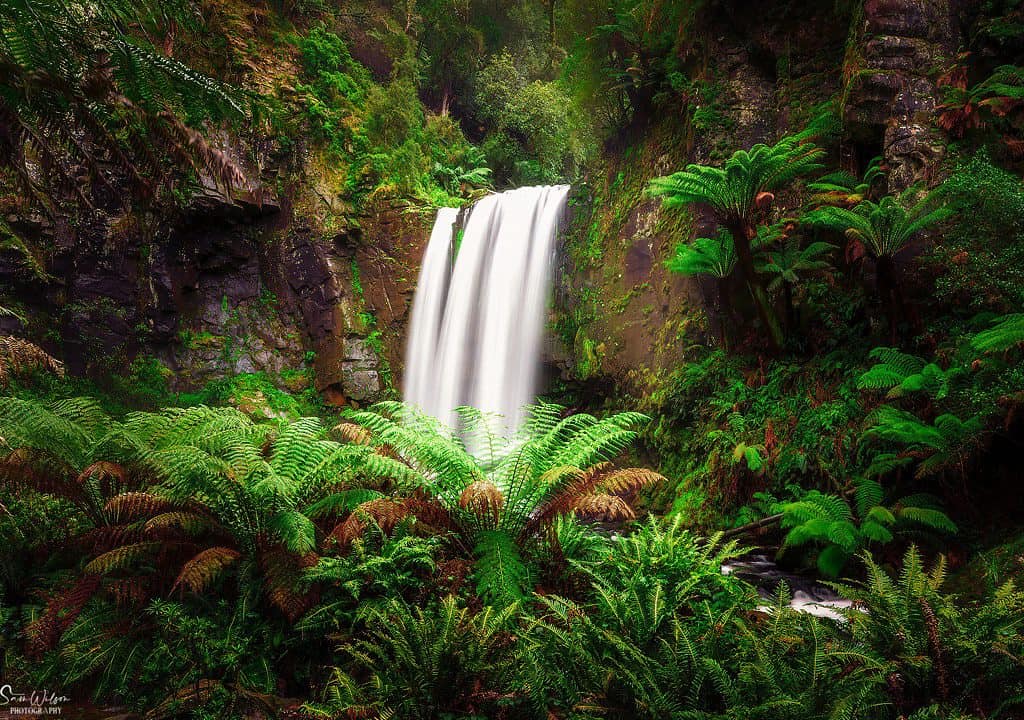
Start capturing those stunning, silky-smooth waterfall photos
When I first started photography, I really wanted to learn how to take great photos of waterfalls. You know, that silky smooth water flow. But I soon found out that it’s not as easy as it looks.
A quick google search told me that I needed a slow shutter speed, so off I went to my local waterfall with my camera and tripod. At least I realised I needed a tripod to keep my camera steady.
I fully expected to return home with amazing photos. Boy was I disappointed.
There was a lot more learning to do, but I can now confidently say that I’m able to take waterfall photos that are sharp, in focus, AND with that lovely smooth, silky water flow.
Photographing waterfalls and streams can be a bit tricky, but don’t worry, this guide will help with that. I’m including streams in this article as the situation is the same; moving water in an otherwise stationary scene.

When And Where To Go
Apart from sunrise and sunset, the best time to photograph waterfalls is on a cloudy day, and just after rain if possible.
Some waterfalls will have a decent flow year round, but many will need to be visited within a few days of rainfall. This is where research comes in.
At the other end of the scale, make sure there hasn’t been too much rain in the area so you can actually get to your location. This happened to me trying to visit a waterfall a few hours away.
We didn’t do our research, so ended up driving 700 km in a day only to not be able to get to the waterfall due to road closures.
Do try to go when the light is favourable if at all possible. Early morning or late afternoon when there is no direct sunlight is ideal. The same goes for a cloudy, overcast day. This provides softer light that will enable you to take a longer exposure. This lets you capture that lovely silky smooth water without having an overexposed sky. Read More…


