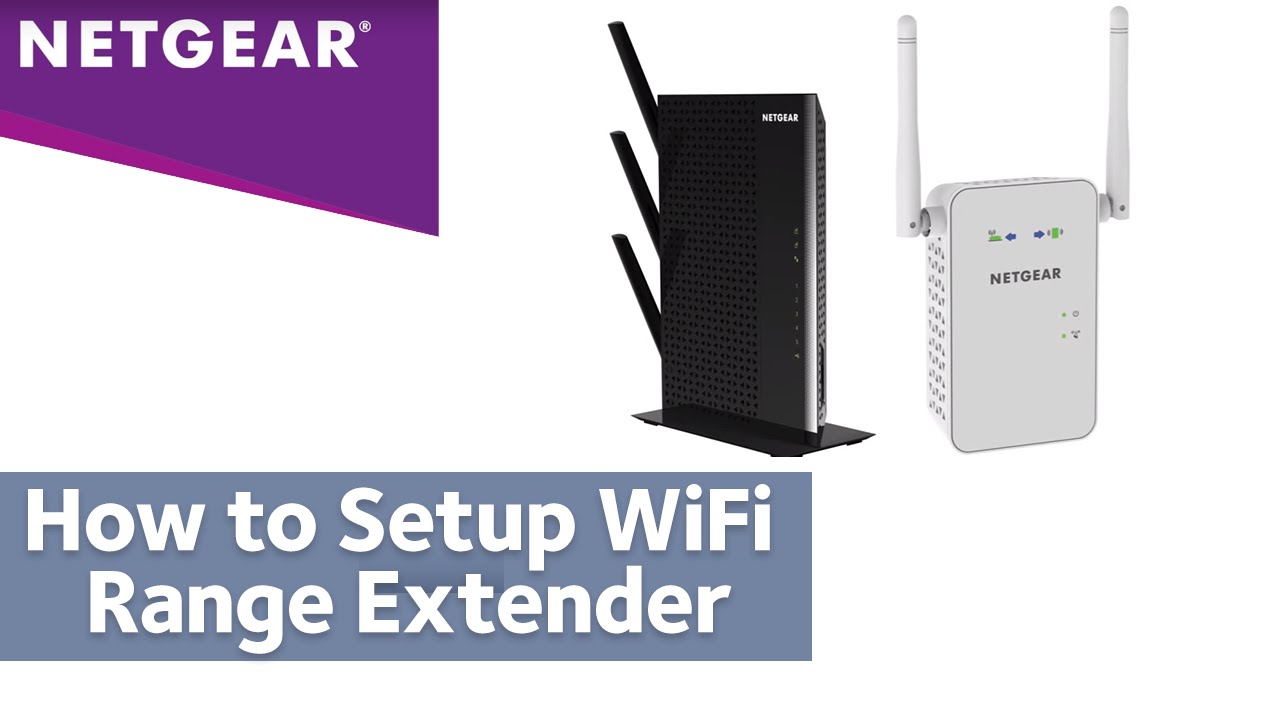
Required Steps for Netgear WiFi Range Extender Setup
-
 Loading...
 - Ashly Wilsin
- 15 Apr 2022
- 347 Views
- 0 Like
- 0 Comment
Extend your coverage by connecting your router to an extension. Say goodbye to dead zones and failed connections by getting WiFi where you want it, even in difficult-to-reach spots. We propose the following guidelines for all other extenders. The steps below will assist you in Netgear Range Extender Setup.
How can I get started with my NETGEAR WiFi range extender?
To configure your extender, follow these steps: Plugin into your extender.
1- The LED Power lights up.
2- If your Power LED is not illuminated, push the Power or On/Off button.
3- Link your computer or mobile device to the WiFi network of the extender.
4- NETGEAR_EXT is the extender’s default WiFi network name (SSID). The extender network either does not have a password or has a password as the default.
5- Your device may notify you that the Internet is unavailable. This is understandable. Maintain the WiFi connection.
6- Start a web browser and type mywifiext.net or 192.168.1.250.
7- The page New NETGEAR WiFi Extender Setup appears.
8- NEW EXTENDER SETUP may be accessed by clicking or tapping on it.
9- If you are asked to accept the terms and conditions, click or touch YES, or I AGREE.
10- Select the admin credentials for your extender.
11- These credentials are required to access the settings of your extender using a web browser.
12- We recommend leaving the default User Name as admin and using a different password from your WiFi network password.
13- From the drop-down choices, choose and answer two security questions.
14- If you forget your extender’s admin credentials, you can use these questions to regain them.
15- Then, ‘NEXT‘ should be clicked or tapped.
16- If your extender asks if you want to utilise the NETGEAR Genie, choose YES or CONTINUE.
Your extender looks for nearby WiFi networks.
17- Select the radio buttons for the 2.4GHz and 5GHz WiFi Network Names for your network (SSID).
18- If your networks aren’t visible, click or tap See More.
19- NEXT should be clicked or tapped.
20- Enter the password for your current network and then click or tap NEXT.
21- Choose your extender’s SSIDs and passwords.
22- The extender uses the name of your current network with _2GEXT appended to the end for the 2.4GHz band and _5GEXT appended to the end for the 5GHz band, by default. By default, the password for each bar is the same as the password for your current network.
(Optional) You may use the same WiFi name and password for mesh extenders as you use for your current network. If your extender supports it, tick the Enable One WiFi Name check box to enable this function.
23- This enables your extender to utilise the same WiFi name (SSID) and password as your current WiFi network.
24- Now, NEXT should be clicked or tapped.
25- The extension applies to your settings. This may take a few moments.
26- The extender shows the WiFi network name (SSID) and password for each of your extender’s bands. Take notice of the following.
27- Go to the WiFi settings of a device connected to the extender network and connect to the extender’s new network
To access your NETGEAR WiFi range extender, follow these steps:
1- Open a web browser on a computer or mobile device linked to your extender’s network.
2- Please keep in mind that your router and extender may have distinct WiFi network names (SSIDs). Check sure you are linked to the network of your extension.
If the WiFi network names (SSIDs) on your extender and router disagree, type www.mywifiext.net into your web browser’s address bar.
3- If your extender and router both have the same WiFi network name (SSID), enter http://extender’s IP address> (for instance, http://192.168.1.3) within your browser’s address field.
4- To get detailed information, visit How do I find the IP address of a device connected to my router?.
5- Either click on or press the ‘Enter’ key.
6- A login page appears.
7- Enter your administrator’s username and password.
8- Please keep in mind that your user name might be an email address.
9- If you’ve forgotten your login name or password, go to the Username & Password Help page.
10- See Resetting Your Login Credentials for further information. What is the procedure for performing a factory reset on my NETGEAR range extender?
11- Now, log in with a click or a tap.
12- The Status page loads.
13- Click or press the Menu symbol if it appears in your browser.
14- The menu for the extender appears.
15- To examine and modify the extender’s settings, go to Settings.
How can I use my NETGEAR WiFi Range Extender to login?
1- Click or tap Enter.
2- A login page displays.
3- For troubleshooting assistance, see I can’t access www.mywifiext.net; what do I do?
4- Enter your administrator’s username and password.
5- Please keep in mind that your user name might be an email address.
6- If you’ve forgotten your login name or password, go to the Username & Password Help page.
7- To change your login information, click here., see How do I perform a factory reset on my
NETGEAR range extender?.
8- Click or tap login.
9- The Status page loads.
10- Click or press the Menu symbol if it appears in your browser.
11- The menu for the extender appears.
12- To examine and modify your extender’s settings, go to Settings.
How to Setup a Netgear WiFi Extender Using Manual Method?
In order to perform Netgear extender setup manually, you need to access the mywifiext.net login web page. Here are the complete steps explaining how to setup a Netgear WiFi extender:
1- Plug in your WiFi range extender to a non-damaged wall outlet and turn it on.
2- Power on your wireless router.
3- Connect your new extender to the home WiFi router's network.
4- Turn on your computer or laptop whichever you find convenient for you.
5- Double-click on the web browser's icon you like.
6- Go to the mywifiext.net login web page.
7- Enter the asked details.
8- Hit Log In.
9- The WiFi range extender setup wizard will open. If there is no success and www mywifiext net refused to connect, use mywifiext local.
10- Follow the instructions given on the www mywifiext net setup wizard.
Congrats! You are done with the new extender setup.
How to Setup a Netgear WiFi Extender using WPS Method?
If your wireless range extender comes with a WPS push button, you can make use of it to make your extender up and running. It is extremely easy to install a WiFi range extender using the WPS method. Follow the steps mentioned below to learn how to setup a Netgear WiFi extender using WPS:
Connect your new WiFi extender to an electrical outlet to turn it on.
Locate the WPS push button on your extender.
Once found, press the button.
Thereafter, press the WPS button on your home WiFi router.
Let the WPS LED turn on. It signifies that your extender has been successfully configured with the router's WiFi signals.
As soon as the range extender shows four green LED lights, it means that your extender has been set up properly.
That's how you can perform WiFi range extender setup using the WPS push button.
Can I Set up My New Extender Using a Mobile App?
Want to save yourself from the hassle of using PC or laptop? If yes, then you are in luck! You can use a mobile app to install your WiFi range extender. Here's how to do so:
1- First of all, connect your mobile device to a high-speed WiFi network.
2- Download a suitable app for your WiFi extender.
3- You can download the app by navigating to the store that is compatible with the OS of your device.
4- Once downloaded, open the app.
5- A new screen will pop up, showing terms and conditions of the app.
6- Just tap on the Agree button.
7- Now, you will be landed on the extender login web page.
8- Type in the default username and passphrase.
9- Tap on the Log In page.
10- Afterward, you will be guided through the on-screen installation instructions.
Mywifiext.local – New Extender Setup for MAC Devices
Setting up your WiFi extender using a MAC OS device? If yes, then you have to access mywifiext.local web address to get mywifiext local set up success. This web page can be used as both the new extender setup page for Apple devices. Not only this but you can also access mywifiext local web page to change the settings of your existing wireless extender and get mywifiext local set up success. Here's how to access mywifiext.local login web page:
1- Connect your MAC, iPhone, iPad or another iOS device you are using to a fast WiFi network.
2- Open your preferred web browser on it.
3- Type in mywifiext.local web address in the URL bar.
4- Hit the Enter key.
5- You will be landed on the www mywifiext local login web page.
6- Input the username and passphrase into the given fields to get mywifiext local set up success.
7- Click on the Log In button.
Quick Tip: It is not necessary that you access only the Safari web browser. You can choose any browser such as Internet Explorer, Google Chrome, or Mozilla Firefox to access http://mywifiext.
That's how you can log in to your WiFi range extender on MAC OS X devices and get mywifiext local Netgear Wifi Extender Setup Process. Just use mywifiext.local web address and set up your new wireless extender.