Step-By-Step Guide On How To Do Ombre Lip Makeup
-
 Loading...
 - Chantel Jonkers
- 17 Jul 2024
- 61 Views
- 0 Like
- 0 Comment
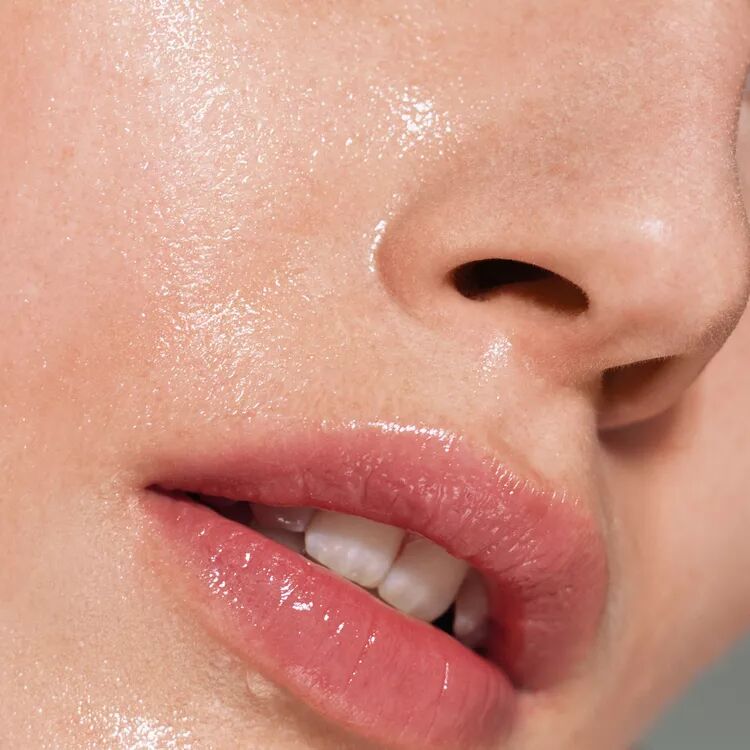
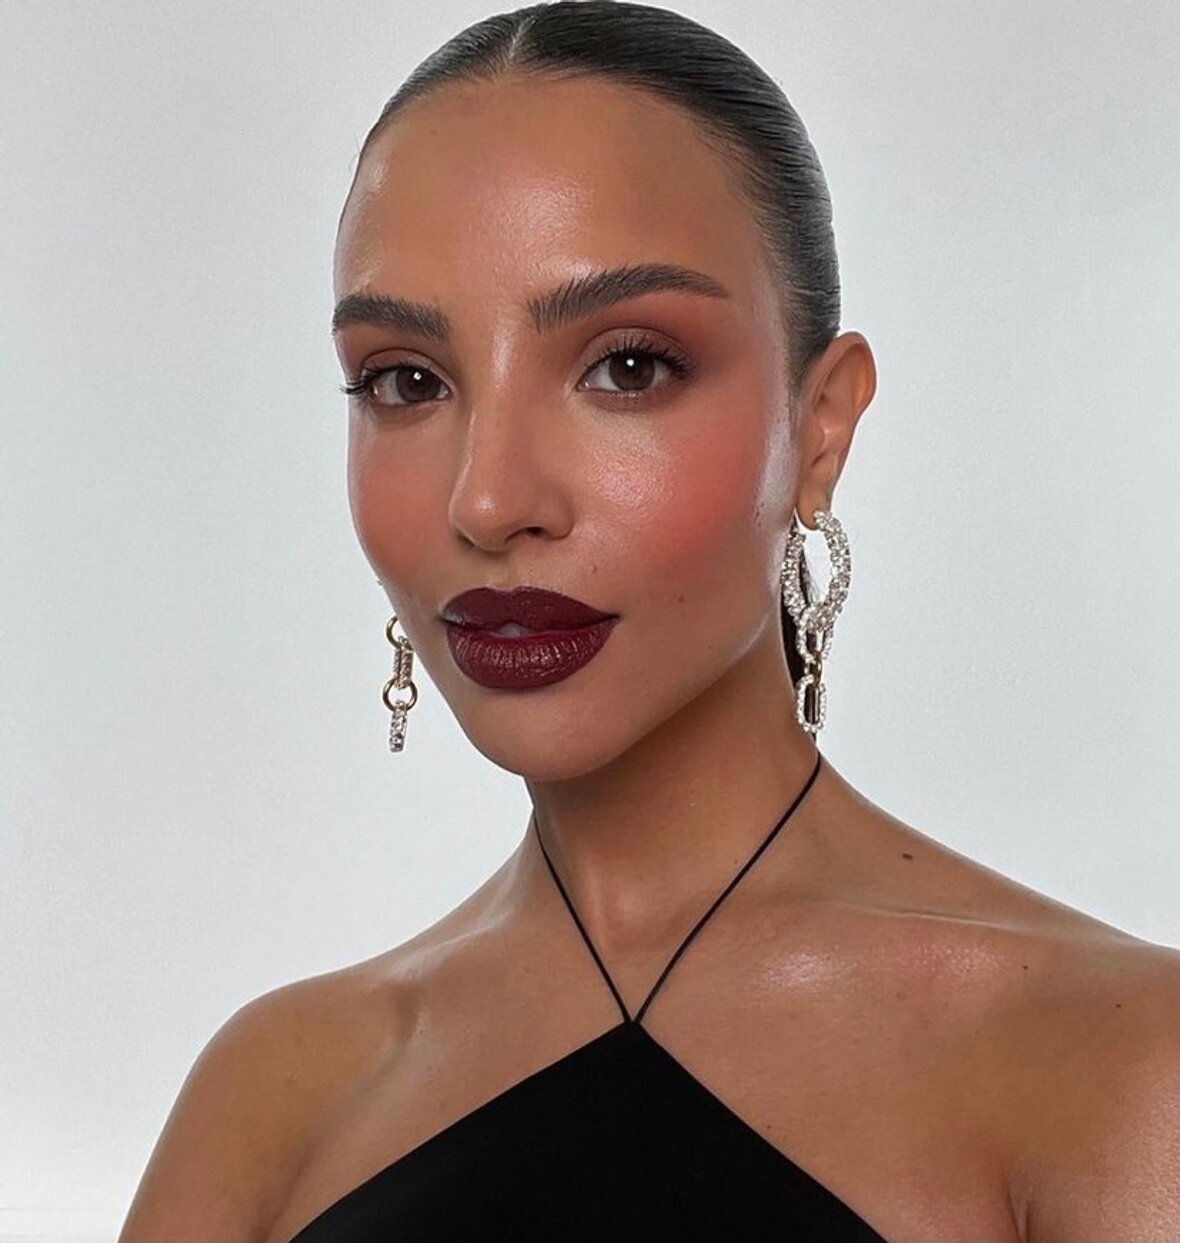
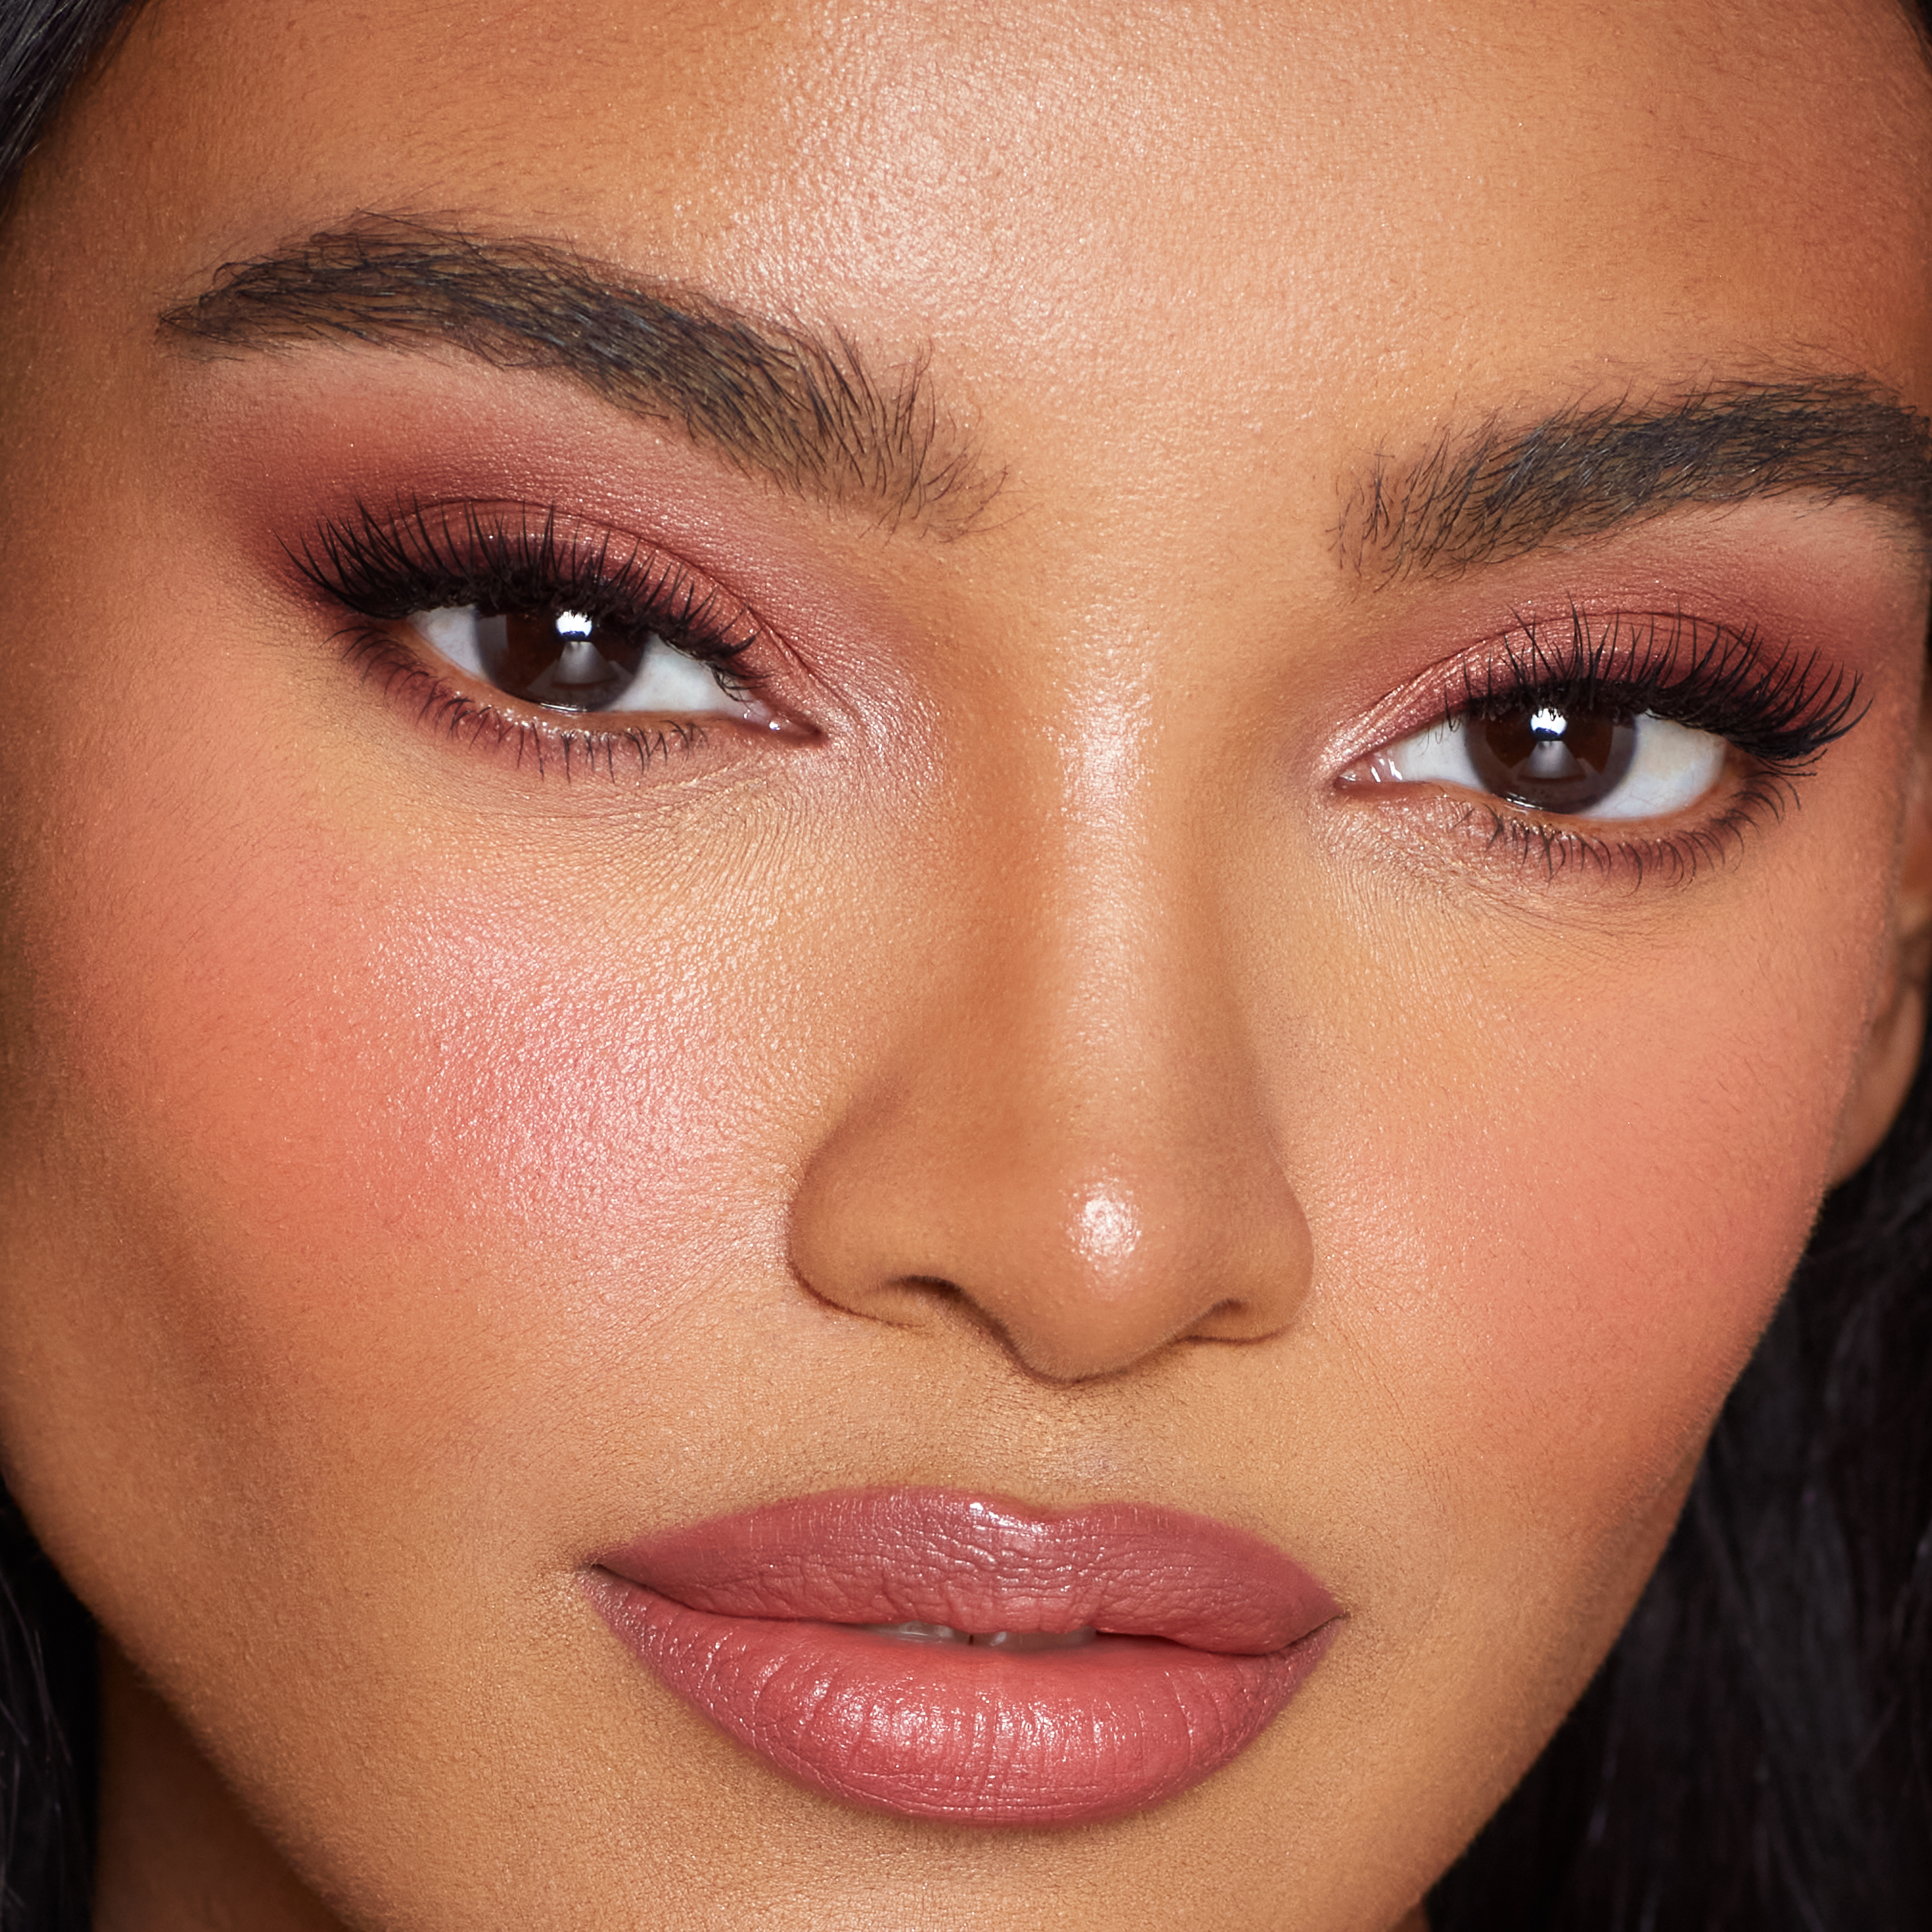
Ombre lip makeup is a stunning technique that creates a gradient effect, blending two or more shades to give your lips depth and dimension. Here’s a comprehensive step-by-step guide to help you achieve the perfect ombre lips.
Step 1: Prep Your Lips
Exfoliate: Start by exfoliating your lips to remove any dead skin cells. You can use a lip scrub or a soft toothbrush.
Moisturize: Apply a hydrating lip balm to ensure your lips are smooth and hydrated. Let it absorb for a few minutes, then blot any excess balm with a tissue.
Step 2: Apply a Lip Primer or Concealer
Prime: Use a lip primer to create a smooth base for your lip colors. This will help the colors last longer and prevent feathering.
Conceal: Apply a light layer of concealer on your lips. This step is optional but can help the colors appear more vibrant and create a blank canvas for the ombre effect.
Step 3: Outline Your Lips
Lip Liner: Choose a lip liner that matches the darker shade of your ombre look. Carefully outline your lips, starting from the center and moving outwards.
Fill in the Corners: Use the same lip liner to fill in the outer corners of your lips. This will create the foundation for your gradient effect.
Step 4: Apply the Darker Shade
Dark Lipstick: Apply the darker shade of lipstick to the outer corners of your lips. You can use a lip brush for precision or apply directly from the tube.
Blend Inwards: Gently blend the darker shade towards the center of your lips using a lip brush or your fingertip. Make sure to blend well to avoid harsh lines.
Step 5: Apply the Lighter Shade
Light Lipstick: Apply the lighter shade of lipstick to the center of your lips. This shade should be significantly lighter than the outer color to create a noticeable gradient.
Blend Outwards: Using a clean lip brush or your fingertip, blend the lighter shade outwards towards the darker color. The key is to create a seamless transition between the two shades.
Step 6: Perfect the Blend
Add More Color: If necessary, add more of the darker or lighter shade to achieve the desired gradient effect. Blend the colors together until you are satisfied with the ombre look.
Clean Edges: Use a concealer brush and a bit of concealer to clean up the edges of your lips, ensuring a sharp and defined look.
Step 7: Add Gloss or Highlight (Optional)
Gloss: For a glossy finish, apply a clear or slightly tinted lip gloss to the center of your lips. This will add dimension and make your lips appear fuller.
Highlight: For extra dimension, you can add a small amount of highlighter or a light shimmery eyeshadow to the center of your lips.
Step 8: Set Your Lip Makeup
Blot: Lightly blot your lips with a tissue to remove any excess product and set the colors in place.
Powder: For long-lasting wear, you can dust a translucent powder over your lips using a fluffy brush. Alternatively, use a setting spray designed for makeup.
Tips for a Perfect Ombre Lip
- Choose Complementary Shades: Ensure the colors you choose complement each other well for a natural gradient effect.
- Experiment with Colors: Don’t be afraid to experiment with bold or unconventional colors for a unique look.
- Practice Blending: Blending is key to achieving a seamless ombre effect. Practice makes perfect, so don’t be discouraged if it takes a few tries.
Ombre lip makeup can elevate your look with its striking and artistic appeal. By following these steps and practicing your technique, you can master the art of ombre lips and create a variety of stunning looks. So grab your favorite lip colors and start experimenting!