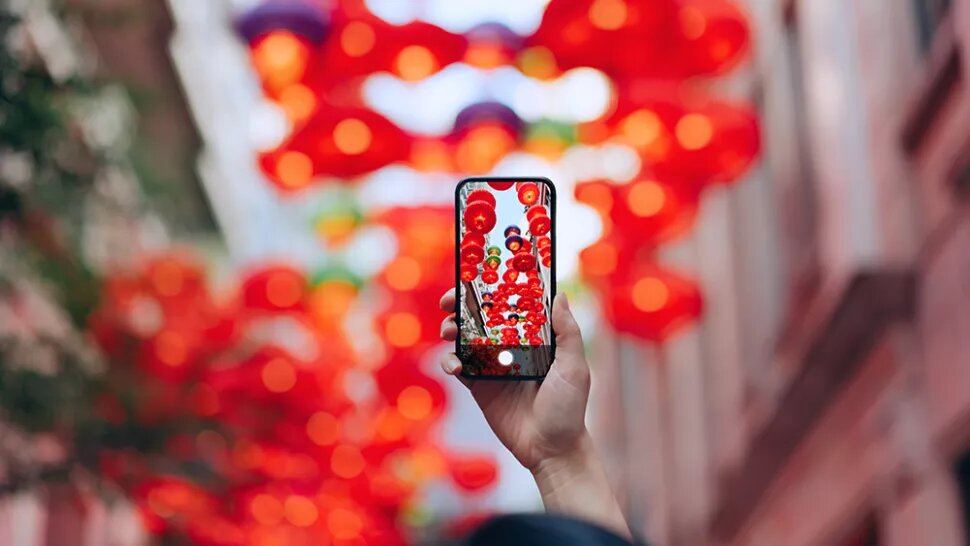
10 iPhone Photography Tips (for Stunning Images)
-
 Loading...
 - Namazzi Apio
- 22 Sep 2022
- 67 Views
- 0 Like
- 0 Comment
Most people don’t realize it, but iPhones contain surprisingly capable cameras – cameras that become more powerful with every new release. In the hands of a skilled photographer, an iPhone can be an effective way to capture stunning landscape shots, portrait photos, street images, and much more. Often, these iPhone photos are effectively indistinguishable from photos taken with high-end DSLRs and mirrorless models.
Of course, capturing good iPhone photos does require some careful techniques, and that’s what I share in this article: The 10 key lessons I’ve learned since picking up my iPhone camera. Once you know these basic iPhone photography tips, I guarantee that your images will improve in leaps and bounds.
So without further ado, let’s get started!
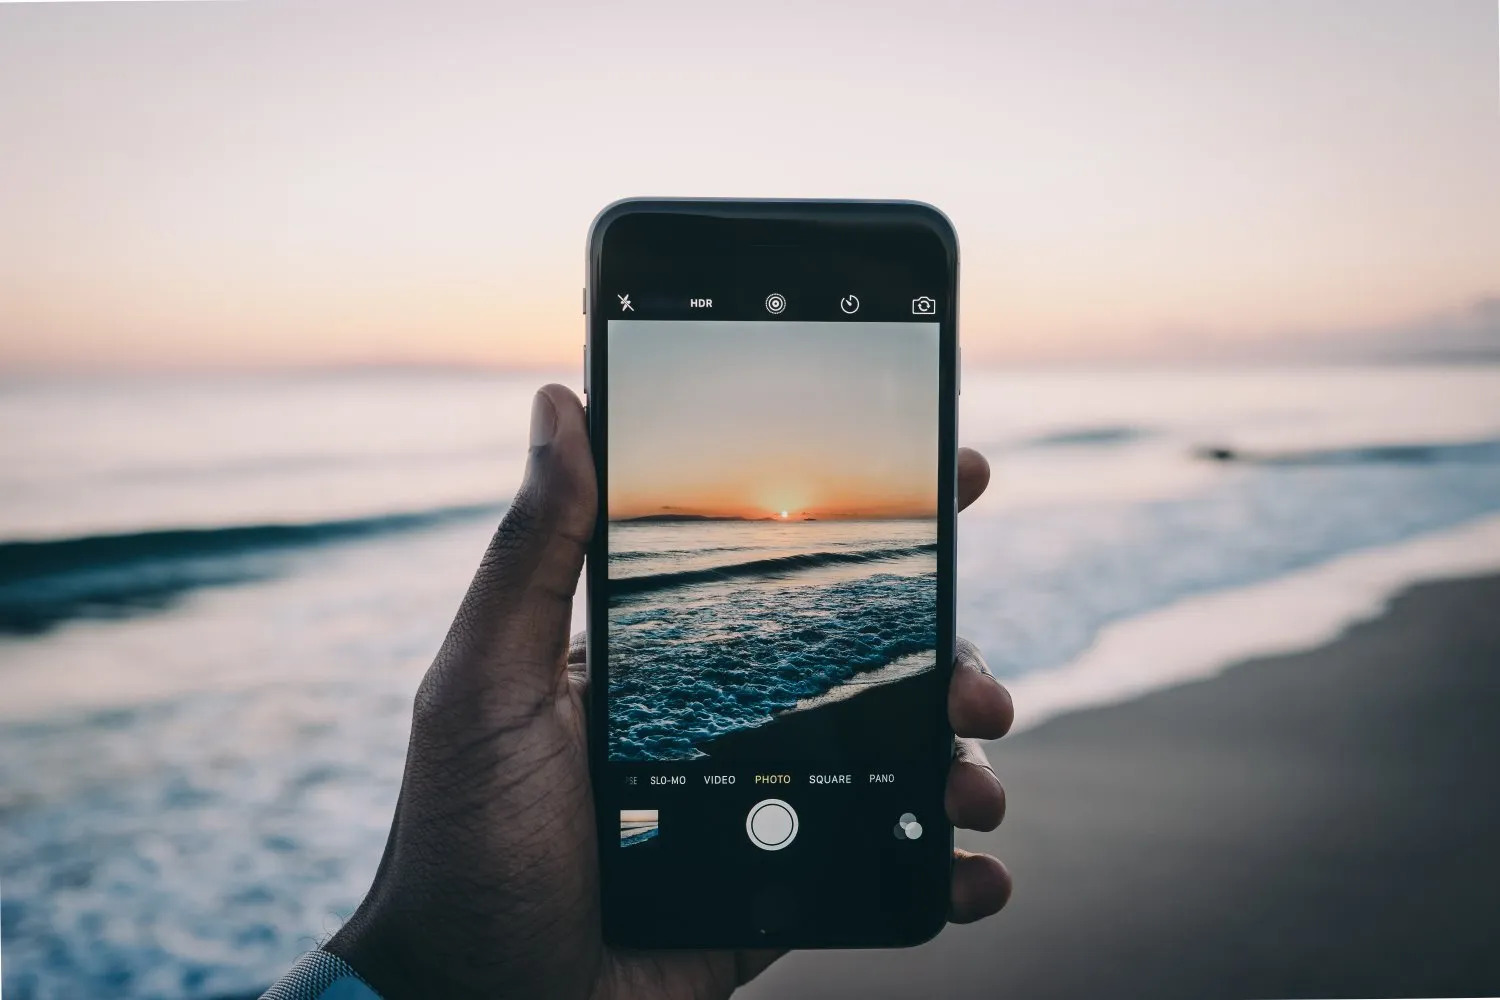
1. Hold your iPhone like a camera
When I first started taking iPhone photos, I held my phone with just one hand. That was a mistake.
One-handing your phone works great for casual, everyday activities, but when you’re shooting photos, you want to keep your phone as steady as possible. In other words, you should generally use two hands.
Try cupping your hands together, kind of like you’d hold a small point-and-shoot camera. Then let your right thumb hover over the shutter button. When you’re ready to snap a photo, just press down gently with that thumb while keeping your hands rock-solid.
You can use a similar technique when holding your iPhone horizontally (i.e., when capturing a landscape-orientation shot). Let your left hand support your right hand, and keep your thumb in position to fire that shutter.
Note that you should never jab at the shutter button, nor should you stretch your thumb so it’s in position. Make sure everything feels natural and comfortable; that way, you’ll get crisp, highly detailed results.
Also, keep your elbows tucked in and your iPhone screen close to your body. When I first started iPhoneography, I held my phone out at a ridiculous angle, which created a lot of camera shake (and as a consequence, a lot of image blur). Now I hold the phone in front of my chest or face, and I “look” through the screen as if I were using a conventional camera model.
2. Zoom with your feet

There are two types of iPhone camera zooms: Optical zoom and digital zoom.
Optical zoom is created by camera optics; this is the kind of zoom at work when you switch from your wide lens to your telephoto lens or your ultra-wide lens to your wide lens.
Digital zoom, however, is created by cropping; your iPhone simply deletes pixels to create a “zoom” effect.
As you probably realize, there’s nothing wrong with using optical zoom. If your iPhone has multiple lenses, then you should absolutely use them as required. Switch to a telephoto lens when you need to get close, and switch to an ultra-wide lens when you need to capture a wide frame.
But digital zoom is problematic. It won’t actually get you any closer to your subject. Instead, it’ll just damage your images.
So when you feel the urge to use your iPhone’s digital zoom option, zoom with your feet. Don’t sacrifice any pixels. Simply move closer to your subject! Read More…