10 Fruit and Vegetable Still Life Photography Tips
-
 Loading...
 - Florence Auma
- 22 Sep 2022
- 70 Views
- 0 Like
- 0 Comment
Fruits and vegetables are amazing still life photography subjects. They feature beautiful textures, colors, and shapes; they’re also highly accessible. After all, to find a subject (or 10!), you merely need to head to your local supermarket.
But how can you capture pro-level fruit and vegetable still life photography? As a veteran still life snapper, I’ve developed plenty of techniques to achieve consistently outstanding images. And that’s what I share in this article: My top 10 tips that’ll help you create well-composed, beautifully lit fruit and vegetable shots. Specifically, I explain:
· A way to light your subjects that’ll produce breathtakingly ethereal results
· How to choose the perfect still life background
· A quick tip to keep your subjects looking fresh
· Much more!
Ready to become a still life master? Then let’s dive right in, starting with my first tip:
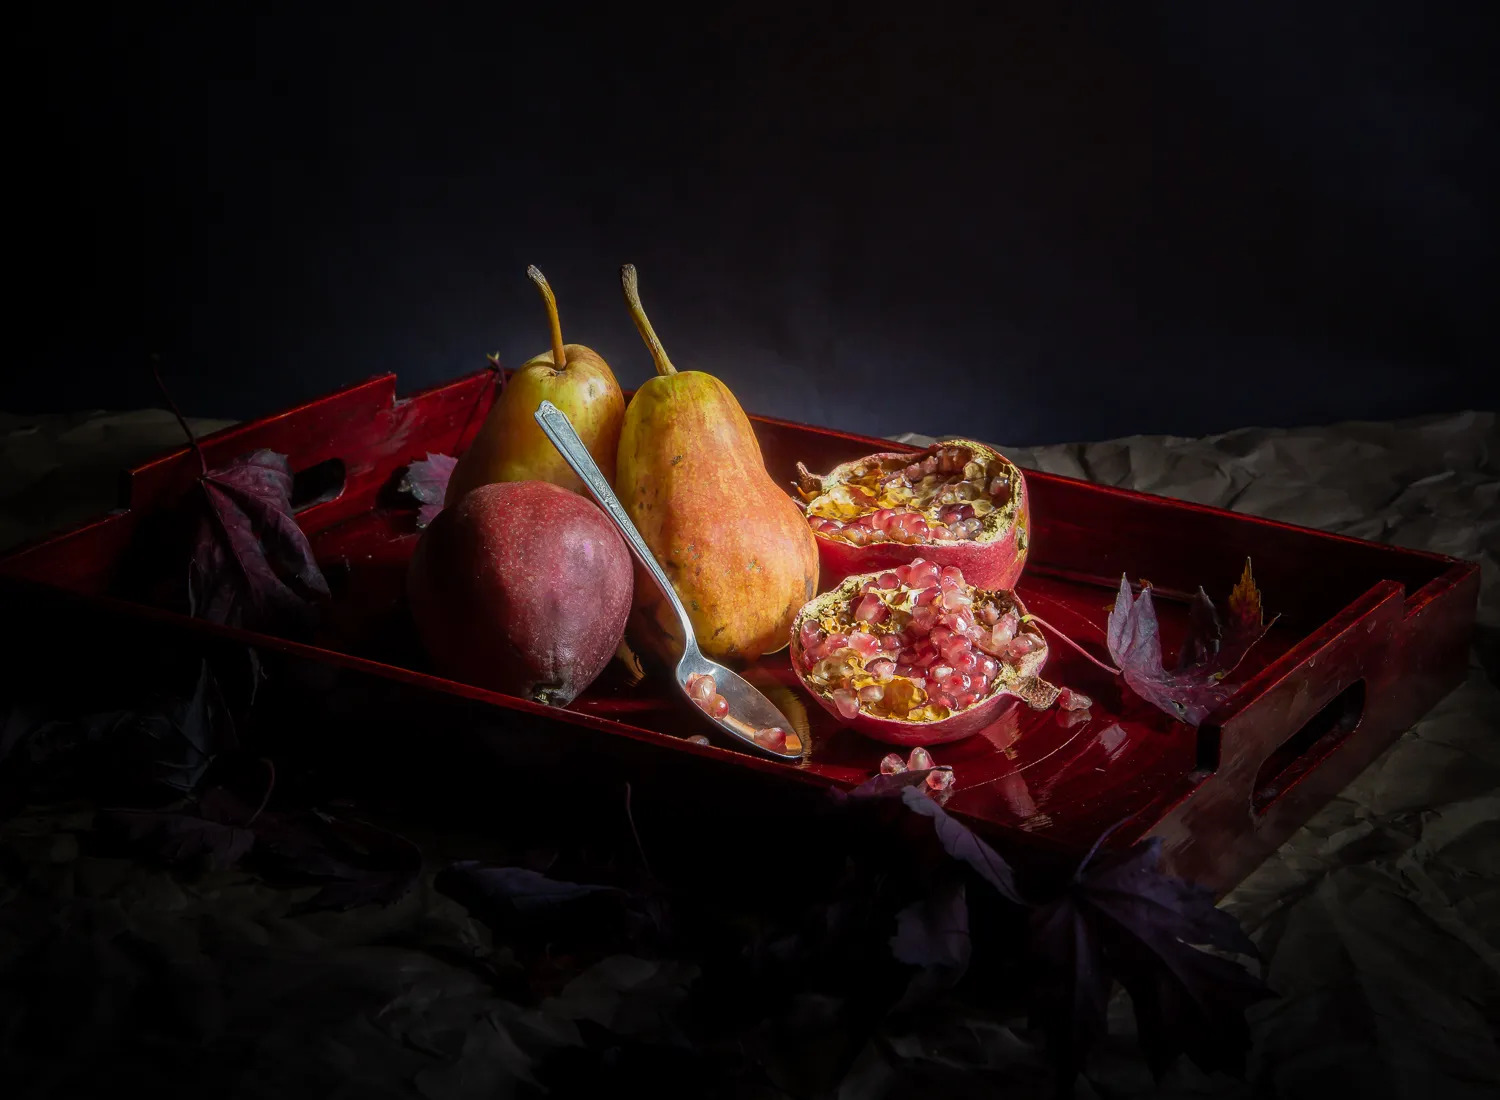
1. Carefully choose your subject
Different fruits and vegetables lend themselves to different types of images – so it’s important you choose your still life subjects carefully.
If you’re after a classical-type image, pick traditional subjects like pears, apples, and lemons. If you want to make your still life shot appear especially refined, ensure that your individual fruits and vegetables are in tip-top shape (i.e., free of bruises, cuts, and other blemishes).
That said, you can create unique still life shots by embracing unusual subjects. Carrots, asparagus, artichokes – they’re not the subjects that you’ll find in 1600s still life paintings, yet they can certainly add to your compositions!
And while it’s generally best to use near-perfect subjects, you can also have fun working with wilting fruits and vegetables. Aim to steer into the skid; adjust your lighting and background for darker, moodier shots that emphasize the steady march toward death and decay.

2. Use natural lighting for a realistic result
As I explore throughout this article, there are many effective ways to light a fruit and vegetable still life. But the simplest way – and the one that I recommend for still life beginners – is to use natural window light.
Find a reasonably large window that doesn’t experience direct sunlight. (In other words, go for a window that faces north or south.) That way, you can work with softer, lower-contrast lighting all day long! If you don’t have access to a north- or south-facing window or the window light is still a bit too harsh, try waiting for a cloudy day or draping a sheet over the window frame. Both of these strategies will produce gorgeous diffused light.
Set up your fruits or vegetables on a table near the window. I’d recommend ensuring that the light hits your arrangement from the side, but feel free to move the table backward and forward until you get a look you like.
And if you find that the shadows are a little too heavy, add a simple reflector or a piece of white poster board to bounce some light back into the darkness.