5 Easy Tips to Improve Your Drone Photography
-
 Loading...
 - Colman Gilsel
- 24 Mar 2023
- 55 Views
- 0 Like
- 0 Comment
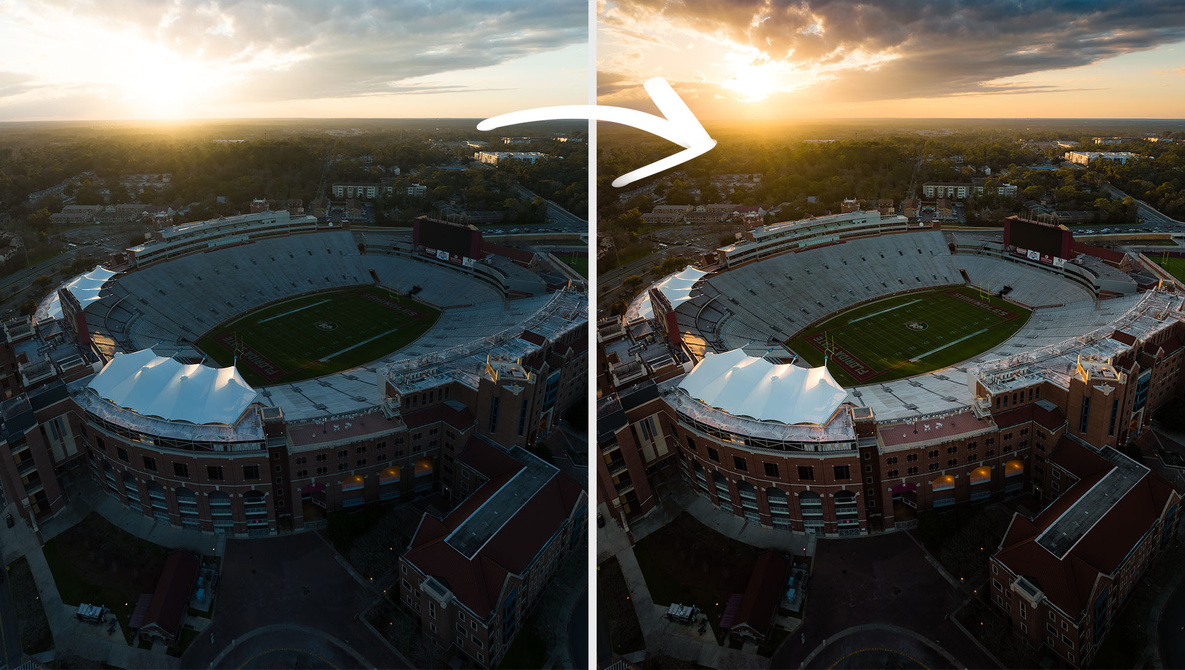
Drones provide photographers with incredible image opportunities but still lack dynamic range and pixel count of their grounded handheld counterparts. What if you could increase your dynamic range, resolution, and take better images?
As someone who has been flying since the Phantom 2, image quality has improved exponentially. I’ve been blown away by the Mavic 3 Classic that DJI sent over for this guide. The majority of their lineup take great images, but there's a lot more potential no matter what drone you’re using to get more out of your next photo flight.
Throughout this guide, I'll cover ways to unlock that potential while also providing insight into how to get better images the next time you put your drone in the air!
Settings
We’ll start out simple and make sure you’ve got all your settings tuned in to harness the full potential of your drone, no matter what model you are flying.
 Always shoot in raw.
The most important setting is to make sure you’re shooting in raw format. I could write a dissertation on why shooting in raw matters, and we’ve already gone over it here and here if you’re interested. To keep it short, raw files are larger less compressed images that give you more flexibility when you sit down to edit, which you will be doing by the end of this guide.
ISO is the setting you should change last to adjust your exposure. You want to keep is as low as possible, as it has a direct correlation to your final image quality. Thus, increasing it will negatively impact your image. Read More…


