7 Affinity Photo Tips for Beginners
-
 Loading...
 - Ayame Hayashi
- 12 Aug 2022
- 70 Views
- 0 Like
- 0 Comment
In this article, I’ll share with you some of the most helpful Affinity Photo tips to get you started. By the time you’ve finished reading, you’ll be ready to dive in and start editing (and, in time, you’ll come to love using Affinity Photo to enhance your files).
A quick note before we get started: The key to mastering photo-editing software is a combination of learning and practice. I encourage you to read a tip, then practice until what you learned becomes easy. Only then should you repeat the process. If you try to learn too much at once, you’ll probably forget most of it and become frustrated!
1. Familiarize yourself with Affinity Personas
Personas are workspaces in Affinity Photo; they’re the areas where you carry out a variety of tasks. Each Persona has a specific focus. They are:
· The Develop Persona, where you apply basic edits at the beginning of the RAW processing workflow.
· The Photo Persona, where you’ll do most of your serious editing.
· The Liquify Persona, where you can do advanced pixel manipulation.
· The Tone Mapping Persona, where you can manipulate the image dynamic range.
· The Export Persona, which is used when you’ve completed work on an image and want to save it in a particular format.
You’ll find the Persona icons at the top left of the Affinity window:

To master each of these Personas takes considerable time and practice. Begin by familiarizing yourself with the purpose of each one. That way, you’ll know which workspace best suits your needs when editing.
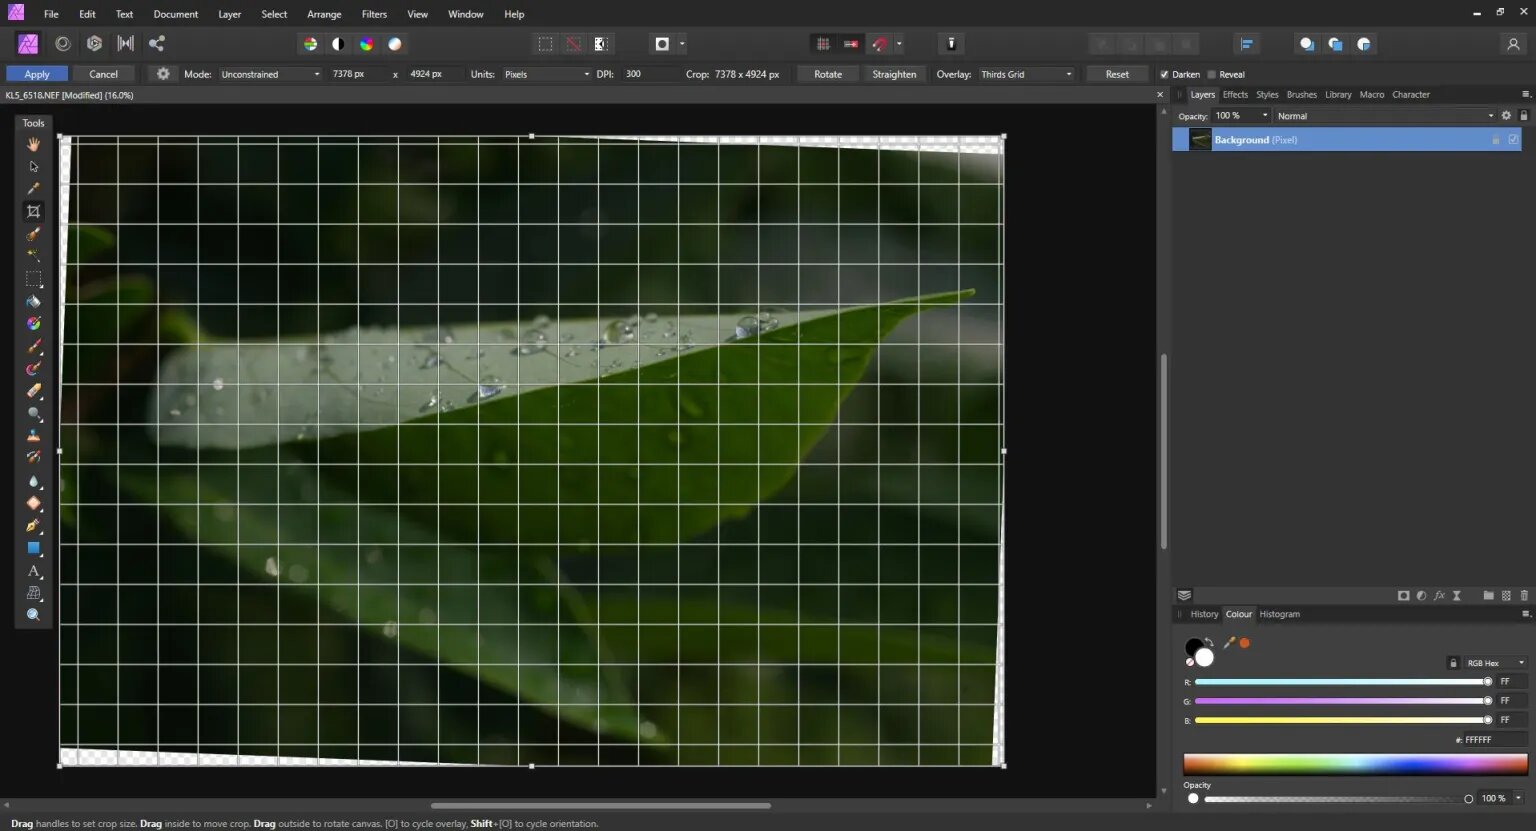
2. Start by straightening and cropping your photos
When editing a new image, one of the first things you often need to do is straighten and crop. Fortunately, Affinity Photo makes these operations pretty painless.
You can apply a crop or a straightening adjustment in either the Develop or the Photo persona. Select the Crop icon from the Tools panel or use the keyboard shortcut (C). Read More…


