7 Ideas for Rainy Day Photography
-
 Loading...
 - Brandon Stevens
- 12 May 2022
- 322 Views
- 0 Like
- 0 Comment
There are literally hundreds of great rainy day photography ideas. They don’t take great technical expertise, fancy equipment, or waterproof housing; in fact, all of them can be done from the comfort of your own home.
In this article, I share my top 7 favorite rain photoshoot ideas. That way, the next time you want to take photos but the skies open up, you’ll have plenty to capture!
Let’s dive right in.
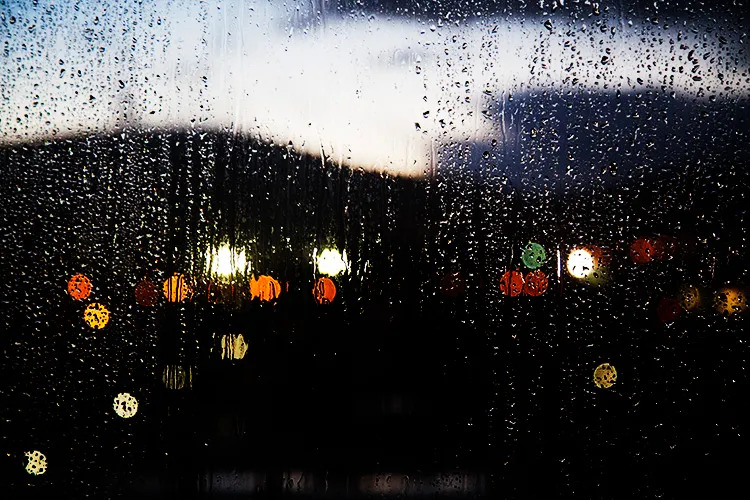
1. Shoot through your window
On rainy days, you may not want to venture outside with your camera…
…but you can still capture that lovely rainy atmosphere by working near a window.
You can start by shooting impressionistic scenes of the outdoors; use a wide aperture, get close to the window, then focus on the outside world. The window should blur away, softening your photos without distracting the viewer.
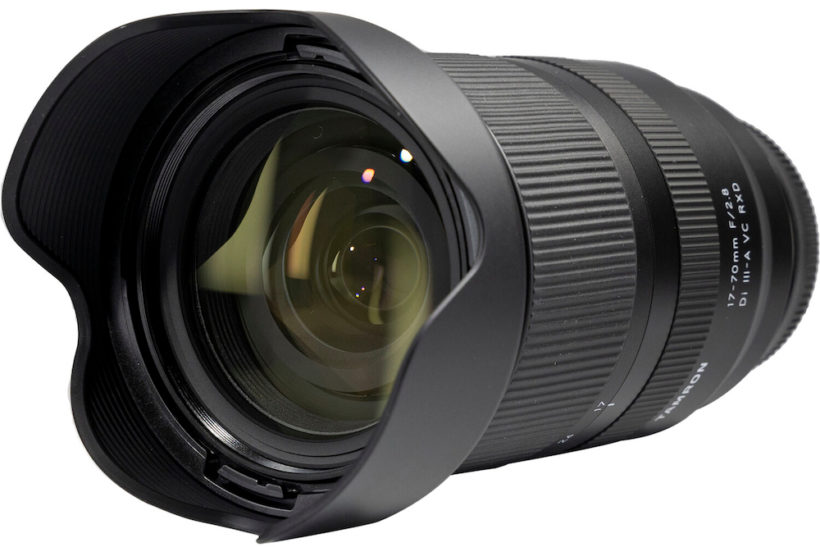
You can also try shooting droplets on the windows. For this, I’d recommend grabbing a macro lens – that way, you can get up close and personal – but it’s possible to achieve great results using a standard 50mm lens, too.
Focus on the window glass, then use a wide aperture to blur the background into oblivion:

The more droplets you can capture, the more dramatic your images will turn out. Be sure to experiment with different types of lighting, too!
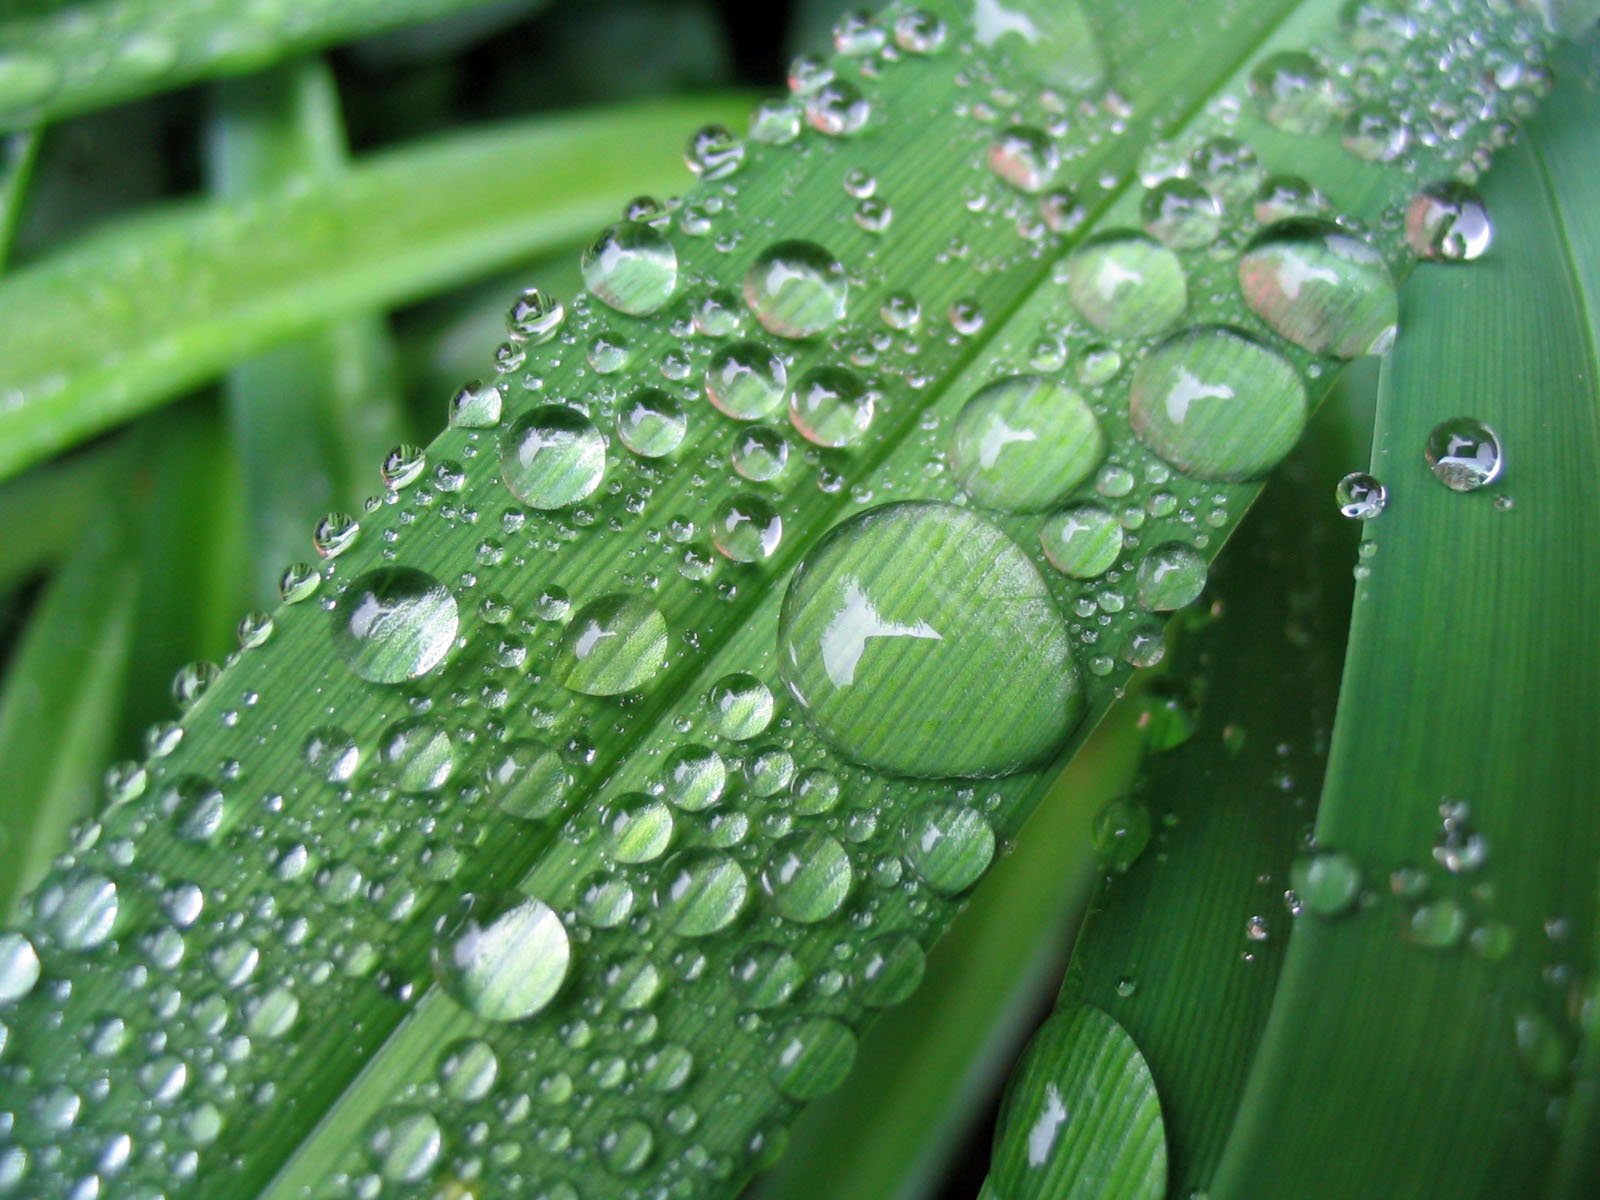
2. Photograph household objects with a close-up lens
Macro photography, or close-up photography, is great for rainy days. With a macro lens, you can focus on the little details of ordinary objects, and by getting extra close, you’ll turn even the most boring of items into abstract masterpieces.

As with window photography, a macro lens is helpful, but it’s not required. You can get up close using extension tubes, close-up filters, or even your smartphone. Then you can have fun photographing everything within reach!
Personally, I like to do macro photography in my house even on sunny days; the home is a relaxed environment, so you’re free to take your time and get that perfect shot. Often, on location, I feel rushed to complete a shot as best I can in a limited amount of time.
By the way, you don’t need to look far for interesting subject matter. You can shoot clothing, rugs, shoes, furniture, water droplets, food, plants, and so much more!

3. Do a still-life craft
Did you know that a little bit of construction paper and foil, plus a few knickknacks, jewelry pieces, or even toys, can be turned into a still-life scene?
Well, it’s true! Every house is a treasure trove of photographic opportunity – as long as you have arts and crafts materials, as well as little items to use as subjects.
First, walk around your house looking for interesting subjects, such as action figures, earrings, collectibles, or even Christmas ornaments.
Then delve into your craft box. See what backgrounds you can find, and look for paper that can go underneath your subject. Have fun creating different “sets.”
This little guy was photographed with a background constructed of aluminum foil and cardboard:

To get a similar shot, grab a piece of cardboard (the size is up to you, but the larger the cardboard, the more light you will be able to reflect onto your subject), then cover it with aluminum foil. Set the figurine on one end of the foil, then prop up the other end:

It’s a great setup for product photography, too!
4. Try scanography
Scan-o-what? Scanography! Scanography is photography with a scanner.
In other words, instead of capturing photos with your camera, you use your home scanner!
If you have a scanner, then you’re basically set. Just grab a few items and try placing them on the scanner. Flat objects like flowers or paper work best, though you can always try scanning your hands:

This one’s a very simple rainy day photography idea, yet the results have the potential to be mind-blowing.
One tip: Once you’ve scanned an image you like, bring it into Lightroom, Photoshop, or the editing program of your choice, then play around with different adjustments. Scanners aren’t designed to take great photos, so you’ll often need to change the contrast, saturation, and exposure for the best results.

5. Re-edit old photos
No, it’s not strictly a photography idea for rainy days, but it’ll certainly improve your photos, and it’s something I recommend everyone do every once in a while.
Just hop on your computer, then head back through your files. The goal isn’t to find unedited images – though you can always do that, too! – but to find images you’ve already edited, then see if your editing style has shifted.
I’m guessing you’ll find that your style has changed, and perhaps even significantly; I’m always surprised by how much my editing has improved from year to year.
When you find an image that could use a re-edit, then take some time and make the necessary adjustments. And once you’re done, you might even post the before and after shots on social media.