Beginner's Guide to Using a Camera and Taking Photos
-
 Loading...
 - Adelino Langa
- 06 Feb 2025
- 35 Views
- 0 Like
- 0 Comment
Getting started with photography can be an exciting journey! Here’s a simple guide to help you understand how to use a camera and take great photos.
1. Familiarize Yourself with Your Camera
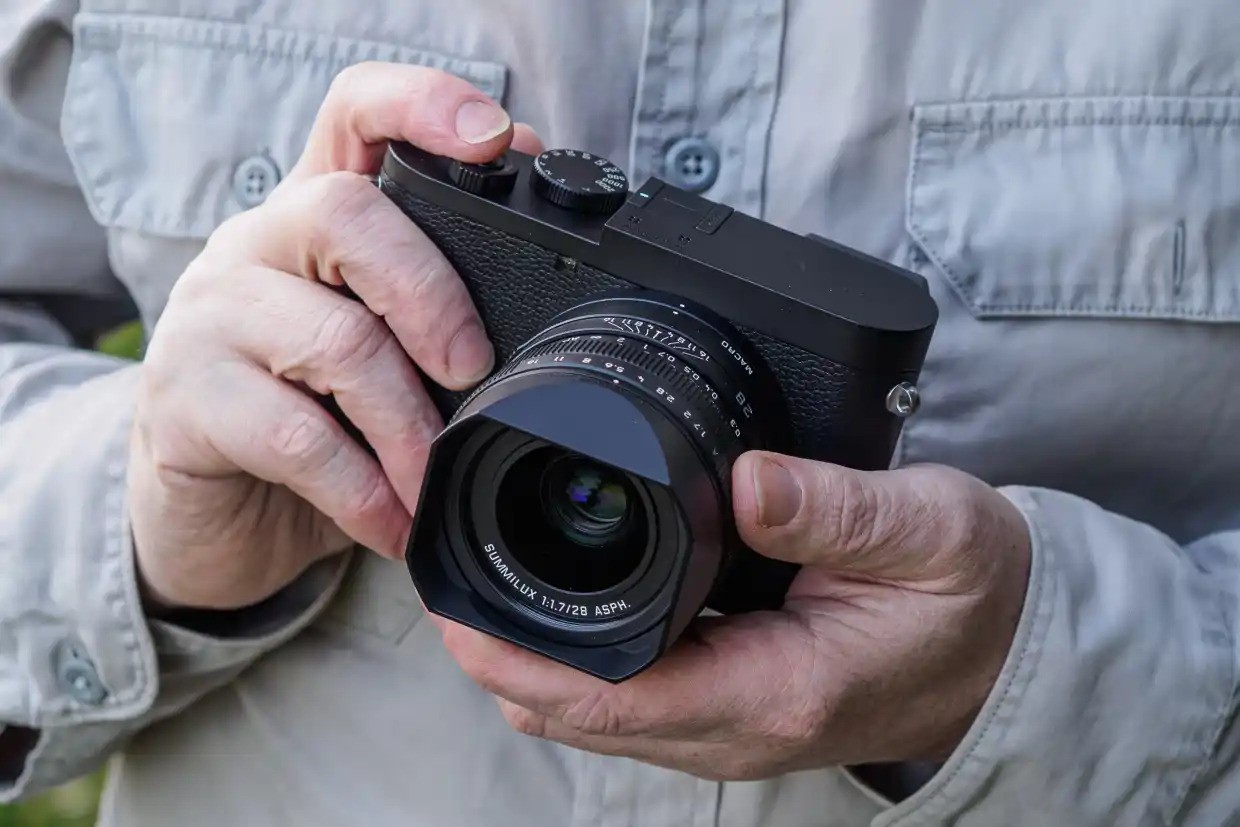
Types of Cameras: Understand the type of camera you have (DSLR, mirrorless, compact, or smartphone) and its basic functions.
Camera Controls: Learn the layout of your camera, including the shutter button, mode dial, lens, viewfinder, and LCD screen.
2. Understand Basic Camera Settings
Aperture (f-stop): Controls the amount of light entering the camera and affects depth of field. A lower f-stop (e.g., f/2.8) means a wider aperture, resulting in a blurred background, while a higher f-stop (e.g., f/16) keeps more of the scene in focus.
Shutter Speed: Determines how long the camera’s shutter is open. A fast shutter speed (e.g., 1/1000 sec) freezes motion, while a slow shutter speed (e.g., 1/30 sec) can create motion blur.
ISO: Measures the camera's sensitivity to light. A lower ISO (e.g., 100) is best for bright conditions, while a higher ISO (e.g., 1600) is useful in low light but can introduce noise.
3. Choose the Right Shooting Mode
Auto Mode: Ideal for beginners; the camera makes all the decisions for you.
Program Mode (P): Allows some control over settings while the camera still manages exposure.
Aperture Priority (Av or A): You set the aperture, and the camera adjusts the shutter speed.
Shutter Priority (Tv or S): You set the shutter speed, and the camera adjusts the aperture.
Manual Mode (M): Gives you full control over all settings, allowing for creative flexibility.
4. Composition Techniques
Rule of Thirds: Imagine your frame divided into a 3x3 grid. Place your subject along these lines or at their intersections for a balanced composition.
Leading Lines: Use natural lines in the scene (like roads or rivers) to lead the viewer’s eye to the subject.
Framing: Use elements in the scene to frame your subject, adding depth and focus.
Perspective: Experiment with different angles and heights to find unique perspectives.
5. Lighting Considerations
Natural Light: The best times for outdoor photography are during the golden hour (shortly after sunrise or before sunset) when the light is soft and warm.
Avoid Harsh Light: Midday sun can create harsh shadows. If shooting during this time, look for shaded areas or use reflectors to soften the light.
Use Flash Wisely: In low-light situations, use your camera’s flash or an external flash to illuminate your subject, but be mindful of overexposure.
6. Practice and Experiment
Take Lots of Photos: The more you shoot, the better you’ll understand your camera and develop your style.
Try Different Settings: Experiment with various settings, compositions, and lighting conditions to see how they affect your photos.
Review and Learn: After each shoot, review your photos to identify what worked and what didn’t. This will help you improve over time.
7. Post-Processing
Editing Software: Familiarize yourself with basic photo editing software (like Adobe Lightroom or Photoshop) to enhance your images.
Adjustments: Learn to adjust exposure, contrast, saturation, and sharpness to improve your photos.
8. Join a Community
Photography Groups: Consider joining local or online photography groups to share your work, receive feedback, and learn from others.
Workshops and Classes: Participate in workshops or classes to gain hands-on experience and learn from professionals.
Photography is a skill that improves with practice and experimentation. By understanding your camera, mastering basic settings, and applying composition techniques, you’ll be well on your way to capturing stunning images.