Edit Your Images Faster With Lightroom's AI Masks
Adobe's Lightroom masking feature introduced just under a year ago revolutionized the workflow for many photographers by automating the tedious task of creating individual masks for specific parts of an image. This AI masking feature allows photographers to easily separate the foreground from the background, easily break down the parts of a portrait, and apply various edits to each individual part.
Object selection was added to help define and edit individual parts of an image. All these helped speed up a photographer's workflow, allowing time to focus on the creative side of photography.
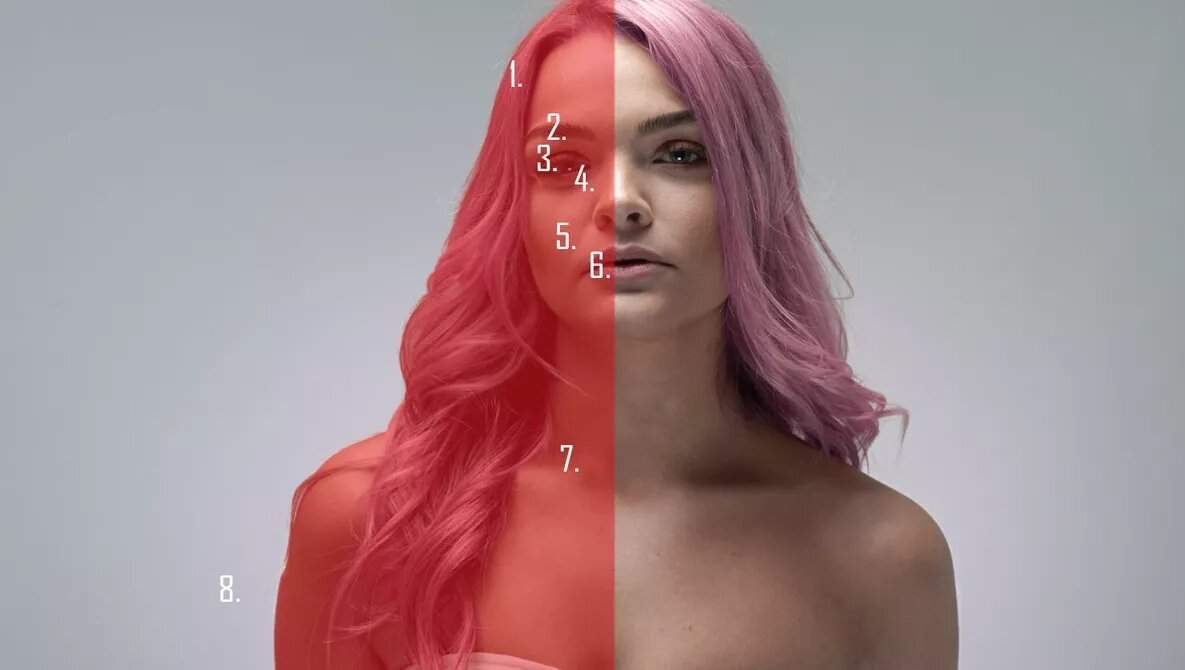
In the latest update, 24.2, you now have the ability to carry these edits through all your images from a set via AI technology. The masks that you set the parameters for are now saved and applied to all your images thanks to AI technology. If your model moves position in your shoot, the AI calculates the masks relative to the new position and applies them to hair, face, skin, pupils, and whatever you have set the mask's edits to, speeding up your entire editing process. There are some caveats that I have found, but I'll get to those at the end.
In this article, we'll be looking at the basic forms of the edits using Person Masks Option. However, it works for other AI masking options and images.
Set Your Edit
Set your baseline for your edits in terms of the basic edits, and then, choose your masks, which, in this case, is the person.

Choose Your Masks
Adobe added the person selection to Lightroom’s masking feature just under a year ago. It detects the person or people within your frame so that you can make individual masks for everyone in the image.
First, select the masking tool, and Lightroom will quickly detect if there are any people in the frame. Read More…


