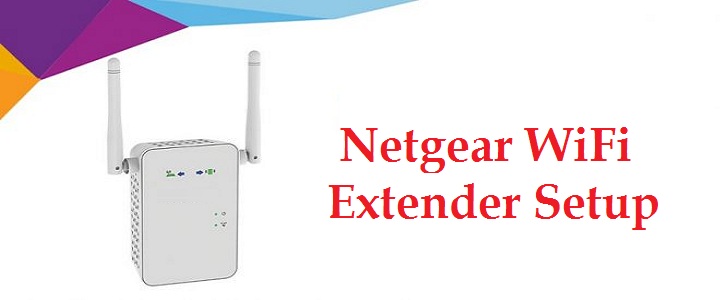
Follow These Prompts and Complete Your Netgear Extender Setup
-
 Loading...
 - Ashly Wilsin
- 13 Dec 2021
- 561 Views
- 0 Like
- 0 Comment
Netgear range extender is a plug and play device. It also comes with a Netgear Extender Manual which guides you through the process of how to setup Netgear WiFi extender. But the Netgear extender setup instructions given in the manual are quite hard to understand for a regular user. As the manual is very small in size, so it often gets misplaced or lost while unpacking the new WiFi range extender. That’s why it is best to know how to setup Netgear extender using the installation steps mentioned here. In case of any doubt with the Netgear setup extender process, you can also get in touch with experts at any time.
Before we help you with how to setup Netgear WiFi extender, let’s first discuss the prerequisites used for Netgear Extender Setup.
Netgear Extender Setup Essentials
It is extremely easy to perform the Netgear range extender setup and configuration. But before getting started with the Netgear Extender Setup, you must have the following things along with you:
1- The extender’s proximity to the router. In layman’s language, the extender and the existing WiFi router should be placed in the same room.
2- The WiFi range extender must receive a proper and fluctuation-free power supply from the wall socket.
3- Followed by it, you must access a high-speed internet connection throughout the Netgear Extender Setup process.
4- Next comes an internet browser. However, it is suggested you install more than two web browsers on your computer or laptop. It may happen that you fail to access the default Netgear Extender Login page just because of the web browser issue. In this scenario, you can opt for another browser (as you have options!).
5- Using a WiFi extender is a good idea to solve the problem of poor internet connection in some areas of your house or workplace. Netgear extender is easy to set up, let’s see how to do it.
Once you have all these essentials, you are good to go with the Netgear Extender Setup process.
Netgear WiFi Extender Setup – Ethernet Method
In the event that your home wireless router doesn’t support WPS, use an Ethernet cable connection for Netgear range extender setup. Let’s shed some light on how to perform Netgear WiFi extender setup using the Ethernet method:
1- Keep your Netgear range extender in the same room as that of your WiFi router.
2- Take an Ethernet cable and insert its one end into the extender while another to your home router.
3- Now, power on your extender and router.
4- Have access to your PC or laptop and launch your preferred web browser.
5- Type mywifiext.net in the address bar and press the Enter key.
6- The Netgear WiFi extender setup page displays.
7- Create an account using your email ID and password.
8- After that, choose the WiFi network you wish to extend.
9- Hit the Continue button.
10- Enter the security settings for your extended WiFi network.
11- Click on the Continue button.
12- Let the extender apply the setting changes.
Finally, hit the Finish button to complete the Netgear WiFi range extender setup process.
Netgear WiFi Extender Setup
In this way, you can perform the new extender setup via an Ethernet connection. Netgear_ext SSID will be the name for the new, extended wireless network. So, connect all your devices to this network and enjoy uninterrupted internet connection all over the house. If case you get stuck at any step, contact our experts and know how to setup Netgear WiFi extender without any hassle.
Setup wifi extender netgear - When setting up Netgear extender, it is recommended to place the extender and WiFi router nearby. If you’re using an ethernet connection, you can use an ethernet cable.
Setup your Wifi Extender
Step 1: Connecting to the same internet network.
1- Connect your Wifi extender to a power outlet nearby.
2- Press the Power LED button until it is green.
3- Now you’ve to connect your extender to the Wifi enabled device such as your computer which you can do in two ways.
4- Connect to the device using an ethernet cable via an ethernet port if you’re using a wired internet connection.
5- Otherwise, go to the WiFi connection manager on your WiFi-connected device and search for NETGEAR_EXT. Connect to this network.
Step 2: SETUP Netgear Extender
1- Open a browser on the mentioned device.
2- Go to http://192.168.1.250
3- Somewhere you should see NEW EXTENDER SETUP. Click or tap on it.
4- You’ll be asked to enter various credentials, create an account if you hadn’t already.
5- Set the access point to Extender. The access points could also be written as Extender Switch.
6- Choose the WiFi network you want to extend. When asked for a password(passphrase), enter the same as of your WiFi router.
7- Now you get to set the SSID, which is the network name, and the password for a device to connect to your extender.
8- You can choose a different SSID and password or use the One WiFi Name thing to use the same network name and password for your extender.
9- Now connect the device you’ve connected to WiFi to the WiFi Extender network we set up just now.
10- Once you’re sure it’s done, you’ll be taken to registration, which you can skip unless you want to use Netgear Telephone Support.
Your WiFi Extender is Set Up and ready to rock.
Step 3: Using the WiFi Network Extender for poor internet places:
1- You’ll have to find an electrical outlet where you want to use the extender.
2- For efficient connectivity, I recommend halfway through the distance between the bad internet area and WiFi router.
3- Connect to the power outlet and turn the power button light green. That indicates it’s on.
4- Now we are going to take the help of Router Link LED light for finding the best spot.
5- Start from halfway, and move it closer if the light isn’t bright green or amber.
6- The red light indicates you have to move it more closely.
7- Once done, connect your device and enjoy the internet.