How to Create Awesome Photos by Painting With Light
-
 Loading...
 - Reeta Korhonen
- 11 Jul 2022
- 116 Views
- 0 Like
- 0 Comment
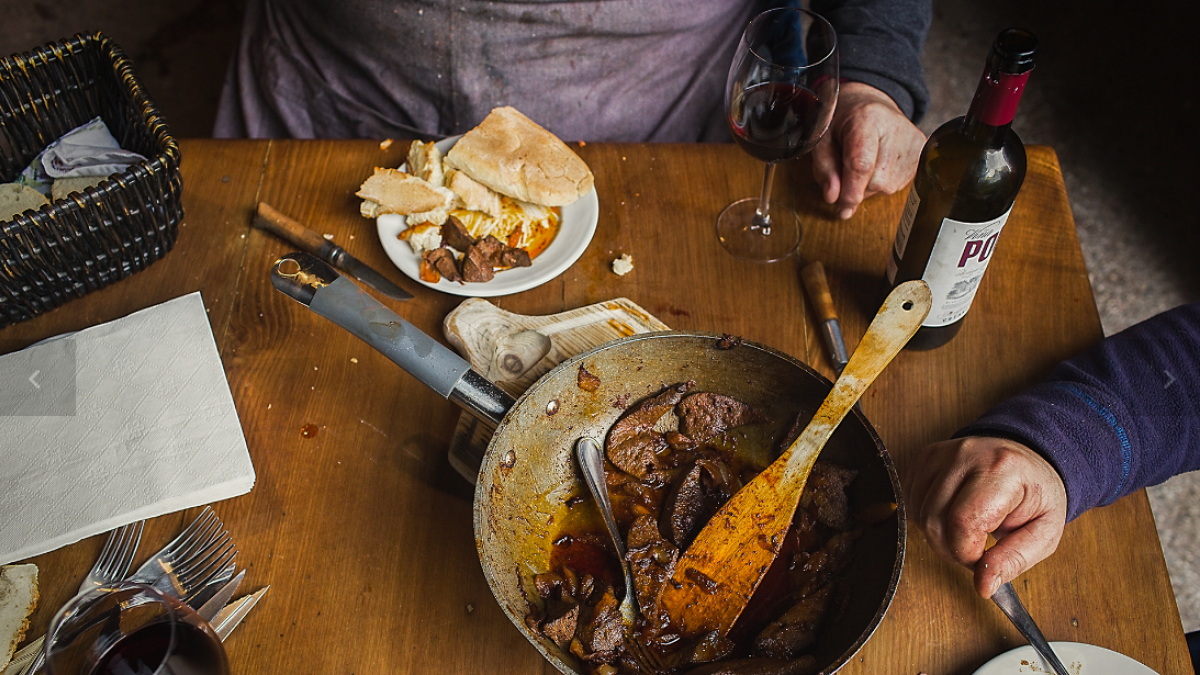
Painting with light is a great way to learn more about long exposure photography, as well as be creative in different ways, letting you create cool looking photos even when you might be lacking natural light or an interesting scene to photograph. Or you can use it to light up a scene in new ways. In this guide, we’ll take you through the process and the different ways you can use light painting to make great photos and more importantly, have some fun along the way.

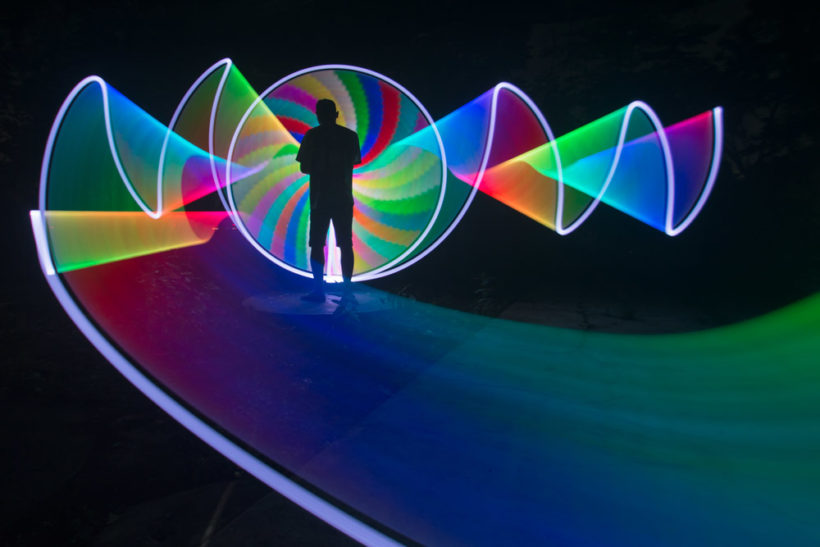
What is painting with light?
According to Jason D. Page, artist and founder of the Light Painting Photography website (www.lightpaintingphotography.com), there are three types of light painting:
- Light Drawing, whereby a light source is used to draw in the frame
- Kinetic Light Painting, where the lights in the scene are stationary and the camera is moved
- Light Painting, where a handheld light is used to illuminate specific parts of the scene
For the purposes of this article we will be covering the first and third types, under the umbrella term ‘light painting’. Basically, light painting can be summed up as using a light-emitting device to ‘draw’ in the frame, or highlight certain elements, during a long exposure.
Finding a good subject for light painting is easy – you can effectively trace a light around any clearly defined shape, but bikes, phone boxes and cars work especially well. You can also unleash your inner Picasso and try ‘drawing’ in the air using flowing curves or jagged lines. The most important thing is to practice – your first attempt is unlikely to be your finest, but it’s almost certain to ignite a spark that will keep you fired up through the cold autumn nights.

Most people paint with light because it’s fun, and the resulting images provide a fresh take on everyday scenes, but it’s also a great way to improve your photographic technique: you will learn how your sensor performs in low light, for example, and how a change in shutter speed can alter the mood of a picture. What’s more, you will learn a great deal about prefocusing, and even setting up your tripod in the most efficient and time-saving way. What’s not to like?
What equipment do you need?
Painting with light requires merely a light source, a dark space, a camera with manually adjustable shutter speed, and a tripod – nothing more. Naturally, you can buy all kinds of adapters and accessories to perfect the technique, but to begin with it’s best to keep things simple.
For the same reason it’s preferable to shoot in a location where there is minimal ambient light. When you are using long exposures even the weakest light source can have an effect on the final exposure. But you don’t need to descend into a cave to simulate blackout conditions, you can get perfectly respectable light painting pictures in the garden, or indoors, as long as you shoot at night. Once you become more experienced you can use some sympathetically placed ambient light to illuminate attractive backgrounds while you paint away in the foreground. Read More...