How to Fix Blurry Pictures and Take Tack Sharp Photos
-
 Loading...
 - Mariana Vargas
- 22 Jul 2022
- 98 Views
- 0 Like
- 0 Comment
Let’s consider a situation. You went out for a photo shoot with your trusty camera or phone. On location, all the photos looked sharp on the small screen and when you returned to base and opened the photos on your computer you found some photos had missed focus. Worse in some photos the entire image seemed shaken and out of focus.
In this article, we will examine why images are unsharp and discuss some methods to overcome them. Most of these techniques apply to both photos and video. It’s also mostly independent of whether you took the photo on a camera phone or a high-end DSLR or mirrorless.
Problem #1: Camera Shake
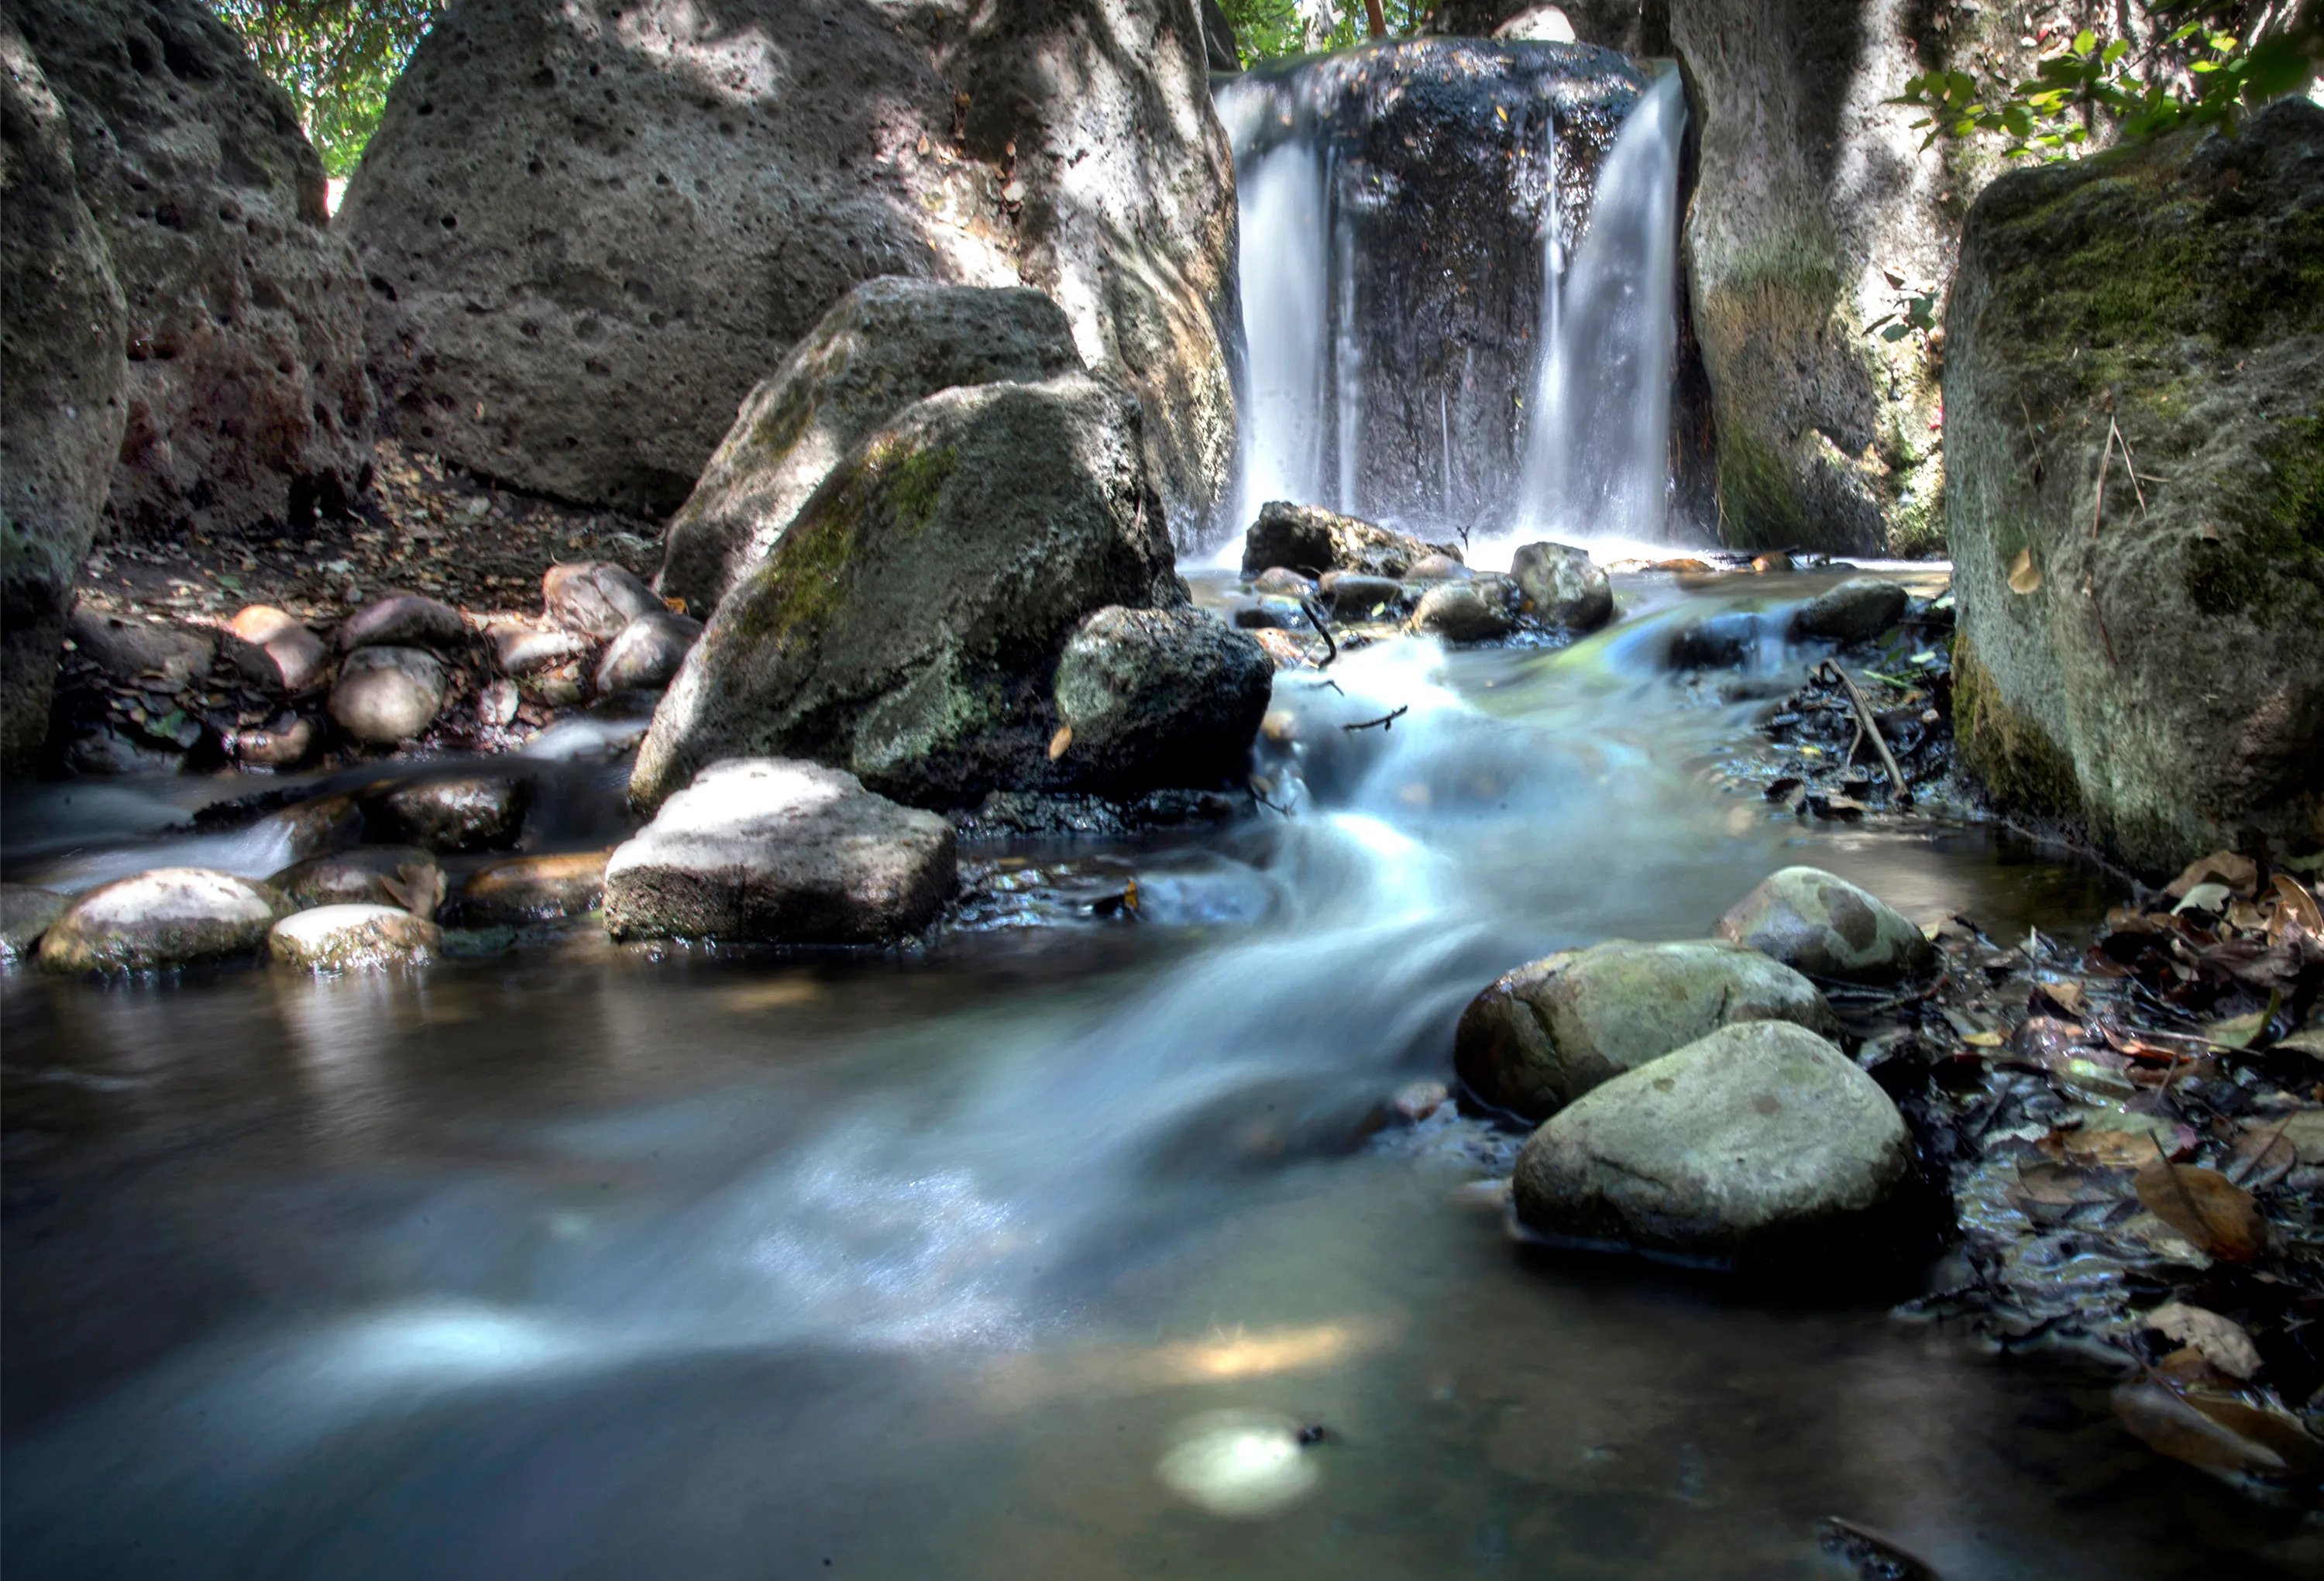
First, let’s begin with understanding how a camera captures the image when you press the shutter button. The shutter opens for the duration set by the shutter speed and light falling on the camera sensor during this time gets captured as the image. And if the shutter speed is sufficiently slow it will capture light for a longer duration and along with it the movement of the light (in this case the reflection of the light from the subject).
If during the time frame when the shutter is open to capture, the camera is moved or shaken even by a tiny amount the movement gets recorded and the entire image (including the foreground and background) seems blurred especially at the edges. Single dots would turn into blurred lines in the image.

Camera shake happens even when you try to take a handheld image with the most stable hands you can imagine. If you hold up your hand at a distance and watch your fingertips you will find micro-vibrations and this gets translated to your camera too and eventually the image.
Solution: Use a Fast Shutter Speed
The first thing which you should try is to have the shutter speed as fast as possible. Maybe over 1/500 or even 1/1000. The faster the shutter speed the less camera movement gets captured and the sharper would be the image.
A commonly stated rule of thumb to reduce camera blur is to keep your shutter speed equal to your focal length when hand-holding your camera. So for example, if you are shooting with a focal length of 200 mm (full-frame equivalent) then ideally your shutter speed should not be less than 1/200th of a second.
This is just a general tip to keep in mind and it should be used with caution since this rule is rather old and does not factor in today’s modern camera technologies. You may be able to get away with using slower shutter speeds depending on your camera and lens.
Solution: Turn on Image Stabilization
Most modern lenses and even camera bodies have built-in image stabilization which is extremely suited for handheld shots. It’s advisable to have it on all the time, except for certain times which we will see later on.


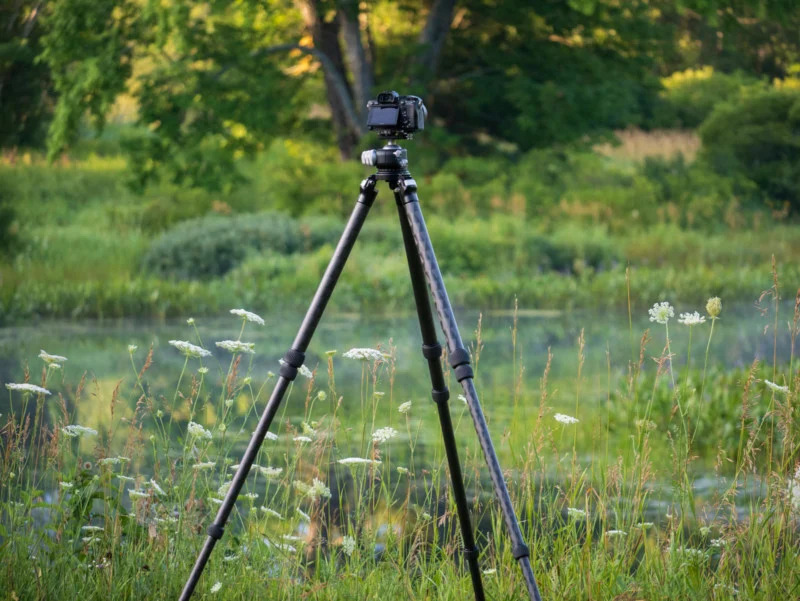
Solution: Use a Tripod
The most sure-fire way to reduce camera blur is to use the trusty tripod. Even while using the tripod if you want to reduce the minutest of vibrations (especially if you are doing astrophotography and the shutter duration is well beyond 10 – 15 seconds) incorporate these three settings/practices:
1. Use a remote shutter or a shutter release cable or use a timer to trigger the camera. Pressing the button to trigger the shutter causes a very small vibration which can affect the final image
2. Turn off the in-body stabilization (if the camera supports it) or the lens stabilization (if the lens supports it). These systems cannot detect whether the camera is handheld or on a tripod and thus might try to fiddle with the lens and actually create micro-vibrations even on a steady tripod)
3. Remove the camera strap or for that matter, anything hanging from your camera or tripod since these might get flung around in the wind and ruin your long-exposure shot. Read More...