How to Get Started in Film Photography: A Step-by-Step Guide
-
 Loading...
 - Eva Reilly
- 11 Oct 2024
- 57 Views
- 0 Like
- 0 Comment
Film photography is experiencing a resurgence in popularity as people seek out the tactile, artistic, and nostalgic experience it offers. Unlike digital photography, film photography requires a different approach, from selecting the right camera and film to understanding how to expose and develop photos. If you’re ready to dive into the world of film photography, this guide will help you get started.
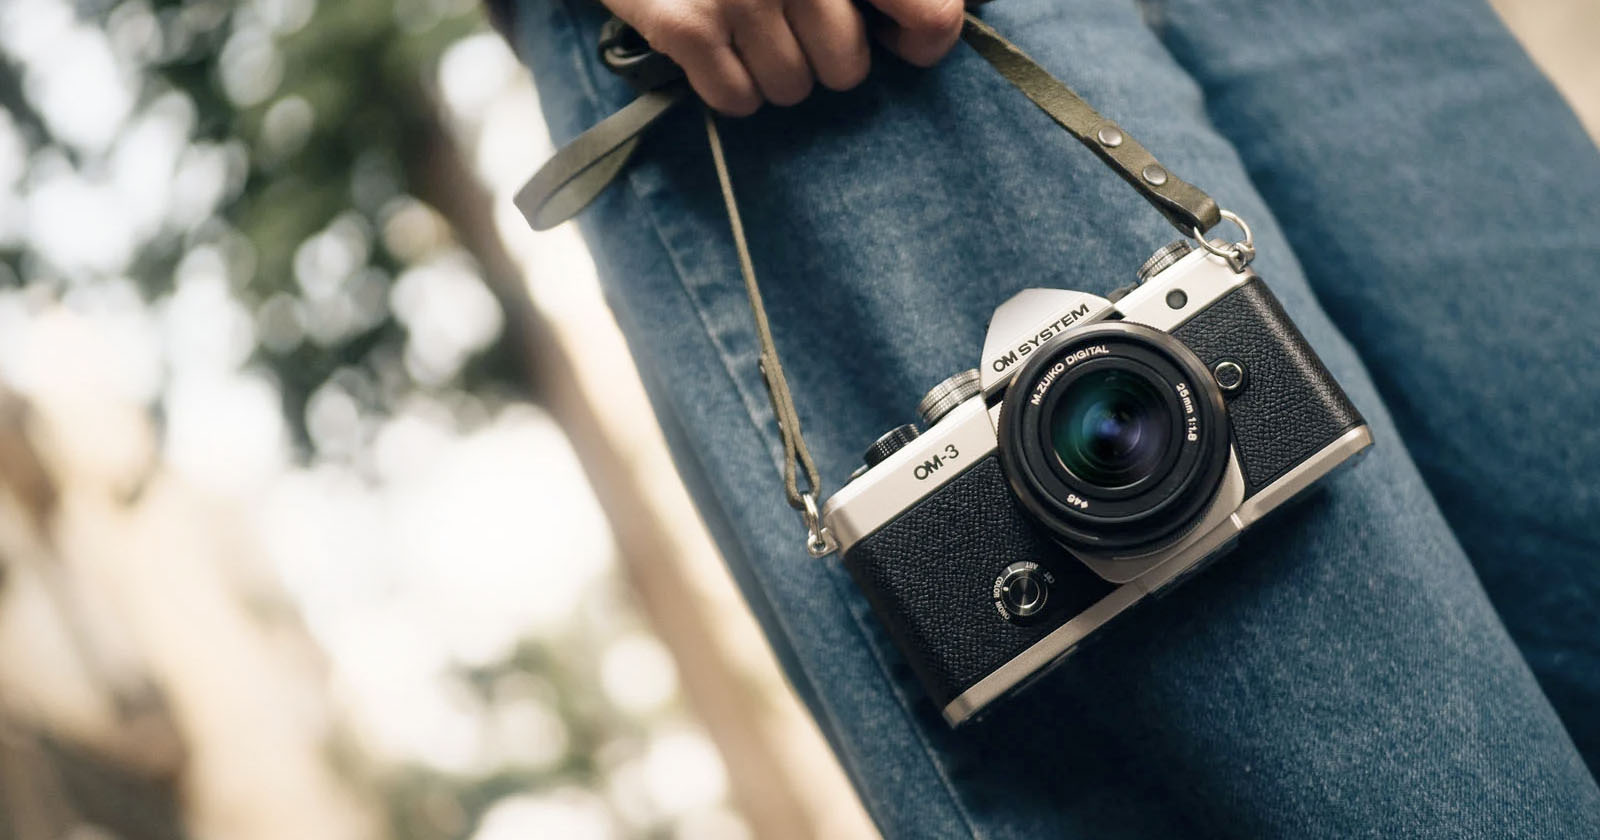
1. Choose Your Camera: 35mm vs. Medium Format
The first step in film photography is selecting the right camera. Most beginners start with a 35mm camera, but medium format cameras are also an option for those looking for higher image quality and larger negatives.
35mm Cameras:
- Best for beginners: 35mm cameras are more affordable, widely available, and have a larger selection of films.
- Easy to use: Most models have automatic exposure modes, making them great for beginners.
- Portability: Compact and lightweight, making them ideal for everyday use.
- Recommended models: Canon AE-1, Nikon FM, Pentax K1000, Olympus OM-1.
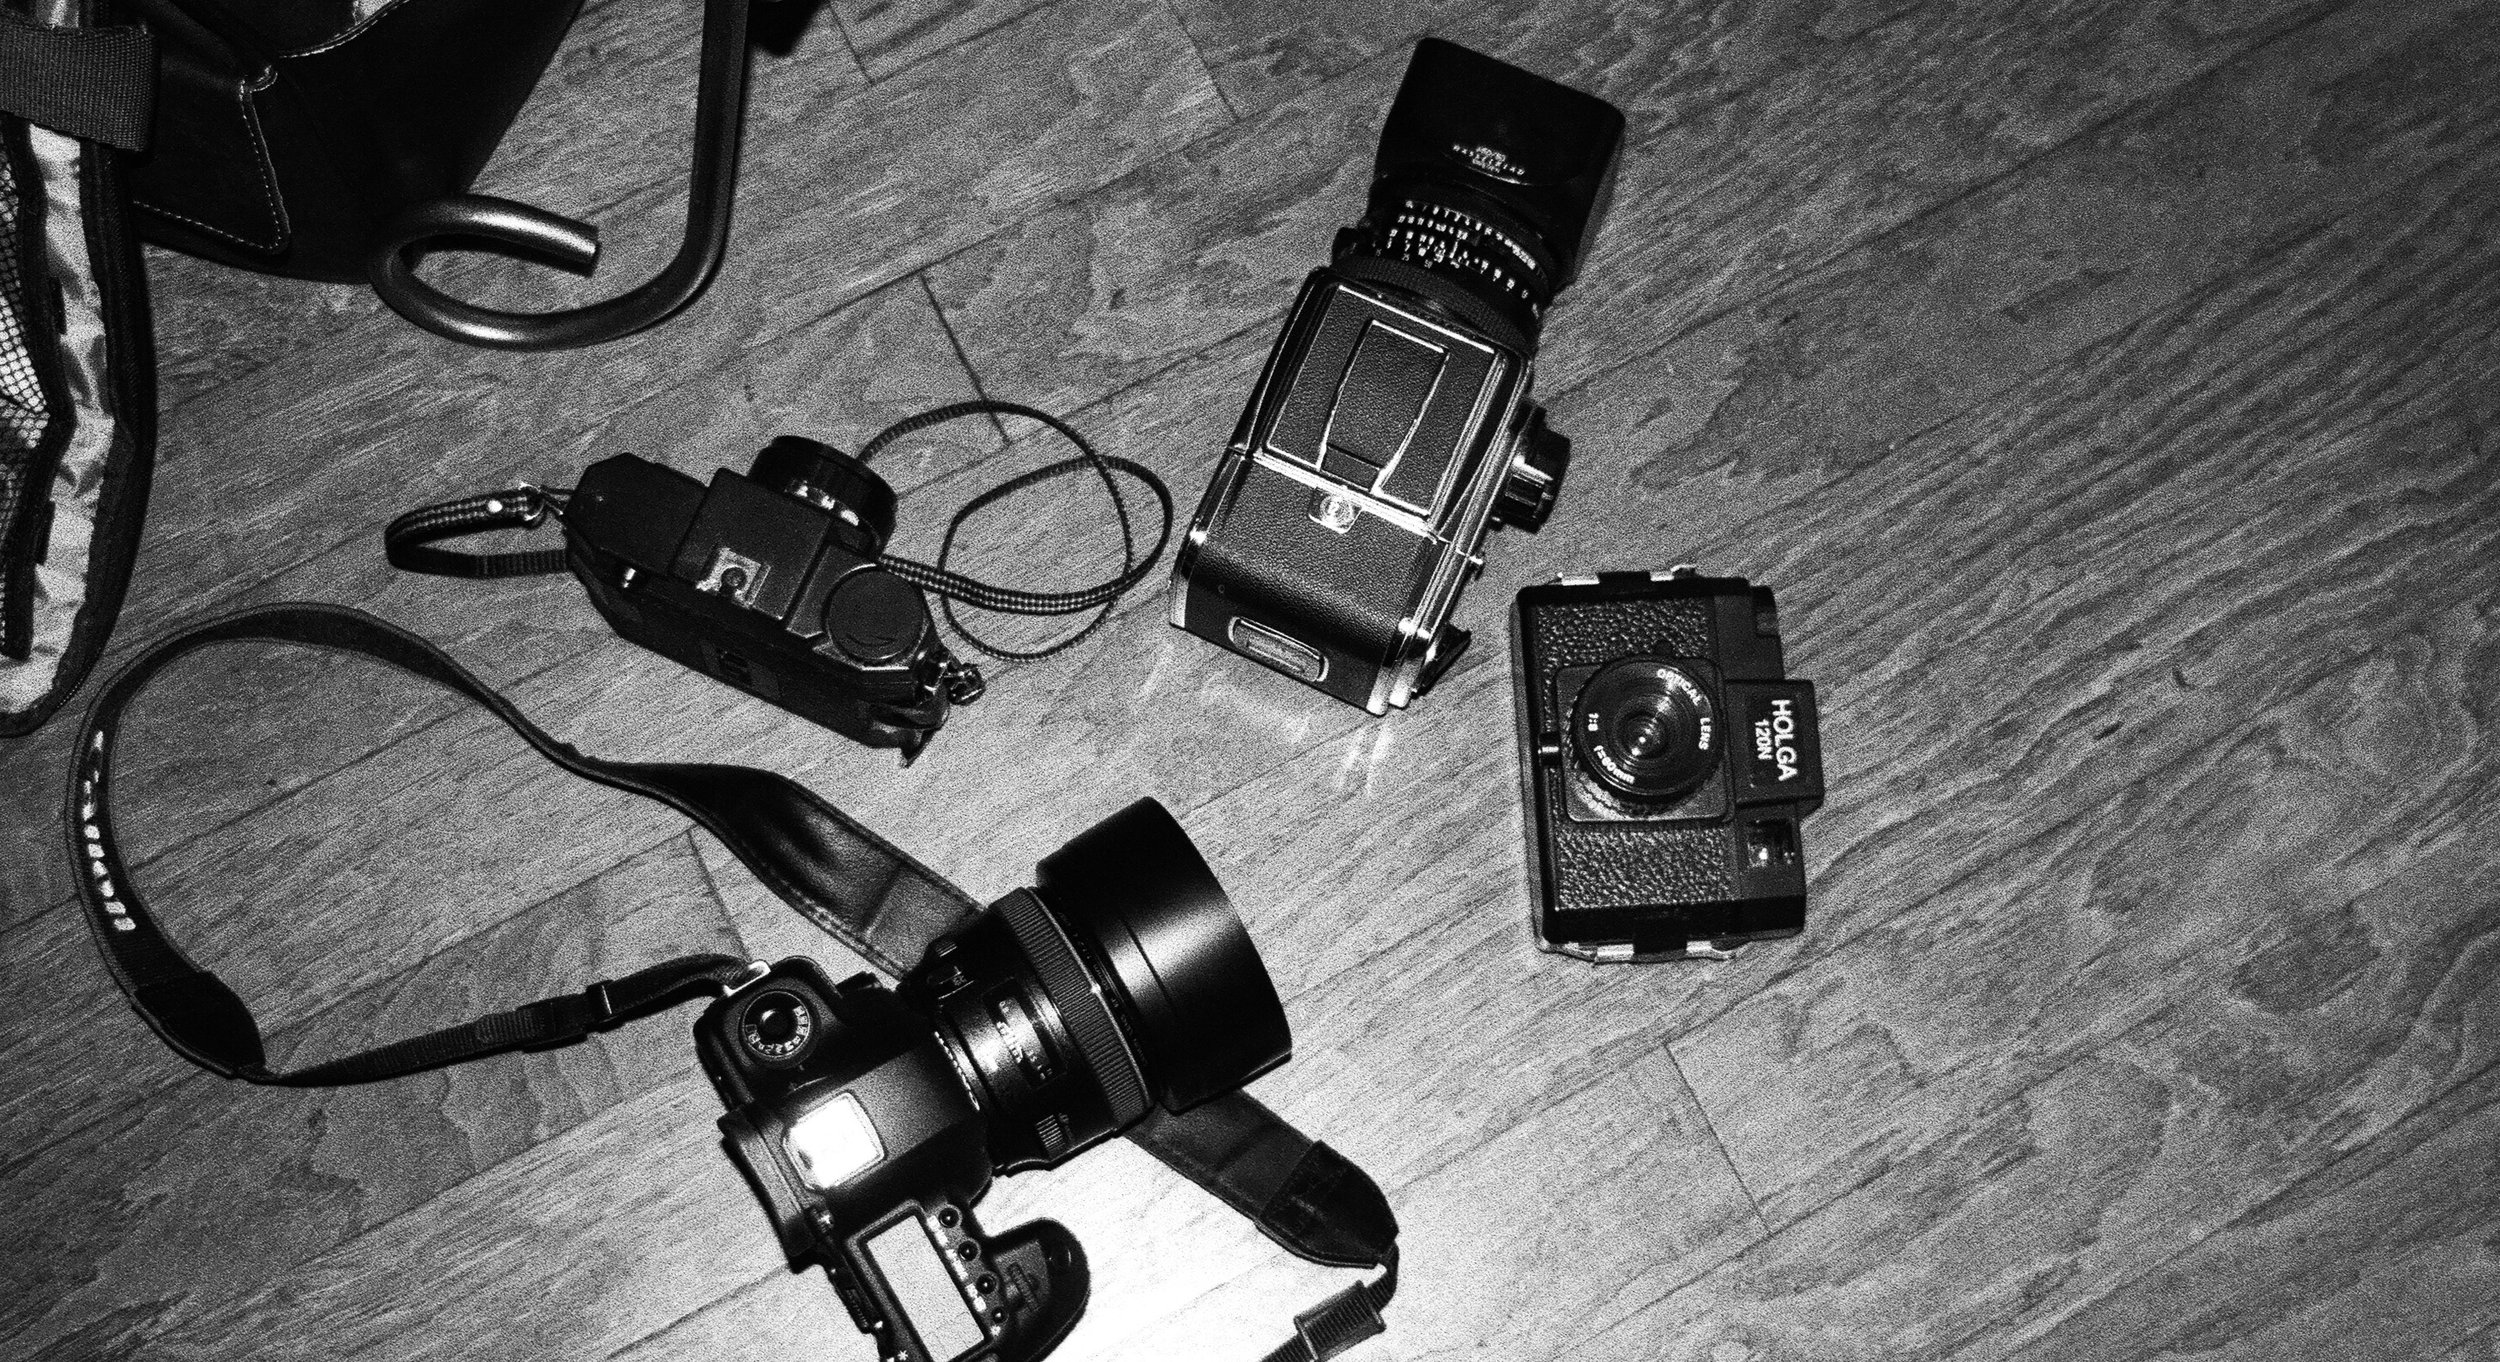
Medium Format Cameras:
Larger negatives: Offer better detail and resolution, but film is more expensive, and the cameras are bulkier.
Slower process: These cameras often require manual settings and more careful composition.
Recommended models: Mamiya RB67, Hasselblad 500CM, Yashica Mat-124G.
If you’re just getting started, a 35mm camera is typically the best choice, as it offers flexibility, affordability, and ease of use.
2. Understanding Film Types
Next, you’ll need to choose the right type of film. Different films have different characteristics, from color and contrast to grain and texture. Here’s a breakdown of the most common film types:
Black and White Film:
- Classic look: Offers timeless, high-contrast images.
- Easier to develop at home: Black and white film processing is simpler than color film.
- Recommended films: Ilford HP5 Plus, Kodak Tri-X, Fomapan 400.
Color Negative Film:
- Versatile and forgiving: Great for general use, especially for beginners. Offers rich colors and tones.
- Easier to scan: Color negative film is often easier to digitize and edit later.
- Recommended films: Kodak Portra 400 (for portraits), Fujifilm Superia X-TRA (for vibrant colors).
Slide Film (Color Positive):
- High contrast and vibrant colors: Slide film (also called reversal film) offers beautiful, rich colors but has less exposure latitude, meaning you need more precise exposure.
- More expensive: Slide film and processing tend to cost more.
- Recommended films: Fujifilm Velvia, Kodak Ektachrome.
ISO Speed:
- Film speed, or ISO, indicates how sensitive the film is to light:
- Low ISO (50-200): Best for bright conditions, offering finer grain and sharper images.
- Medium ISO (400): Versatile and suitable for a range of lighting conditions.
- High ISO (800-3200): Ideal for low-light situations but produces more noticeable grain.
- Start with ISO 400 film for the best balance between flexibility and image quality.
3. Learn the Basics of Exposure
Understanding how exposure works is crucial in film photography, as there’s no instant feedback like with digital cameras. You’ll need to get familiar with the three key elements of exposure: aperture, shutter speed, and ISO.
Aperture:
- Controls how much light enters the lens and affects depth of field.
- Measured in f-stops (f/2, f/4, f/8, etc.), lower numbers (f/2, f/2.8) allow more light and create shallow depth of field, while higher numbers (f/16, f/22) create deeper focus but let in less light.
Shutter Speed:
- Determines how long the film is exposed to light.
- Measured in fractions of a second (1/500, 1/250, 1/60), faster speeds freeze motion, while slower speeds allow more light but may result in motion blur.
ISO:
- Film’s sensitivity to light. Higher ISO allows for shooting in lower light but can result in grainier images.
A general rule for correct exposure is the Sunny 16 Rule, which suggests setting the aperture to f/16 on a sunny day and matching the shutter speed to the film’s ISO (e.g., if using ISO 400, the shutter speed would be 1/400 or close).
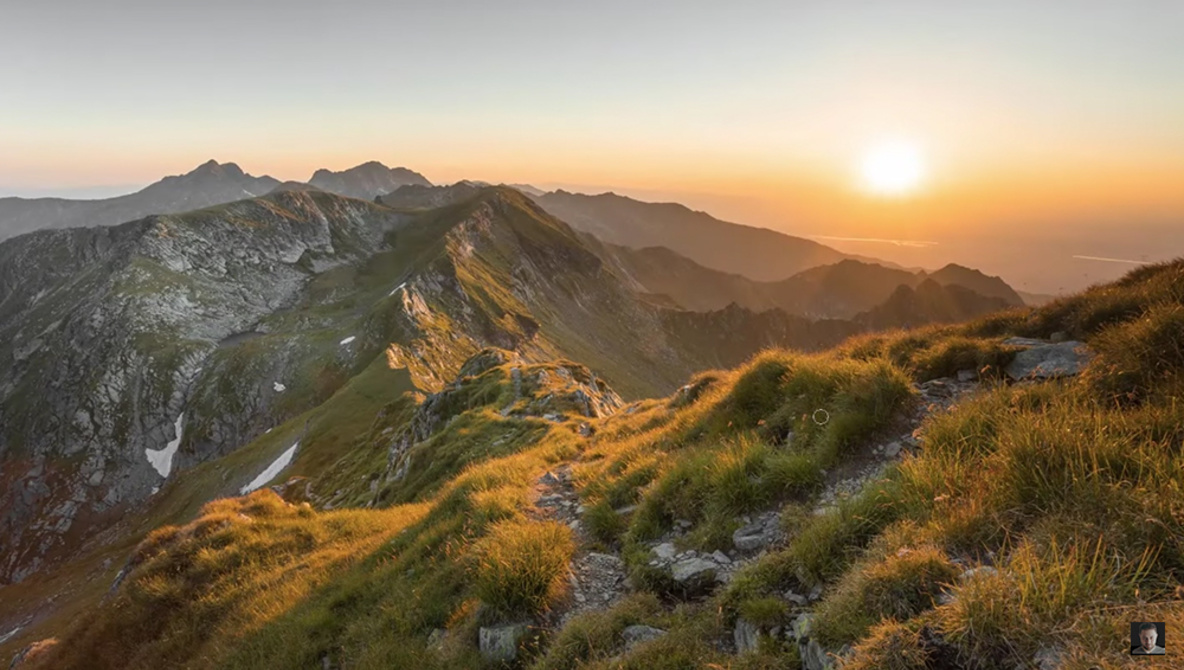
4. Practice Composition
Good composition is essential in film photography, especially because each shot costs money, so you’ll want to make each frame count. Here are some basic principles to keep in mind:
- Rule of Thirds: Imagine dividing your frame into a grid with two horizontal and two vertical lines. Place your subject along these lines or at their intersections for a more balanced image.
- Leading Lines: Use natural lines in your scene (like roads, fences, or rivers) to guide the viewer’s eye toward the subject.
- Frame within a Frame: Use objects in your scene (like windows, doors, or arches) to create a natural frame around your subject.
Since you can’t instantly review your shots, take your time to compose and visualize each photo before pressing the shutter.
5. Developing and Processing Your Film
Once you’ve finished your roll of film, the next step is to develop it. You can either have it developed by a lab or develop it yourself at home. Here’s how to approach both:
Lab Development:
- Most film photography beginners start by sending their rolls to a lab for processing.
- Find a reliable local or online film lab. You’ll send them your exposed film, and they will return negatives and, in some cases, digital scans of your photos.
- Cost: Lab development can be more expensive, especially for color film, but it's convenient.
Home Development:
- If you want more control over the process and to save money in the long run, you can learn to develop film at home.
- Black and white film is the easiest to develop at home, requiring minimal equipment like a developing tank, chemicals (developer, stop bath, fixer), and a thermometer.
- Color film (C-41 process) is more complicated but still doable with the right chemicals and care.
- Once developed, you can scan your negatives using a film scanner to digitize your photos for editing or sharing.
6. Scanning and Printing
After your film has been developed, you may want to digitize your photos for easy storage and sharing.
- Film Scanners: Dedicated film scanners provide high-quality scans of your negatives, allowing you to edit or print your images digitally.
- Flatbed Scanners: These are more affordable and versatile, though they may not provide the same resolution and color accuracy as dedicated film scanners.
Alternatively, you can opt for darkroom printing, which allows you to print your photos on photographic paper, but this requires more equipment and knowledge.
7. Keep Experimenting and Learning
Film photography is a learning process, and it takes time to get comfortable with exposure, composition, and developing. Keep experimenting with different films, techniques, and cameras to find your style.
- Join online communities or local film photography groups to share your work and learn from others.
- Shoot regularly: The more you shoot, the more you’ll understand how different films react to various conditions, allowing you to improve with each roll.
- Keep a notebook: It can be helpful to jot down your settings for each shot when you’re learning so you can see what worked and what didn’t when you get your film developed.
Starting with film photography offers a rewarding blend of creativity and technical skill. By choosing the right camera and film, understanding the basics of exposure, and learning how to develop and scan your film, you’ll be well on your way to mastering the art of film photography. Patience, practice, and a love for the craft will help you capture beautiful images in this timeless medium.