How to Photograph Film Using Your DSLR or Mirrorless Camera
-
 Loading...
 - Casper Dekker
- 01 Apr 2025
- 26 Views
- 0 Like
- 0 Comment
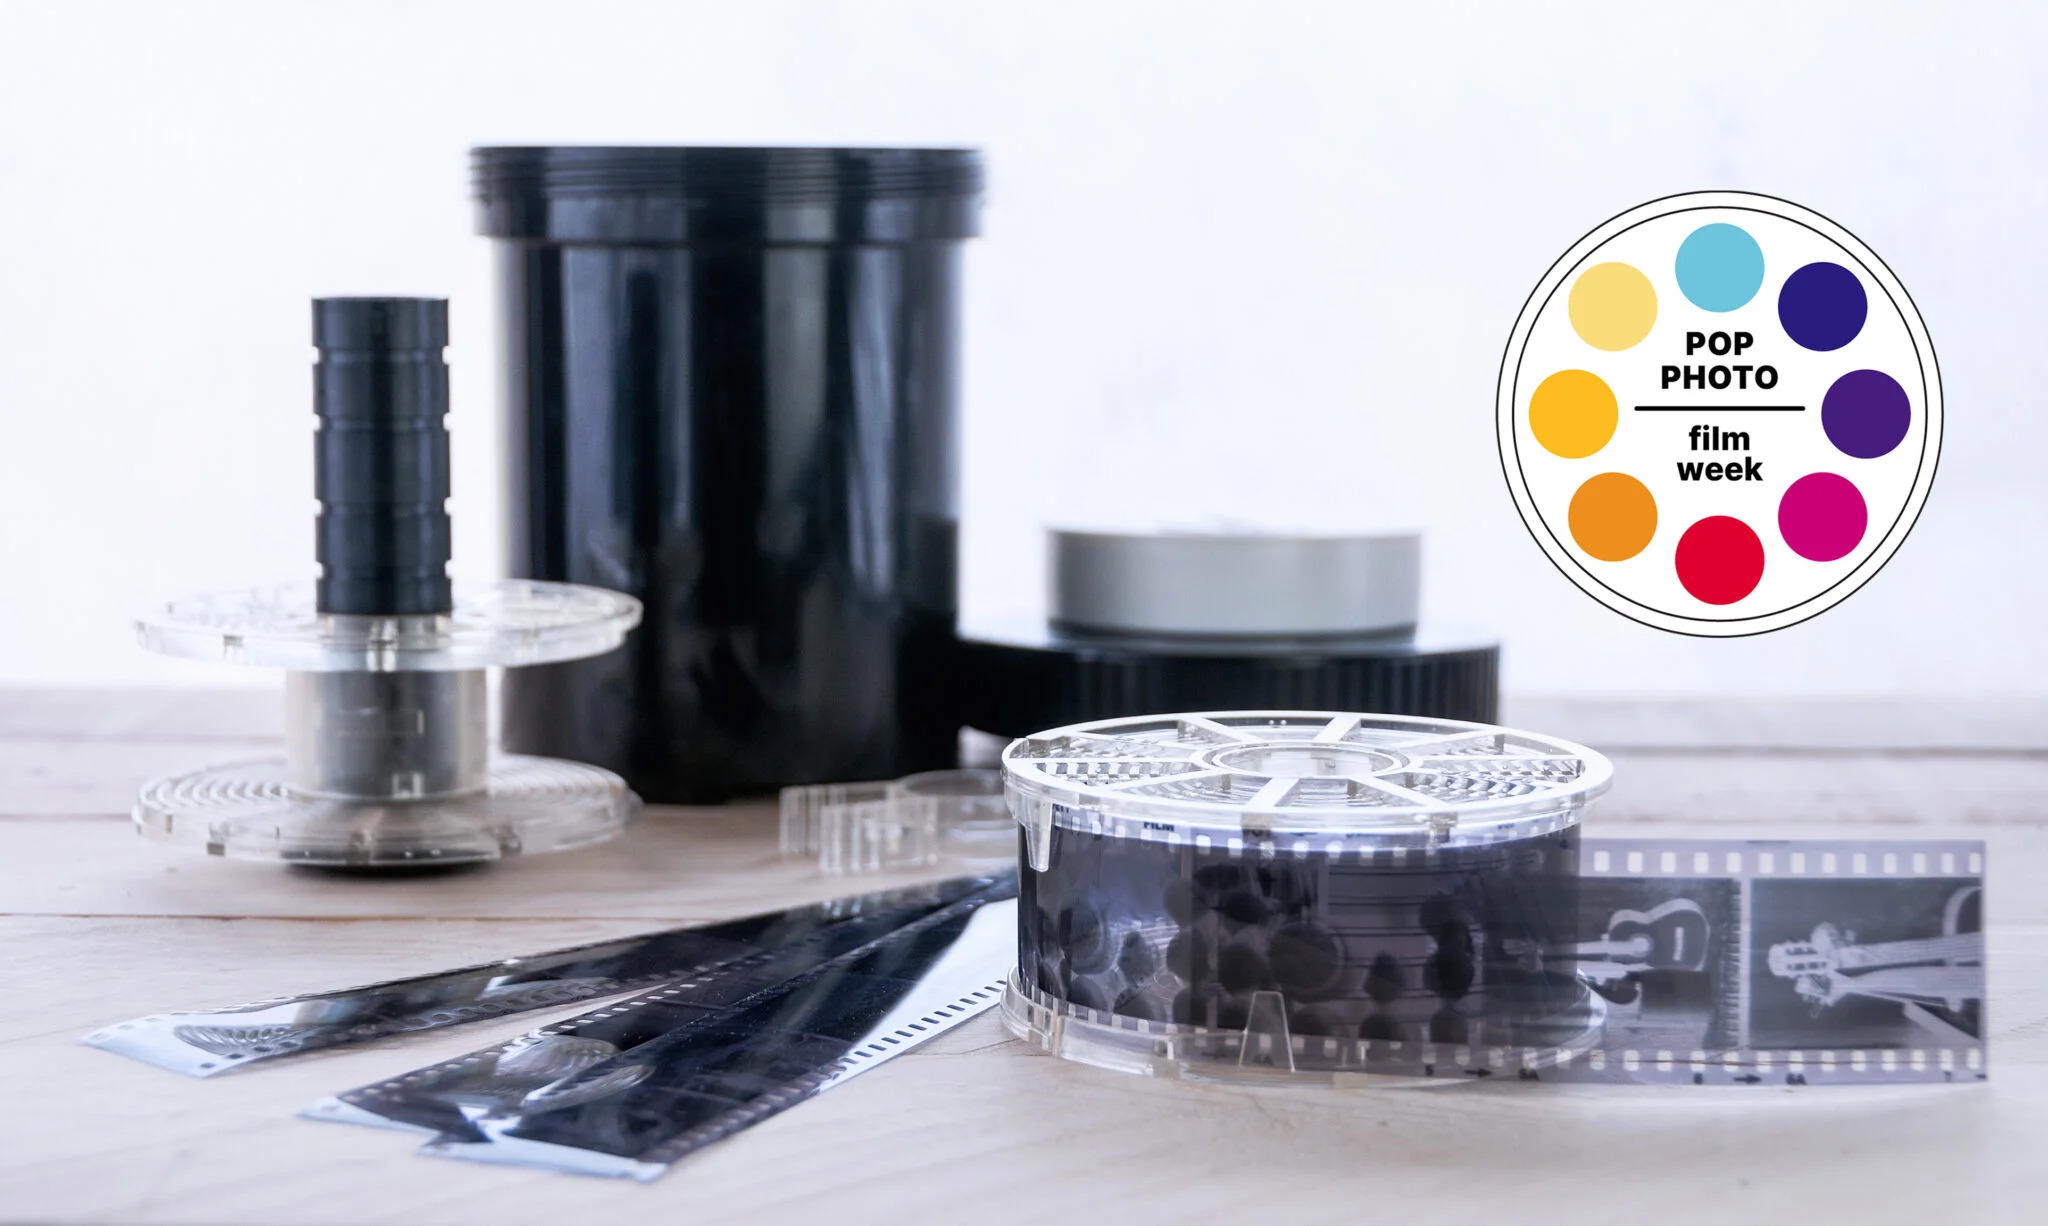
If you have 35mm film negatives and no access to a film scanner, you can digitize your film using your DSLR or mirrorless camera. Here’s a step-by-step guide to help you through the process:
- Use a lightbox, LED panel, or a bright window as your backlight. Ensure the light source is evenly lit.
- Clean the negatives to remove any dust or fingerprints. Use a soft brush or microfiber cloth for this.
- Lay the negatives flat on the light source. If you have a film holder, use it to keep the negatives flat and in place.
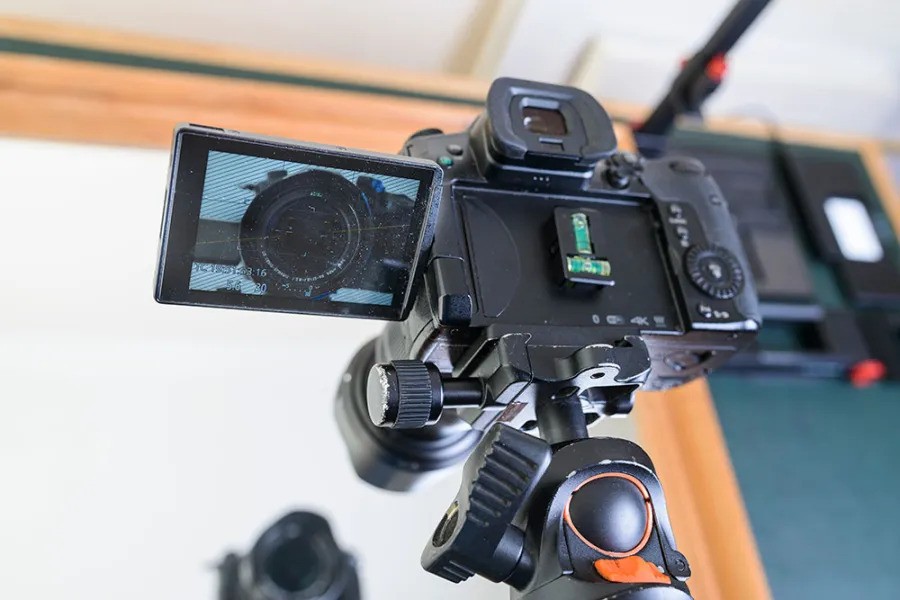
- Mount your camera on a tripod directly above the negatives, ensuring it is parallel to avoid distortion. Attach a macro lens for close-up detail.
- Set your camera to manual mode. Use a small aperture (f/8 to f/16) for sharpness, a low ISO (100 or 200) to minimize noise, and adjust the shutter speed based on the light source.
- Use manual focus to ensure sharpness on the film negatives. Zoom in on the live view to check for clarity.
- Use a remote shutter release or the camera’s timer to take the photo, minimizing camera shake.
- Check the captured image for exposure and focus. Adjust settings as needed and retake the photo if necessary.
- Invert the colors in post-processing software (like Adobe Lightroom or Photoshop) to convert the negatives into positive images. Adjust contrast, brightness, and colors as needed.
Tips for Better Results
- Use a dark background around the light source to reduce reflections.
- Experiment with different lighting angles and intensities for the best results.
- Take multiple shots of the same negative to ensure you capture the best image.
By following these steps, you can effectively digitize your film negatives, preserving your memories and making them easier to share and edit.