Portrait Cropping Guide: Bad Portrait Crops & How to Fix Them
-
 Loading...
 - Jasper Cobus
- 04 Nov 2024
- 43 Views
- 0 Like
- 0 Comment
One of the most frequently asked questions we receive in our photography workshops is about the appropriate places to crop portraits. Cropping can significantly impact the overall composition and feel of an image, and understanding the nuances of where to crop can elevate your portrait photography. In this guide, we’ll explore common cropping mistakes and provide practical tips on how to fix them.
1. Avoid Cropping at the Joints
When it comes to cropping portraits, one of the most important rules is to avoid cropping at the joints. The human body has several joints, and cropping at these points can create an awkward appearance, making it seem like the subject is missing limbs.
Common Joints to Avoid:
- Feet: Cropping at the ankle joint can make it look like the subject has no feet.
- Knees: Cropping at the knee can create a similar effect, making the legs appear truncated.
- Hips: Cropping at the hip joint can also lead to an incomplete look.
- Elbows, Shoulders, and Wrists: These joints should also be avoided when cropping, as they can disrupt the flow of the image.
Instead, aim to crop just above or below these joints to maintain a natural and complete appearance.
2. Use Tapering Points
Another effective cropping technique is to focus on tapering points of the body. Tapering points are areas where the body narrows as it exits the frame. Cropping at these points can create a more flattering and visually appealing image.
Flattering Cropping:
For example, if you crop at the ankle, where the leg tapers down, it creates a more elegant look. Conversely, cropping at wider points, such as the thighs or hips, can make the subject appear wider, which is often less flattering.
Exception for Male Subjects:
When photographing male subjects, it can be beneficial to crop at the shoulders, as this can enhance their broadness and presence in the shot. In this case, allowing the shoulders to broaden as they exit the frame can add to the overall strength of the image.
3. My Favorite Crops
While there are guidelines to follow, there are also creative ways to bend the rules for more dynamic portraits. Here are some of my favorite cropping techniques:
- Cropping at the Shin: Instead of cropping at the ankle joint, crop right at the shin, where the leg tapers down to the ankle. This maintains a natural look while still providing a clean crop.
- Mid-Thigh Cropping: Cropping at mid-thigh is another effective technique, as it allows the leg to taper down to the knee without cutting off at a joint.
- Upper Torso: For portraits that focus on the upper body, cropping at mid-chest can create a strong and engaging composition.
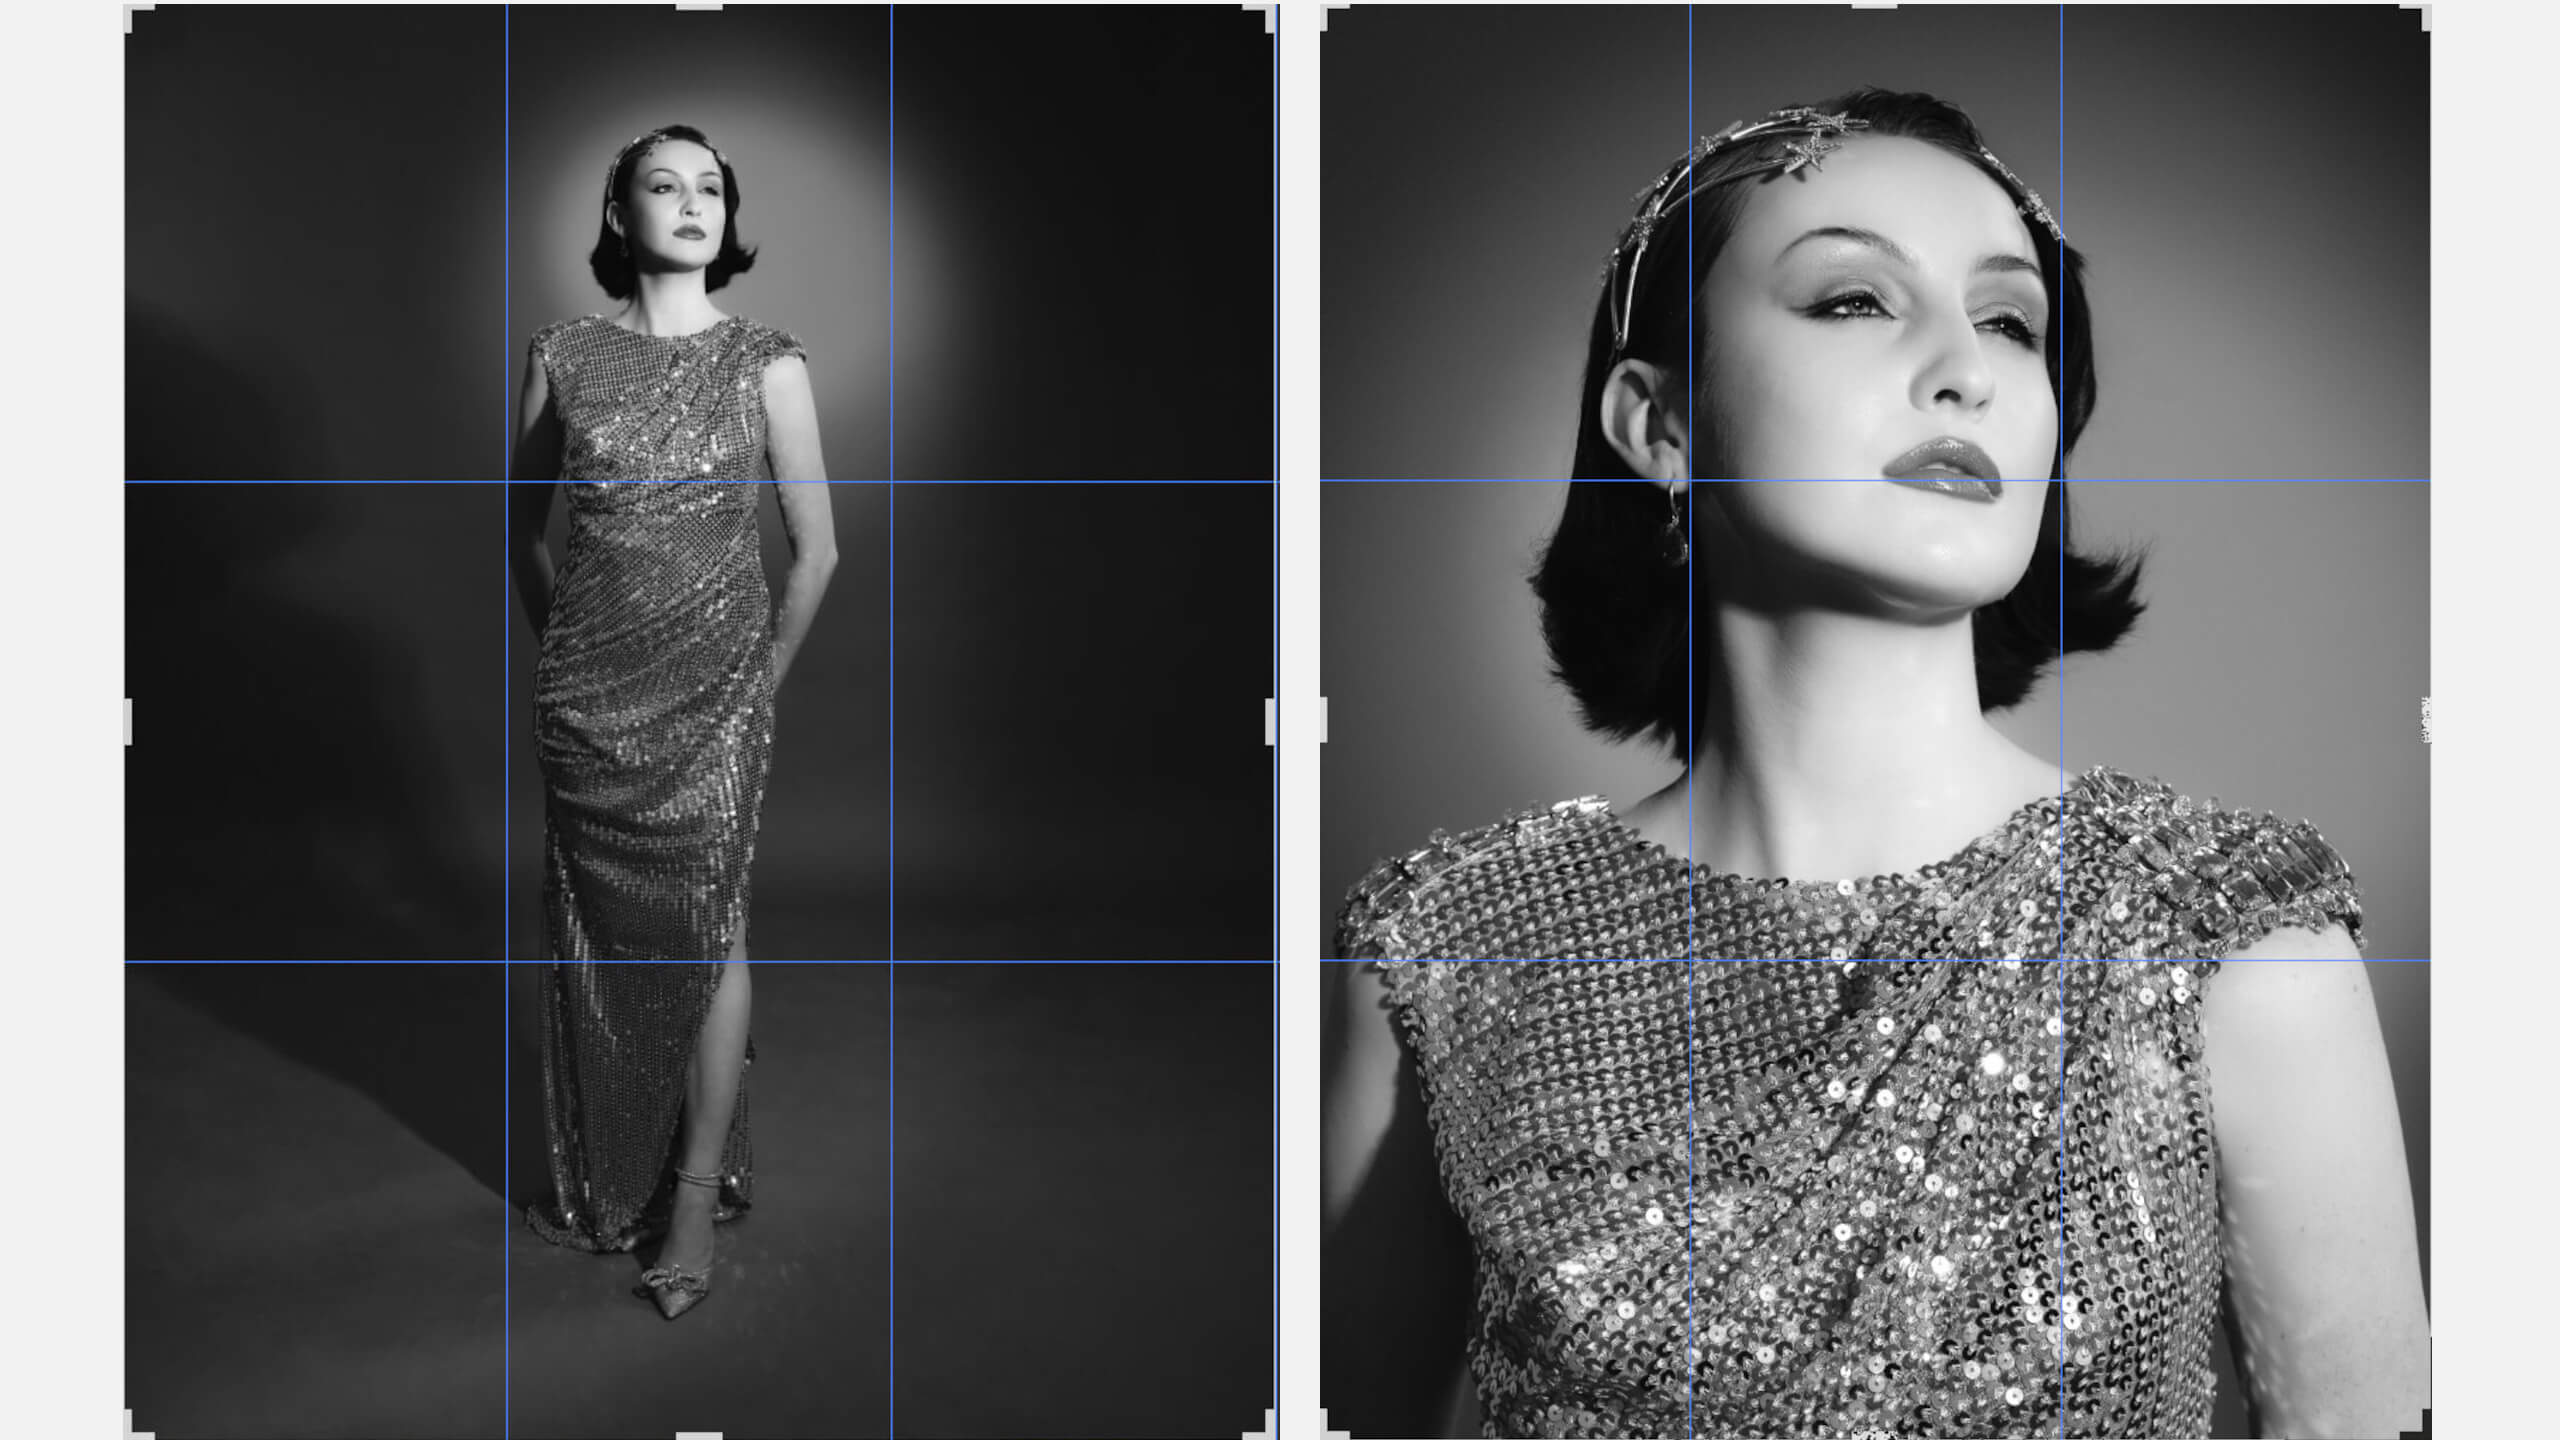
- Bridge of the Nose: For tighter shots of the face and upper body, cropping at the bridge of the nose can highlight features like ties, cufflinks, or jewelry, drawing attention to details.
- Mid-Hair Crop: When cropping hair, aim for a mid-hair crop—just enough to show that the person has hair without cutting right at the hairline or forehead. This approach maintains a natural look while emphasizing the subject's features.
Understanding the nuances of portrait cropping can significantly enhance your photography. By avoiding common mistakes, such as cropping at joints and focusing on tapering points, you can create more flattering and engaging portraits. Additionally, experimenting with creative cropping techniques can lead to unique and compelling images. With these tips in mind, you’ll be better equipped to make informed cropping decisions that elevate your portrait photography to new heights.