How to Take Food Photos That Look Truly Delicious
-
 Loading...
 - Amina Bello
- 10 Jan 2025
- 31 Views
- 0 Like
- 0 Comment
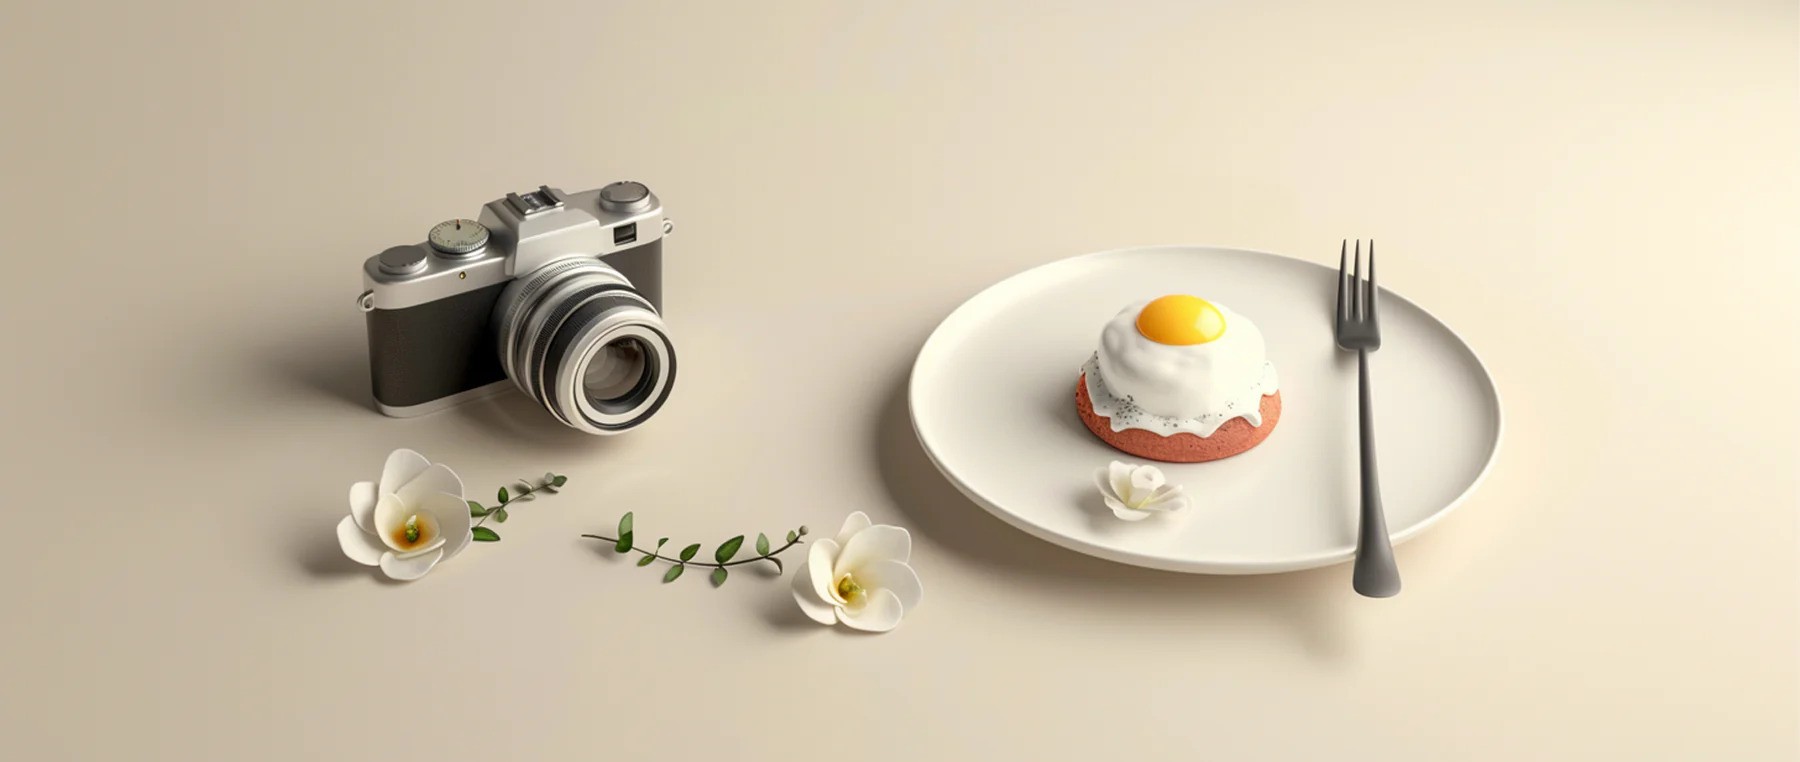
Capturing mouth-watering food photos is an art that goes beyond simply pointing and shooting. It involves careful consideration of various elements such as background, lighting, composition, and camera settings. Whether you’re a marketer, entrepreneur, small business owner, or a passionate foodie, following these fundamental principles will help you create captivating food images that entice viewers.
Choose Your Background
The background plays a crucial role in highlighting your food. Opt for a complementary surface that draws attention to the dish. Seamless backdrop paper can help focus the viewer directly on the food. Additionally, styling your food with tableware, linens, and a few props can enhance the visual appeal and educate potential customers about your brand and products.
Get the Lighting Right
Lighting can dramatically affect the texture and mood of your food photos. Soft, diffused light is ideal for enhancing the natural beauty of food, while harsh light can create unwanted shadows. Use a large, soft light source, such as a frosted window or a softbox, to achieve even illumination. Alternatively, natural light outdoors can also work wonders.
Different lighting directions can enhance various aspects of your food:
Ti. op lighting is great for plates of food or tablescapes.
ii. Front lighting is effective for social media posts.
iii. Side lighting can add drama to individual ingredients or products.
Compose Your Shot
Avoid cluttering your frame with too many elements that can distract from the food. While centering the main dish may seem natural, it doesn’t always yield the most eye-catching image. Instead, apply the rule of thirds: divide the frame into three equal sections both horizontally and vertically, and place the main subject along the grid lines to draw the viewer’s attention. Experiment with different angles to find the most flattering perspective for your dish.

Stabilize Your Camera
To prevent camera shake and blurry images, stabilize your camera using a tripod or camera stand. This is especially important for capturing foods with interesting textures, such as a tea cake dusted with powdered sugar or crispy fried tofu. A tripod with a geared head allows for precise adjustments, while a camera stand facilitates easy movement for capturing different angles.
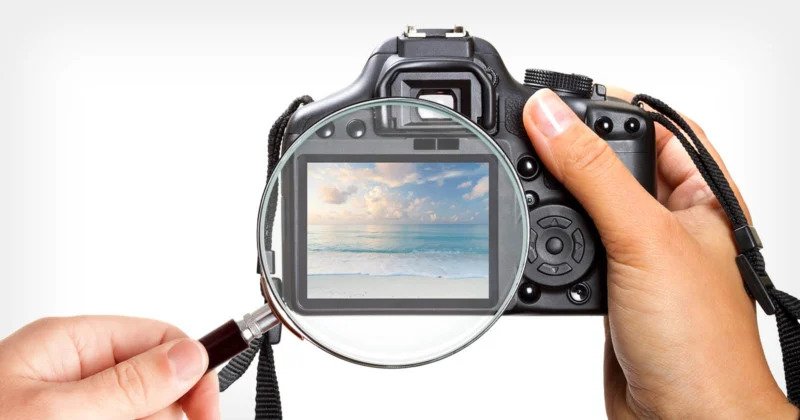
Camera Settings for Food Photography
If you’re using a DSLR or mirrorless camera, manual mode is your best bet for consistency. Here are key settings to consider:
i. Aperture: Controls the amount of light reaching the sensor. A wider aperture (lower f-stop, e.g., f/2.8) creates a shallow depth of field, blurring the background and emphasizing the subject. A mid-range aperture (e.g., f/11) offers a balance between foreground and background focus, producing sharp images.
ii. Shutter Speed: Determines how long the sensor is exposed to light. A slower shutter speed (e.g., 1/15th of a second) allows more light but can blur motion, while a faster shutter speed (e.g., 1/1,000th of a second) freezes motion, ideal for action shots like pouring a drink.
iii. ISO: Adjusts the sensor's sensitivity to light. A lower ISO (e.g., 100) produces less noise and is ideal for bright scenes, while a higher ISO (e.g., 3,200) is more sensitive but can introduce visual noise. Use the lowest ISO possible for the light conditions.
iv. White Balance: Different light sources have varying color temperatures. Adjusting the white balance helps ensure that colors appear true to life. Avoid mixing warm and cool light sources, as this can complicate color correction in post-processing.
Taking delicious-looking food photos requires attention to detail and an understanding of photography fundamentals. By choosing the right background, mastering lighting, composing your shots thoughtfully, and using the appropriate camera settings, you can create stunning images that showcase your culinary creations. Whether you’re sharing on social media or promoting a product, these tips will help you capture food photos that truly entice and delight.