How to Use a Reflector for Stunning Images
-
 Loading...
 - Seth Duncan
- 07 Aug 2024
- 47 Views
- 0 Like
- 0 Comment
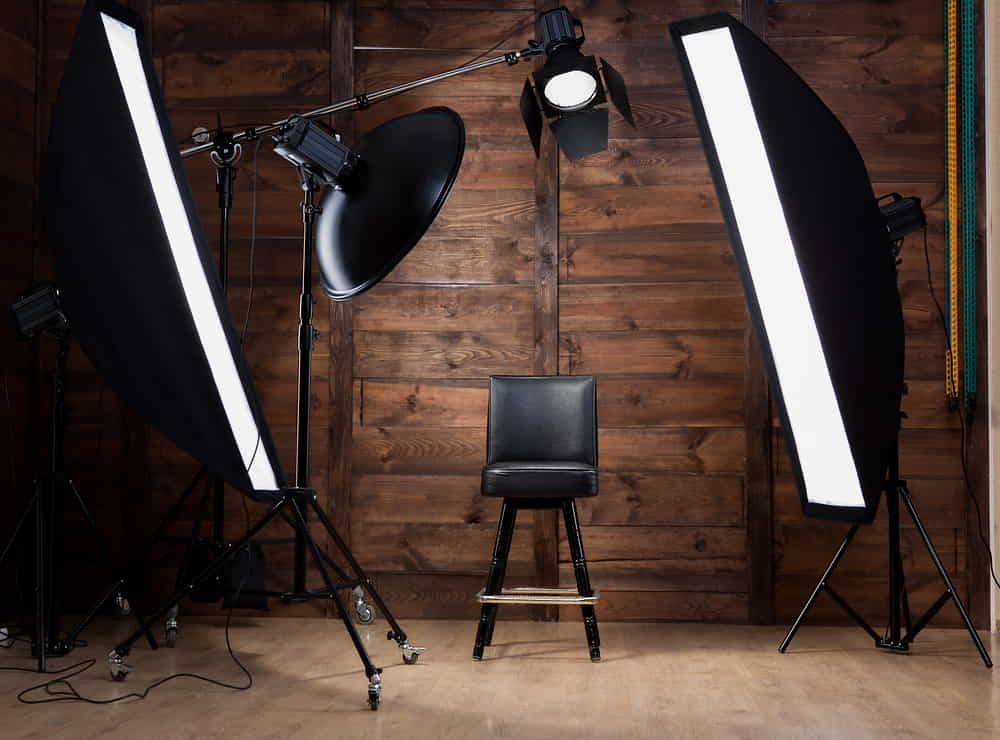
As any seasoned photographer will tell you, lighting is the foundation of a great image. Whether you're shooting portraits, landscapes, or still life, the way you control and manipulate light can make all the difference between a good photo and an exceptional one. One of the most versatile and powerful tools in a photographer's arsenal is the humble reflector.
A reflector is a simple, yet incredibly effective, piece of equipment that can transform the quality of light in your scene. By bouncing, diffusing, and shaping the light, a reflector allows you to sculpt the illumination to suit your creative vision. From filling in unflattering shadows to adding a glowing, ethereal highlight, reflectors offer a world of possibilities for the discerning photographer.
In this comprehensive guide, we'll explore the various ways you can use a reflector to capture stunning, professional-quality images. We'll cover the different types of reflectors, how to position them for maximum effect, and share tips and techniques for getting the most out of this essential tool. Whether you're a beginner or a seasoned pro, this article will equip you with the knowledge and confidence to start using reflectors to take your photography to new heights.
Choosing the Right Reflector
Not all reflectors are created equal, and the type you choose can have a significant impact on the results you achieve. The most common reflector materials are:
• White: Provides a soft, diffused light that's great for filling in shadows and creating a natural, even illumination.
• Silver: Offers a brighter, more directional light that can create dramatic highlights and shadows.
• Gold: Imparts a warm, glowing quality to the light, which can be particularly flattering for portraits.
• Translucent: Allows you to diffuse and soften the light, creating a soft, even glow.
When selecting a reflector, consider the specific needs of your shoot. If you're photographing portraits, a white or gold reflector might be the best choice to flatter your subject's skin tone. For product shots or still life, a silver reflector can help you create bold, high-contrast lighting. And for landscapes or environmental portraits, a translucent reflector can help you balance the natural light in your scene.
It's also worth considering the size of the reflector. Larger reflectors will provide a broader, more even coverage, while smaller ones can be more targeted and precise. Think about the scale of your subject and the size of your shooting space when deciding on the right reflector size.
Positioning the Reflector
Once you've chosen your reflector, the next step is to position it for maximum effect. The key is to experiment with different angles and distances to see how the light interacts with your subject.
Generally, you'll want to place the reflector at a 45-degree angle to your subject, with the light source (such as the sun or a studio light) hitting the reflector at a similar angle. This will allow the light to bounce off the reflector and onto your subject, creating a soft, even illumination.
For a more dramatic effect, try positioning the reflector closer to your subject. This will create a stronger, more directional light that can be used to sculpt the subject's features or create dramatic shadows. Conversely, moving the reflector further away will result in a softer, more diffused light.
Don't be afraid to experiment with different positions and angles. Try placing the reflector above, below, or to the side of your subject to see how it affects the lighting. You might be surprised by the creative possibilities that emerge.
Combining Reflectors
One of the most powerful techniques in a photographer's toolkit is the use of multiple reflectors. By combining different types of reflectors, you can create complex, multi-dimensional lighting setups that allow you to fine-tune the quality and direction of the light.
For example, you might use a large, white reflector to fill in shadows and provide a soft, even base layer of illumination, while using a smaller, silver reflector to add a dramatic highlight or accent. Or you could pair a gold reflector with a translucent one to create a warm, glowing effect with a soft, diffused edge.
The possibilities are endless, and the more you experiment, the more you'll discover the unique lighting effects you can achieve by combining reflectors. Just be mindful of the size and placement of your reflectors to ensure they work together harmoniously and don't create unwanted shadows or hotspots.
Tips and Techniques
Now that you've got the basics of reflector usage down, let's dive into some advanced tips and techniques to help you take your photography to the next level:
Use a Reflector to Overpower Ambient Light
In bright, sunny conditions, a reflector can be used to overpower the ambient light and create a more controlled, studio-like lighting setup. By positioning the reflector to bounce light directly onto your subject, you can effectively "fill in" the shadows and create a more even, balanced illumination.

Experiment with Colored Reflectors
While the classic white, silver, and gold reflectors are versatile and effective, don't be afraid to experiment with colored reflectors as well. Colored reflectors can add a unique, creative twist to your images, whether you're using a vibrant red to add a fiery glow or a cool blue to create a moody, cinematic feel.
Combine Reflectors with other Lighting Modifiers
Reflectors don't have to work alone – they can be used in conjunction with other lighting modifiers, such as softboxes, umbrellas, or grids, to create even more sophisticated and nuanced lighting setups. Experiment with different combinations to see how they interact and how you can use them to achieve your desired look.
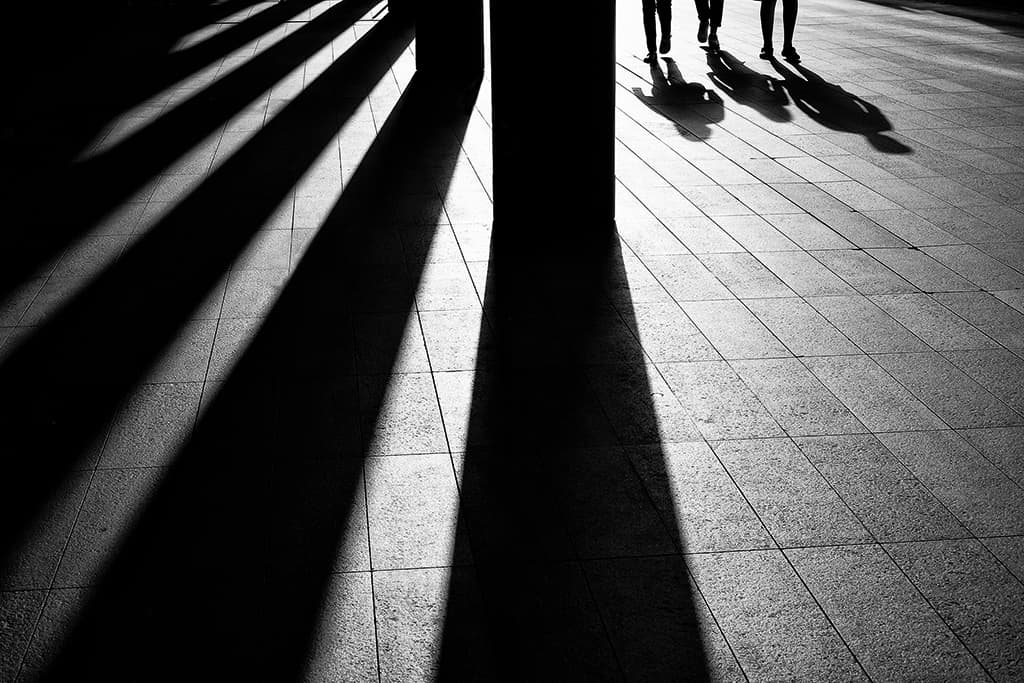
Use Reflectors to Capture Dramatic Shadows
Reflectors aren't just for filling in shadows – they can also be used to create dramatic, sculptural shadows that add depth and dimension to your images. Position the reflector at a low angle and use it to cast bold, directional shadows across your subject's face or form.
Incorporate Reflectors into your Workflow
Don't think of a reflector as a one-trick pony – integrate it into your regular photography workflow and use it as a versatile tool to enhance the lighting in a variety of shooting scenarios. Whether you're capturing portraits, landscapes, or still life, a reflector can be a valuable asset in your creative arsenal.
Conclusion
Mastering the art of using a reflector is a game-changer for any photographer, whether you're a seasoned pro or just starting out. By learning how to harness the power of reflected light, you can elevate your images, create stunning, professional-quality lighting, and unlock a whole new world of creative possibilities.
So what are you waiting for? Grab your reflector, start experimenting, and get ready to capture some truly breathtaking shots. With a little practice and creativity, you'll be well on your way to taking your photography to new heights.