Midday Photography: How to Take Beautiful Photos Using Harsh Light
Midday lighting is a major challenge for most photographers; it creates excessive contrast, blown highlights, washed-out colors, clipped shadows, and more. The most common solution is to simply avoid shooting at midday, but that’s not always an option. What if you get hired for a portrait session and your clients are only available during lunch? What if you’re traveling and you only have a few hours at your destination?
Fortunately, if you need to take photos at midday, there are a handful of simple techniques you can use to reduce contrast, even out your exposures, and get great results. And that’s what I share in this article: My five favorite ways to create stunning midday photography!
Let’s get started.
1. Find some shade
What’s the simplest way to handle midday lighting? Get away from it.
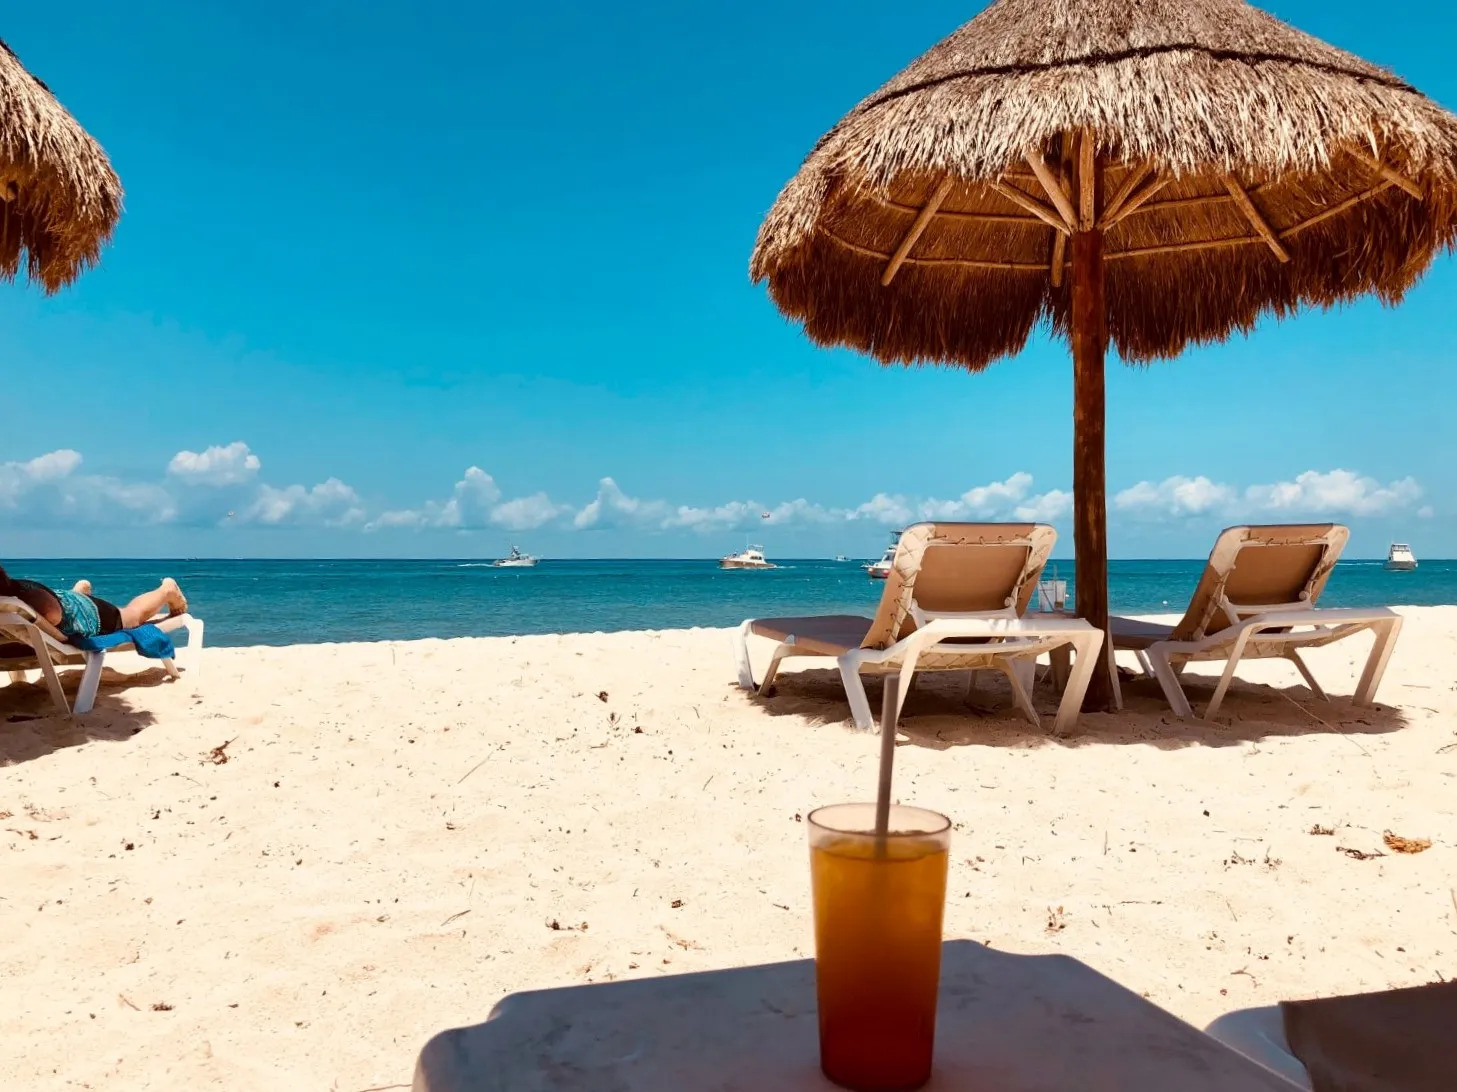
I don’t mean that you should wait until the light is better (though that is an option). Instead, I’d encourage you to hide from the bright sun in the shadow of buildings, trees, bridges, and more. I took this next shot in the shade of a water tower:
Now, not all shade is created equal. Each type of shade will give you a slightly different photo because each shaded area features various levels of diffused light. (Remember: Shade isn’t the absence of light. Otherwise, you wouldn’t be able to take any shaded photos!)
So each time you find a shaded area, spend some time analyzing before shooting. Try to identify the main light source; it’s usually the closest reflective object or the object made of the thinnest material. Then position your subject accordingly, so you get the backlighting, side lighting, or front lighting that you want.
Pro tip: Turn your subject sideways – dark shade to one side, reflected light to the other – and you’ll produce a more dramatic, side-lit portrait with lots of depth.
Note that you’ll also need to pay careful attention to the area behind your shaded subject. If you want a low-key image, you can position the subject near the edge of the shade and let the background fall into shadow. If you want a high-key image, you can position your subject in the deep shade and adjust your angle until you have a brightly lit background. And if you want a more evenly toned image, make sure the subject and the background are close to one another in the same shaded area.
2. Use primes and polarizers
Prime lenses and polarizing filters are an easy way to cut down on midday photography problems.
Primes, for instance, tend to handle contrast and flare very well. Ever shoot into the sun only to find green flare and fringing in your photo? Primes will generally do a good job of minimizing flare (though a good lens hood can do wonders, too!).
And polarizers work to cut down on glare and haze, both of which can be problematic at midday. No, a polarizer won’t help you take away those unflattering under-eye shadows, but it’ll definitely add some extra clarity to your travel and landscape photos.
Bonus: A polarizing filter will also enhance image colors, especially the blues in a noontime sky.
3. Avoid front light
Much of the frustration surrounding midday portrait lighting has to do with the problems of front lighting. The sun shines down from out in front of your subject, producing harsh under-eye circles, squinting expressions, unflattering under-chin shadows, and more.
But if you backlight your subject, you can eliminate many of these problems. Sure, you’ll still end up with some contrast, but you’ll lose the squinting and the unflattering shadows on the face. (Note: As I discuss below, you can also use a reflector or a flash to add some life to a backlit portrait!)

Just know that, if you expose for your main subject, you’ll blow out the sky (see the image above!) – and if you expose for the sky, your subject will become a silhouette. Neither of these approaches is necessarily better than the other, so as an artist, you’ll need to decide which you prefer. If you’re not sure, feel free to take a couple of test shots and see what you like best.
Here, I positioned my subject so the sun was behind her and off to the left:
As you can see, by exposing for the subject, I lost a lot of detail in the background – but I think the effect works, and I was happy with the result. Read More…


