Sunset Photography: 8 Proven Tips for Great Images
-
 Loading...
 - Feng Siong
- 22 Jul 2022
- 77 Views
- 0 Like
- 0 Comment
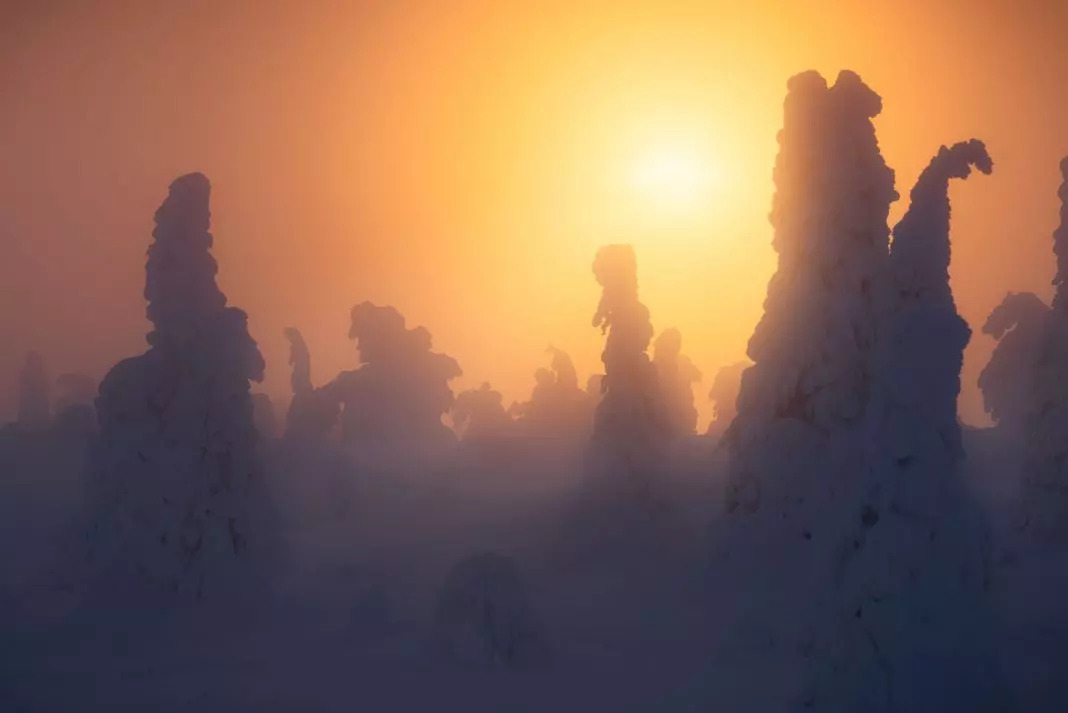
There’s no big secret that sunset photography is popular. What’s not to love about a beautifully pink or dramatically red sky?
It takes something special to have your golden hour images stand out from the crowd as there’s an abundance of images with nice colorful skies. However, far fewer can be considered impactful.
So what does it take to create professional-looking images of sunsets? How can you tell a story beyond the colorful sky?
The good news is that there isn’t all that much extra that needs to be done. It’s often enough to make just a few simple changes in your approach. Let’s find out what.
#1 Arrive Early and Stay Late
Patience is a key ingredient in becoming a better photographer. You can’t expect to simply show up, fire off a couple of shots, and leave with great images. Those situations are rare.
Instead, you need to arrive at the location early and stay late. This will drastically increase the likelihood of returning home with great images.
Exactly how early you should arrive depends on the location. If it’s one that you’ve never visited before, you want to arrive extra early so you have enough time to explore the area and find the best compositions. If it’s your local go-to, you might not need as much time. In that case, you just need to be all set up before the best light arrives (though it’s not a bad idea to shoot through the different phases of a setting sun either)
I also recommend staying for a while after the light starts fading. It’s not over before it’s over. Sometimes the best light comes unexpectedly late or closer to blue hour. There’s no worse feeling than being in the car on your way home when the light suddenly becomes amazing!
Trust me, I speak from experience.
#2 Know the Sun’s Position
There certainly is a fair bit of luck involved in sunset photography but there are some factors you should pay attention to in order to increase the chances of capturing impactful images. The sun’s position is one of them.

Knowing where the sun will be during sunrise or sunset is important in order to get an idea of what the light will do. It means you know whether your main subject will be bathed in light or left in the shadow. Knowing how the light affects the landscape will better prepare you for what’s to come.
It also gives you an idea of how the sky takes on color. Of course, there are more factors involved in colorful clouds but the sun is definitely one of them.
A common misconception about sunset photography is that the sun needs to be in a particular direction. This is not true! Good light comes in many variations. It doesn’t matter if you get backlight, sidelight or if you shoot directly into the sun. What matters is that you adapt to the light you’re given.
#3 Watch Out for Lens Flare
Lens flares are one of a sunset photographer’s worst enemies. They can be hard to avoid, especially when photographing towards the sun, and they instantly remove the ‘wow’ factor an image could’ve had.
There are two basic methods to avoid unwanted lens flares:
1. Use a lens hood (though this doesn’t work when using filters)
2. Adjust your perspective until the sun is out of the frame
These methods work ok in most scenarios but they aren’t ideal. The first option doesn’t work when using filters and the second means you’re altering the composition.
The third option is to capture two or more images that are to be blended together in post-processing. This is a slightly more advanced alternative but it works wonders.
Start by placing the camera on a tripod. Set up your composition and take the shot. Now, place a couple of fingers in front of the lens and cover up the sun, such as in the example below. Then take a shot. Make sure that there are no more flares in the landscape.
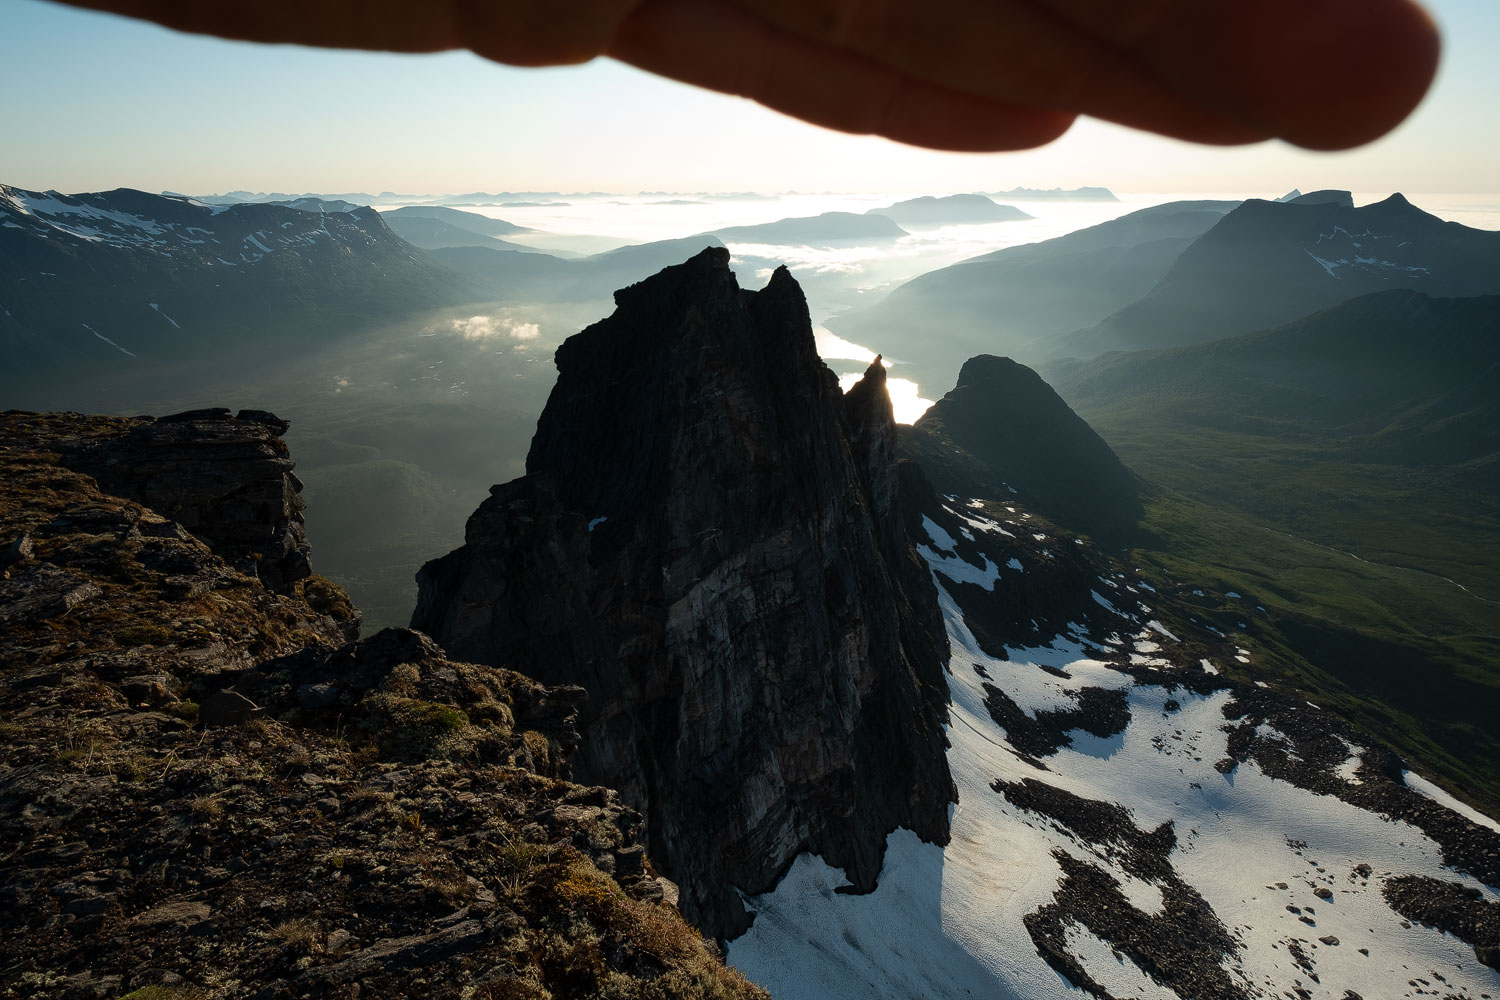
The next step is to blend the two images together in post-processing using a software such as Adobe Photoshop or Luminar 4. This is done by opening both images as layers (where the covered image is placed on top), then using a black brush on a white layer mask to paint back the sky.
There are going to be some of you who want to comment and say that lens flares can add an extra dimension to a photo. You are, of course, right. What we’re talking about here are unintentional lens flares. Those, you want to avoid. Read More...