10 tips on Oil Painting for Beginners
-
 Loading...
 - Achen Mugisha
- 05 May 2023
- 78 Views
- 0 Like
- 0 Comment
Tackling oil painting can be tricky and it’s hard to know where to start, so we’ve pulled together 10 tips on oil painting for beginners. From the fat over lean rule to alla prima tips and what you’ll need, let’s unpack oil painting so you can give it a go for yourself!
1. Work in a well-ventilated area
One of the most important tips on oil painting for beginners, is to work in a well-ventilated area. When you’re working with oil paints, know you’ll also be working with chemical solvents like turpentines. Solvents like turpentines can cause some people skin irritations or headaches, so listen to your body and stop or swap it out if you feel any discomfort. Make sure you work in an area that has plenty of fresh air and keep your creative area away from little ones.
2. Give yourself enough time
It’s no secret that oil paints take a while to dry. Because the pigments are suspended in an oil form, they need time to dry/oxidise and also cure, so it’s best to know this before jumping into a project.
Not all oil paint colours are made equally, some will take longer to dry. This will depend on the manufacturer and the colours. As a rough guide, Titanium White and Yellow Ochre can take up to eight days to touch dry. Raw Umber and Burnt Sienna can take around two days to touch dry. Also, as colours are mixed, their drying rate can change too. This can be an advantage because you’ll have plenty of time to work with your painting, hone your skills and play around.

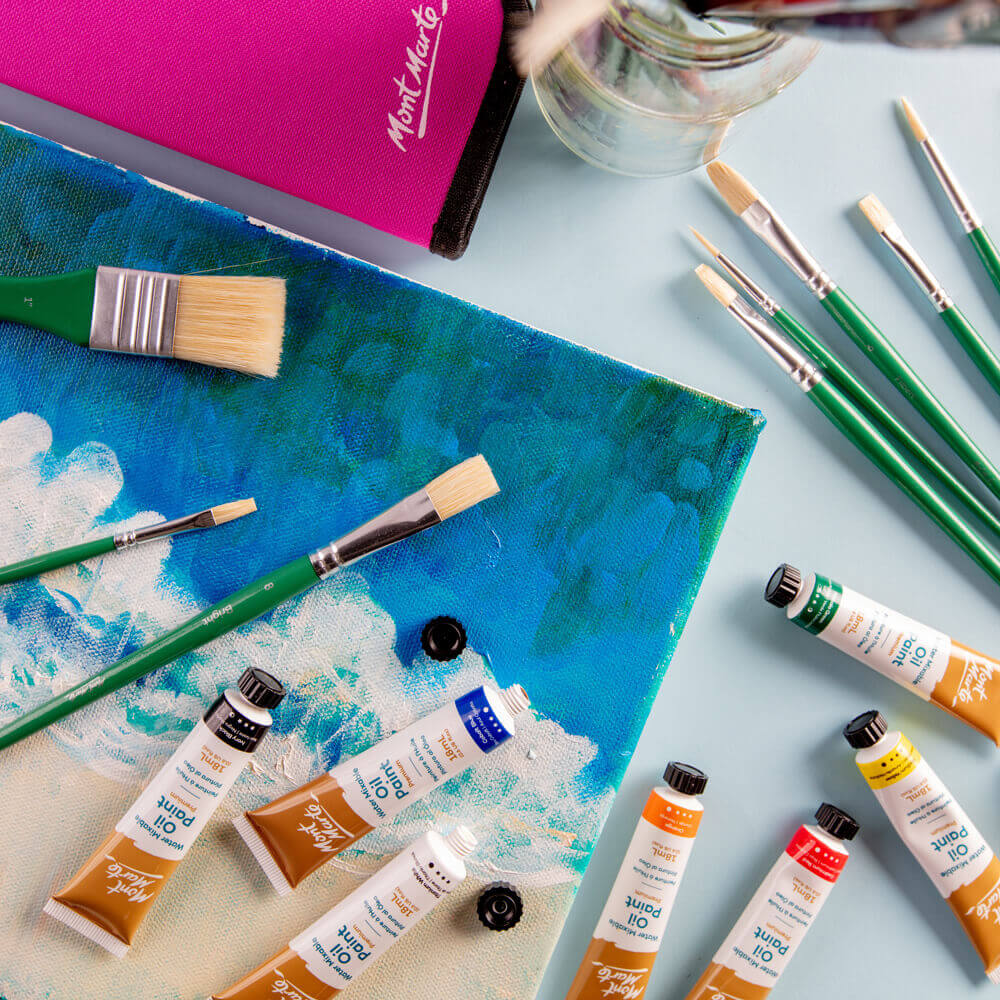
3. Try water mixable oils
If you’re reading this and already feeling daunted by the solvents and the drying time, then try water mixable oil paints! These oil paints still have a good coverage, a wide colour range and create a range of oil paint techniques, the difference here is that you can use water with them instead of a chemical solvent like turpentines. Of course, with this, also comes the added benefit that they evaporate to dry, so you won’t need to wait as long for them to touch dry. Read More…