11 Wildlife Photography Tips for Beginners
-
 Loading...
 - Madison Pearce
- 14 Jul 2022
- 117 Views
- 0 Like
- 0 Comment
One of the great challenges of wildlife photography is that there are so many things to consider in such a short amount of time. Even if you do everything right, the uncontrollable stuff can still stop you from getting “the shot.” However, there are some basic tips that are easy to remember and will bring your wildlife photography to the next level. In this article, I’ll share eleven of my favorite such tips that I use again and again.
Don’t Shoot in Harsh, Direct Midday Sun
If I could only keep one rule on this list, it would be this one: Don’t shoot wildlife directly illuminated by the unobstructed, midday sun. It is almost impossible to get a good shot under conditions like that. You’ll usually end up with harsh shadows on your subject and no catchlights in their eyes. Harsh lighting also often gives a reduction in apparent sharpness due to glowing effects from feathers and fur.
And it’s not just the subject. Backgrounds in such light will often have harsh, specular highlights, stealing attention away from your subject (as in the shot below). When I’m editing my pictures, I rate my photos from 0 to 5 stars, and midday sun shots almost always get 0 stars!
Can you ever shoot when the sun is high? If there are clouds softening the sun, or you are deep in a forest, you can sometimes do something during these difficult times of day. And the harsh look occasionally works for very specific subjects. But as a rule, probably more than 95% of my good shots are taken a few hours after sunrise or a few hours before sunset – generally when the sun is not more than 30 degrees in the sky.
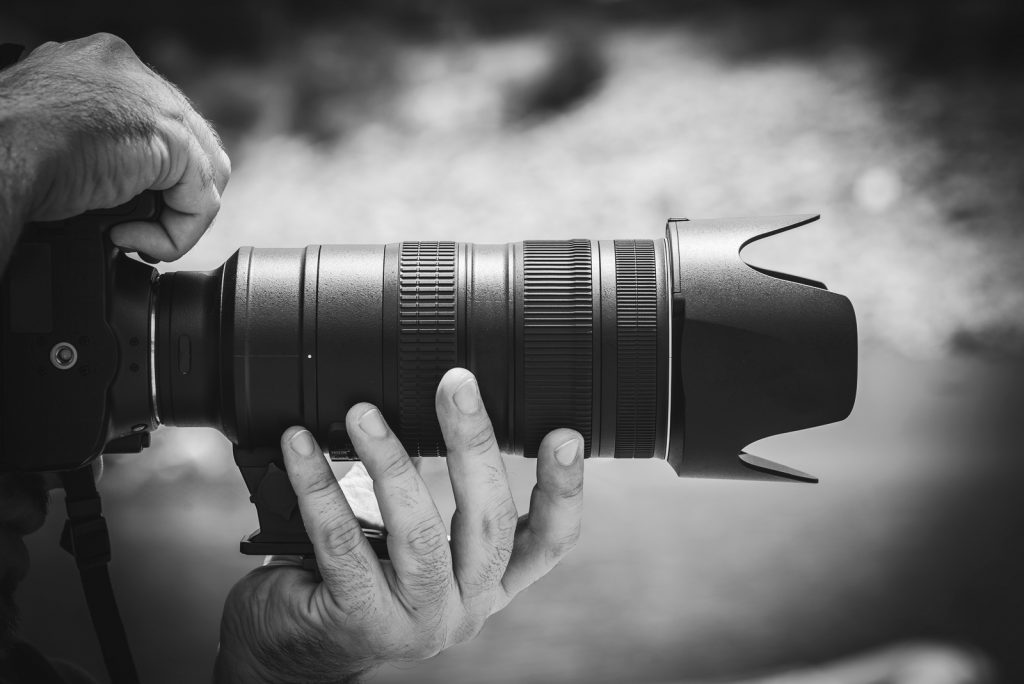
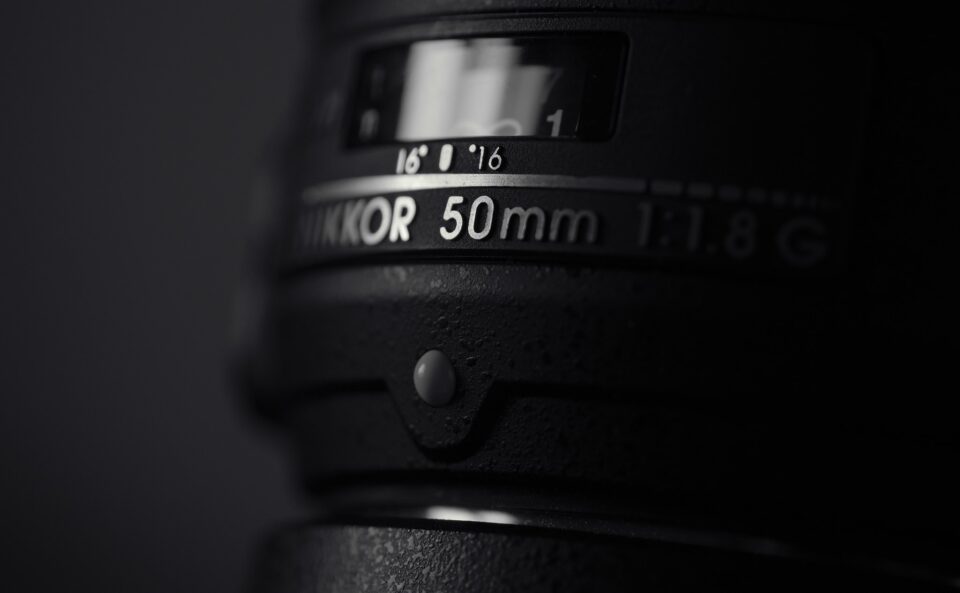
Upgrade Your Lens Before Your Camera
Most of the time, a better lens will go farther than a better body. For example, if your maximum focal length is 300mm, getting a lens that goes to 500mm will be so much more beneficial than upgrading to the latest and greatest body.
As a general rule, a good time to upgrade your lens is if you find yourself cropping a lot or boosting ISO values too high. A new camera may offer you a few more pixels to crop or slightly better high ISO performance, but the improvement you’ll get from a better lens is far more significant. The difference between, say, f/5.6 and f/2.8 can be night and day. Likewise for the difference between something like 200mm and 500mm.
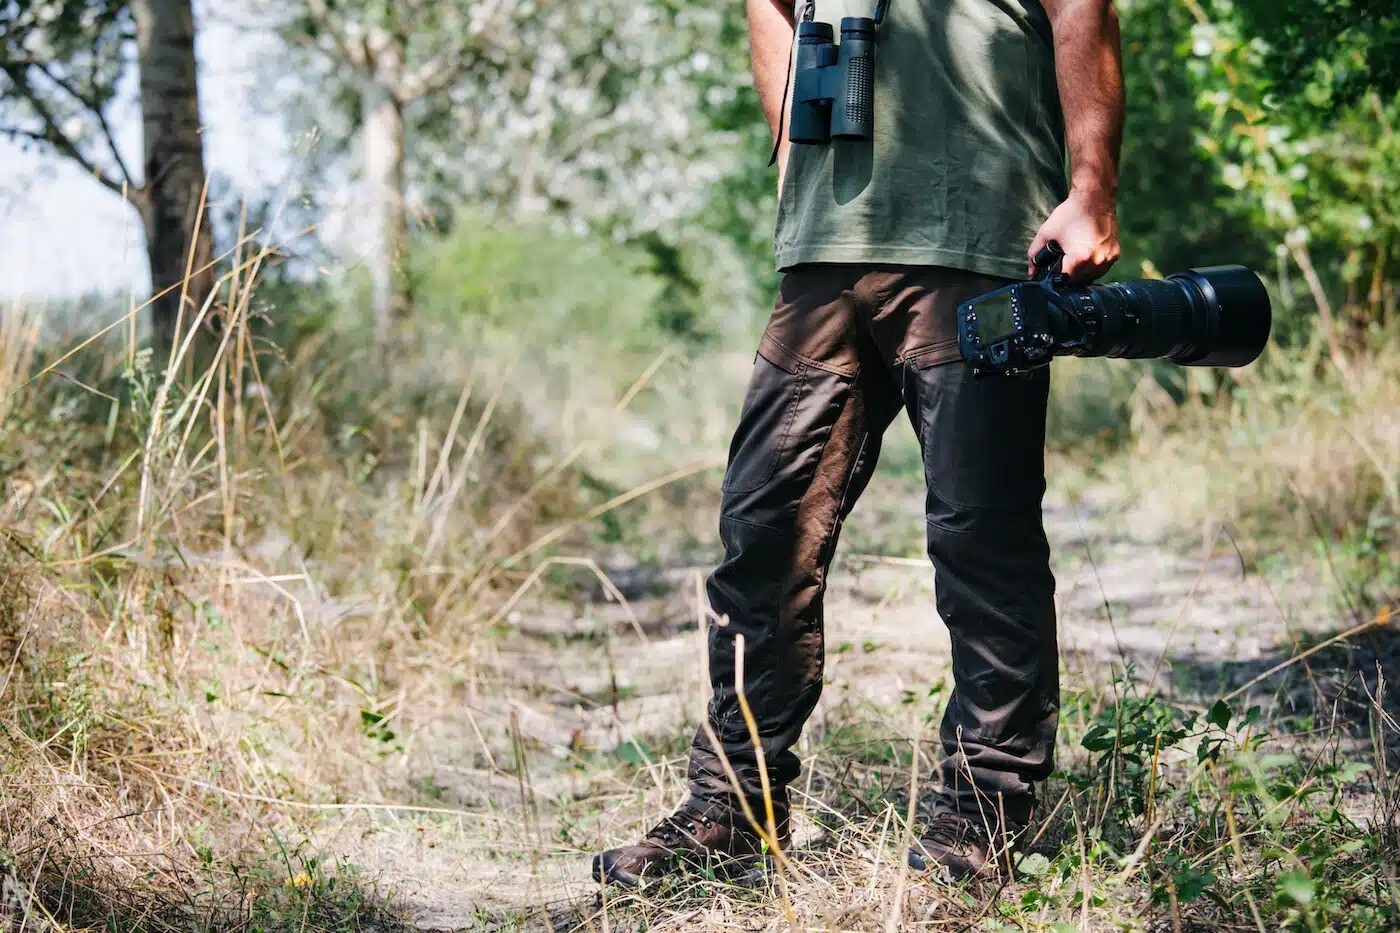
Try New Locations
A can think of dozens of beautiful places that are pretty bad for wildlife photography. Sometimes it’s because the animals have favorite spots that are too far away, and sometimes it’s because there are too many distracting background elements.
Often, animals are easier to see in edge habitats: those are the places in which two different habitats meet, like a river in a forest, or a grassy plain next to a lake. For birders, I highly recommend eBird.org, which will allow you to browse hotspots. Although these hotspots are more for finding birds rather than finding photo spots, I’ve found a lot of great places for photography this way.
So, if your photos aren’t coming out the way you expect, don’t immediately think you need to upgrade your camera gear. Finding a new spot can get you much better shots for a lot less expense than buying a new camera.
And even though eBird is the one I’ve used the most, there are similar sites and forums to help you search for other wildlife subjects. For example, there are people who track recent bear and wolf sightings in various National Parks and post them online. All you need to know is the type of wildlife you want to photograph, and you’ll probably find good, new locations to photograph them if you look carefully!
Shoot at Eye Level
Shooting at or close to eye level will improve most shots by an order of magnitude. This does two things: It gives a much better perspective on the animal, and it gives you a more distant background (and hence more subject isolation).
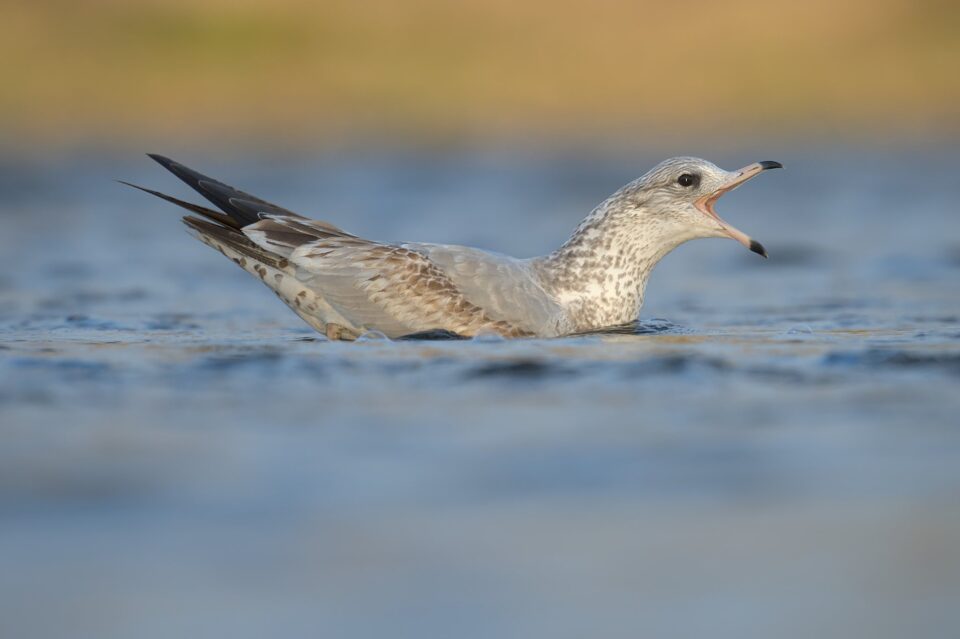
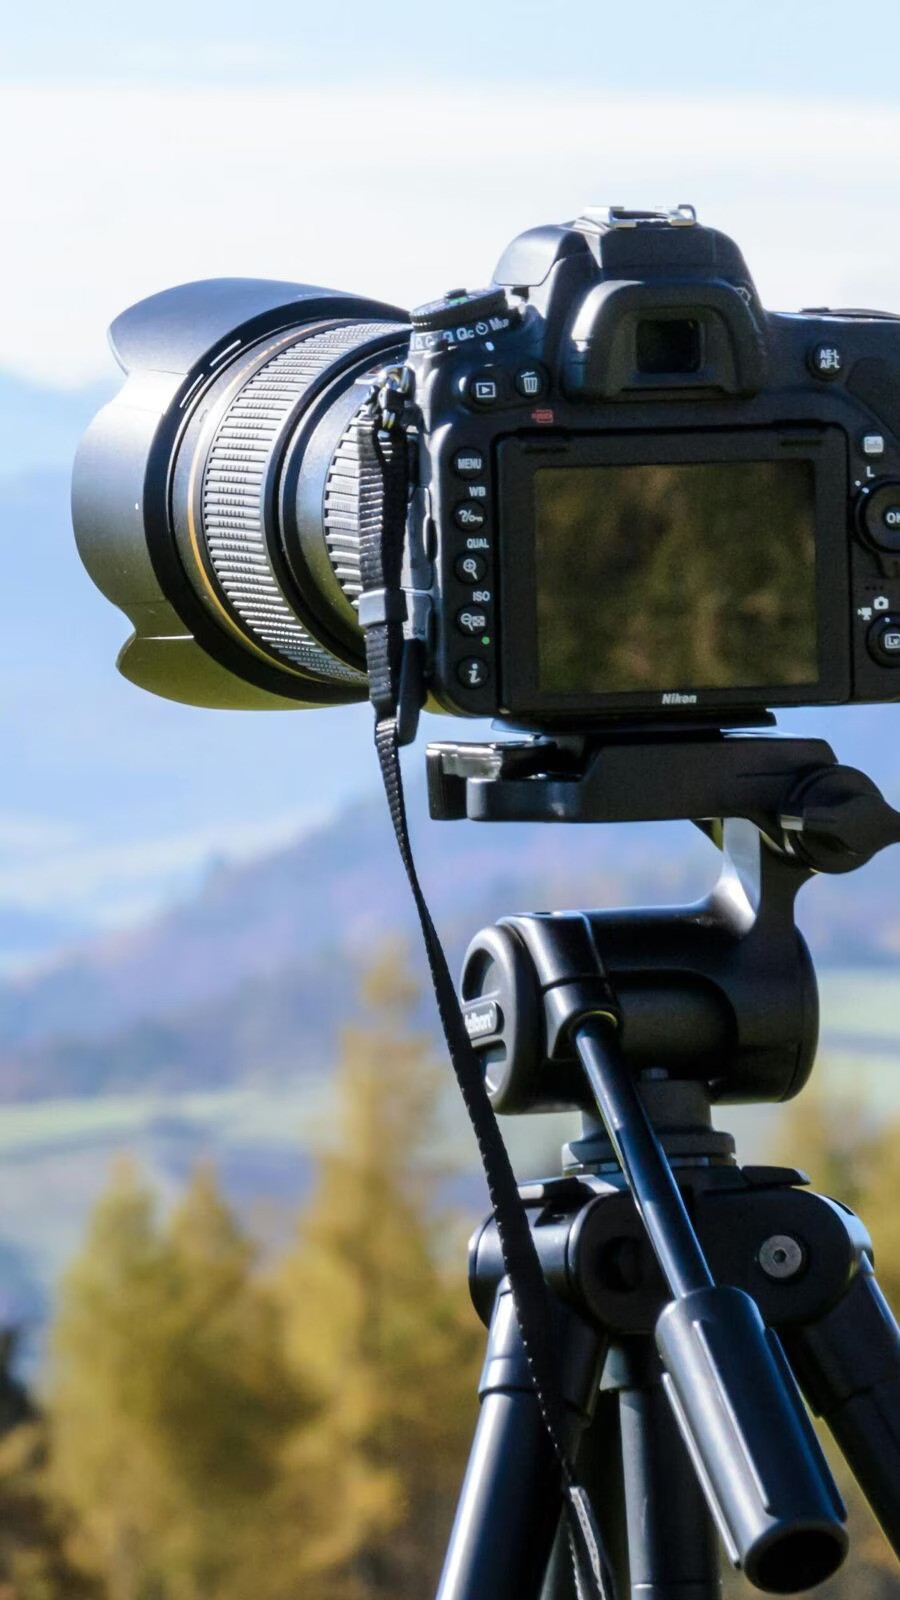
For subjects close to the ground, this usually means getting close to the ground yourself. I am constantly sitting and kneeling to get eye-level shots. Cameras with a rear tilting screen have a huge advantage here, since you can place the camera low – such as on a short tripod – and just tilt out your screen to compose.
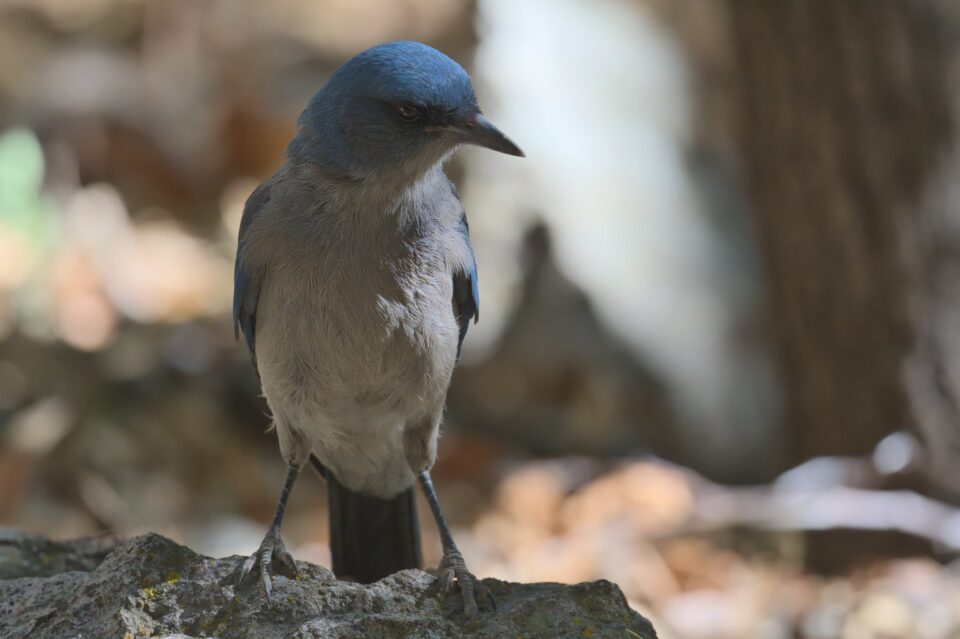
Watch Your Shutter Speed
Light is so precious in wildlife photography, and usually there’s not enough of it! That’s why it’s crucial to use as long of a shutter speed as possible, while still avoiding motion blur and camera shake. The longer your shutter speed, the more light you’ll get on your sensor, and the result is better image quality.
Although you would certainly avoid blur on a perched bird at, say, 1/1000 of a second, you simply don’t need such a fast shutter speed. Birds also frequently pause to observe their surroundings, and in those moments, you can use longer shutter speeds without issue. By “longer,” I mean in the range of 1/400 second, 1/200 second, or sometimes more – even with long focal lengths like 500mm.
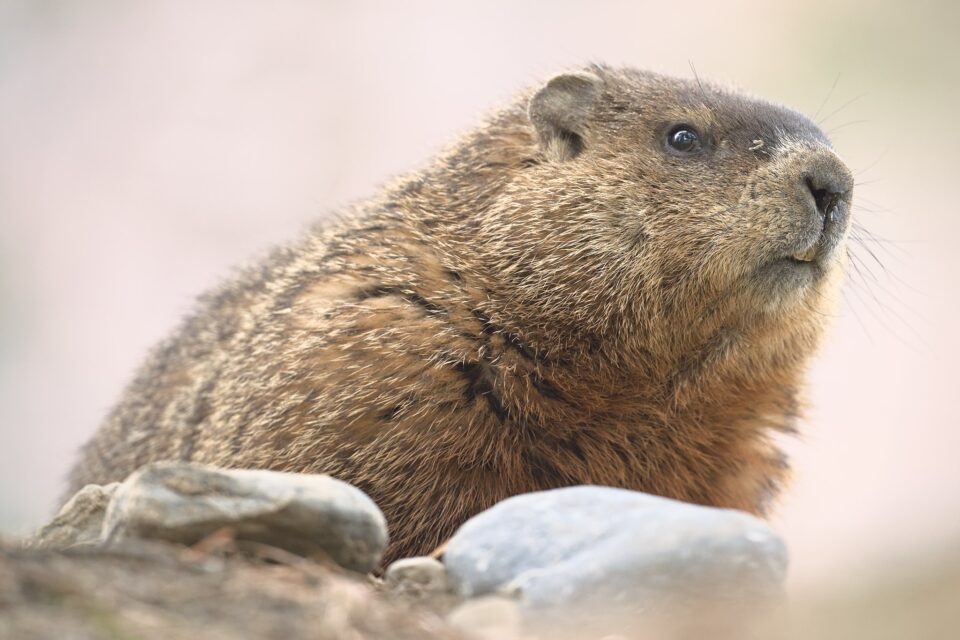
Furthermore, if your subject is standing around like this, it’s fine if you miss a shot or two. The ones that are sharp will have enough image quality to make up for it easily. Above, I easily could have ended up shooting at ISO 4000-5000 if I had followed the usual reciprocal rule of “1/focal length.” Read More…