5 Natural Light Tips for Beginner Photographers
-
 Loading...
 - Kaito Daigo
- 14 Oct 2022
- 67 Views
- 0 Like
- 0 Comment
How to Use Natural Light in Photography
If you love taking pictures but have a love/hate relationship with your camera—or if you are in awe of your camera but you also want to throw it across the room—then you need to read on.
In photography, there are many different aspects to consider in the quest to find the perfect shot. Yes, the right camera and gear can make all the difference, but technique is paramount because it can make or break a shot. It all boils down to how you use light and shadows. Some times call for a flash, whether it is a studio flash or a through the lens flash. However, there are many times that natural light is all you need.
Key Factors of Natural Light
The main source of natural light will always be the sun. There are different and unique lighting conditions to help you factor in what you want from your shot.
· Color tone: You can predict lighting conditions depending on the color tone you want. Midday will be a neutral white, earlier in the day will be a cooler tone, and later (late afternoon) will be a warmer tone.
· Intensity of the light: The intensity of the sun can affect your image, making it a high-contrast shot with a lot of definition.
· Direction of the light: The direction the light shines, whether vertical or horizontal, produces sharp edges to your shot, which will show the importance of shadows.
· Quality: You determine the quality of light needed to predict the outcome of your shot. You want either a hard light to emphasize your subject or a soft light to diffuse your subject matter. It all depends on your preference and the purpose of the shot.
5 Different Types of Natural Light (And How to Use Them)
1. Direct light
2. Diffused light
3. Reflected light
4. Window light
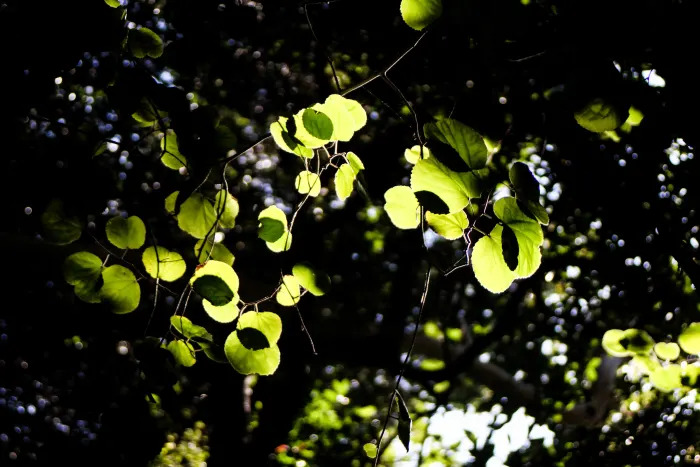
5. Dappled light
1. Direct Light
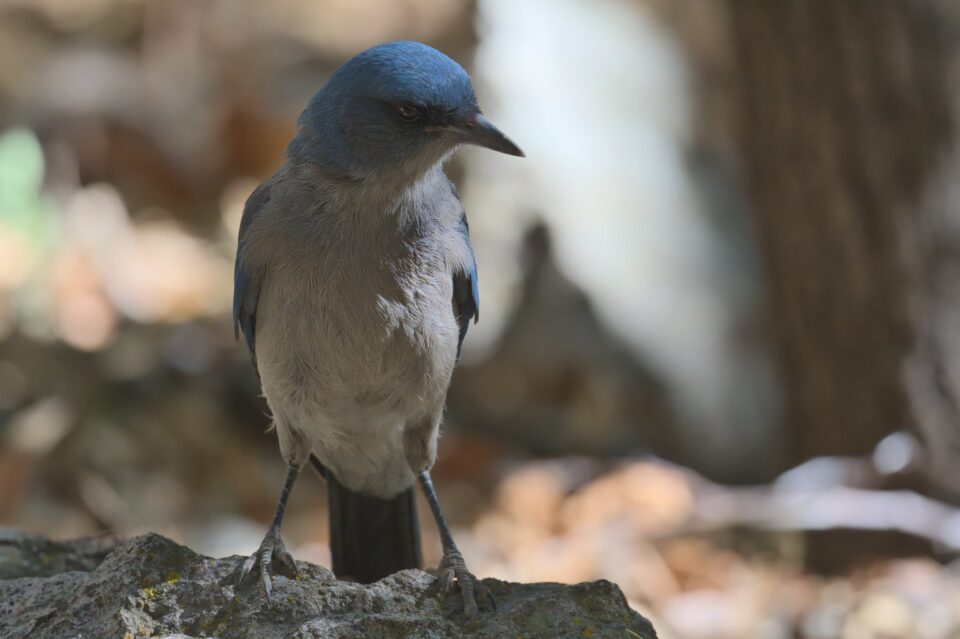
Direct light shines directly on your subject and makes pronounced contrasts. This is very useful when you need sharp and clear shots, like a wasp perching on a flowering stalk. That shot calls for clarity and detail, so direct lighting is needed for that effect.
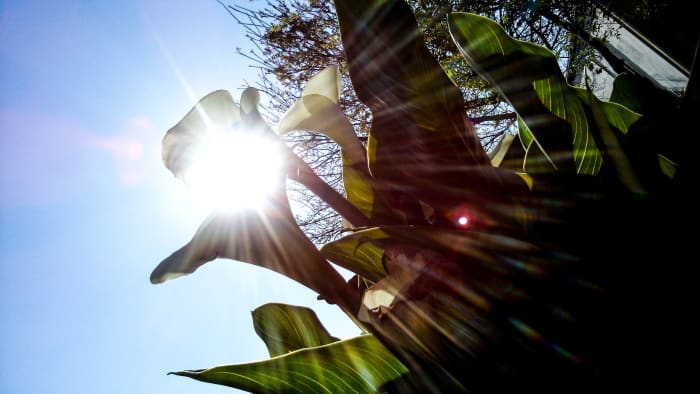
Also, learning to use the ‘golden hours’ is essential for the tones you wish to set in your shots. The ‘golden hours’ are often referred to by photographers as the times the sun glows just right and casts a golden hue. This tone makes for spectacular results if you use it right. These two ‘golden hours’ have their own names: The hour before sunset or sunrise is called the ‘blue hour’ and the hour just after sunset or sunrise is called the ‘magic hour’. Read More…