7 Best Tips for DIY Product Photography
-
 Loading...
 - Kyoko Tamura
- 17 Oct 2024
- 42 Views
- 0 Like
- 0 Comment
Capturing high-quality product photos is essential for any business looking to showcase its offerings effectively. Whether you’re selling online or promoting your products on social media, great photography can make a significant difference. Here are seven tips to help you achieve stunning DIY product photography.
1. Use Natural Light Whenever Possible
Natural light is your best friend when it comes to product photography. It provides a soft, even illumination that can enhance the details and colors of your products. Set up your shooting area near a window during the day to take advantage of this light. If the sunlight is too harsh, consider diffusing it with a sheer curtain or a white sheet to soften the shadows.
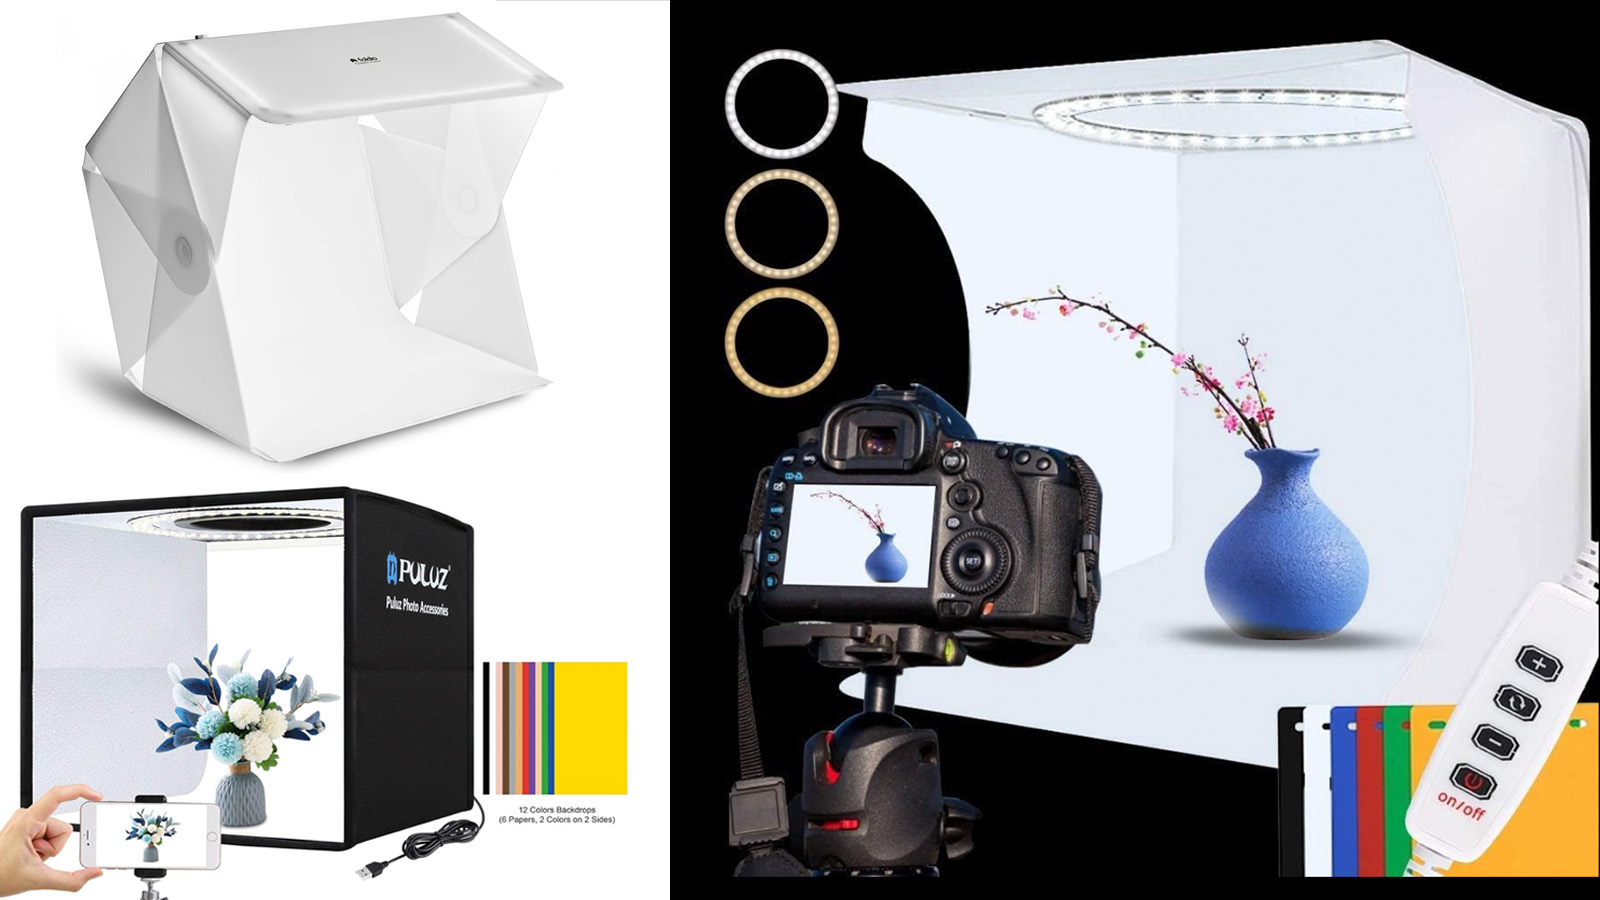
2. Choose the Right Background
The background can make or break your product photos. A clean, uncluttered background helps your product stand out. White or neutral-colored backdrops are popular choices, but you can also use textured surfaces like wood or fabric to add interest. Just ensure that the background complements your product without distracting from it.
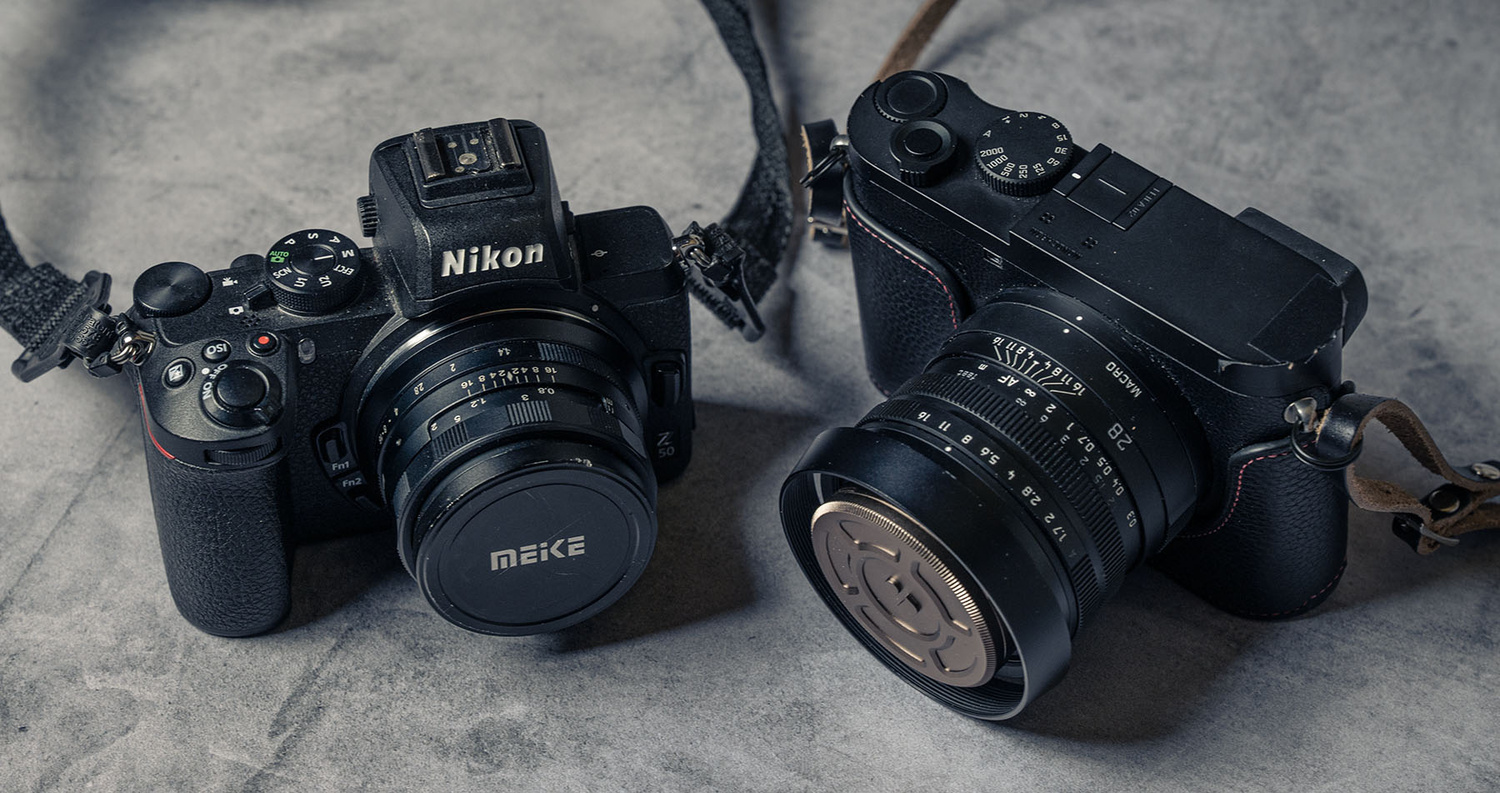
3. Use a Tripod for Stability
To avoid blurry images, especially in low-light conditions, use a tripod to stabilize your camera or smartphone. This will help you achieve sharp focus and consistent framing. If you don’t have a tripod, you can improvise by placing your camera on a stable surface, such as a table or shelf.
4. Experiment with Angles and Composition
Don’t settle for the first angle you try. Experiment with different perspectives to find the most flattering view of your product. Shoot from above, at eye level, or from a slight angle to see what works best. Additionally, consider the rule of thirds when composing your shot. This technique involves dividing your frame into a 3x3 grid and placing your product along the lines or at the intersections for a more balanced composition.
5. Pay Attention to Details
Make sure your product is clean and free of dust or fingerprints before photographing it. Small details can make a big difference in the final image. If your product has intricate features, consider using a macro lens or the macro setting on your camera to capture those details up close.
6. Edit Your Photos
Post-processing can elevate your product images significantly. Use photo editing software or apps to adjust brightness, contrast, and color balance. Cropping can also help improve composition. However, be careful not to over-edit; the goal is to present your product accurately and attractively.
7. Showcase Your Product in Use
To give potential customers a better idea of how your product fits into their lives, consider including lifestyle shots. These images show the product in use or in a relevant setting, helping customers visualize its practical application. For example, if you’re selling kitchenware, photograph it being used in a beautifully arranged kitchen.
By following these tips, you can create professional-looking product photos that effectively showcase your items and attract customers. With a little practice and creativity, your DIY product photography can stand out in a crowded marketplace.