Best Tips for Underwater Photography
-
 Loading...
 - jasper elsie
- 19 Jul 2022
- 101 Views
- 0 Like
- 0 Comment
Quick Info about: Best Tips for Underwater Photography
We give you ideas and tactics on how to become a better underwater photographer in this Underwater Photography Guide. Underwater photography will take your photographic talent to the next level. Beautiful views and everyday life can be captured, but how often can you capture the soul of a world that is so often overlooked? There is also the possibility of having an adventure of a lifetime by diving into these seas and discovering a totally different way of life.
At the Four Seasons Resort Maui in Wailea, brothers John and Dan Cesare offer all-inclusive underwater photography workshops. This dynamic team teaches photographers how to take spectacular photos of marine life underwater while dealing with uneven currents and the balance of light.
Here is the list of the best tips for underwater photography
Use filters to correct color
As a diver you should know that we are starting to lose color as we go deeper, especially the reds and magentas. However, we can replace them with additional filters! Otherwise, your colors will look washed out or unnaturally painted. A red lens often makes your underwater shots look better.
But it will depend on how deep you dive and where for the exact color filter. For example, you want a red filter on blue water, but a magenta one on green water. You can adjust it before your dive or during your dive. Just make sure there are no trapped air bubbles when you install your filter. That’s why we prefer to do this on the surface. Also, because we have different filters depending on how deep we go, if you start with a red filter for 10 meters and then go down to 20 meters and want to change the lens, you can do it underwater.
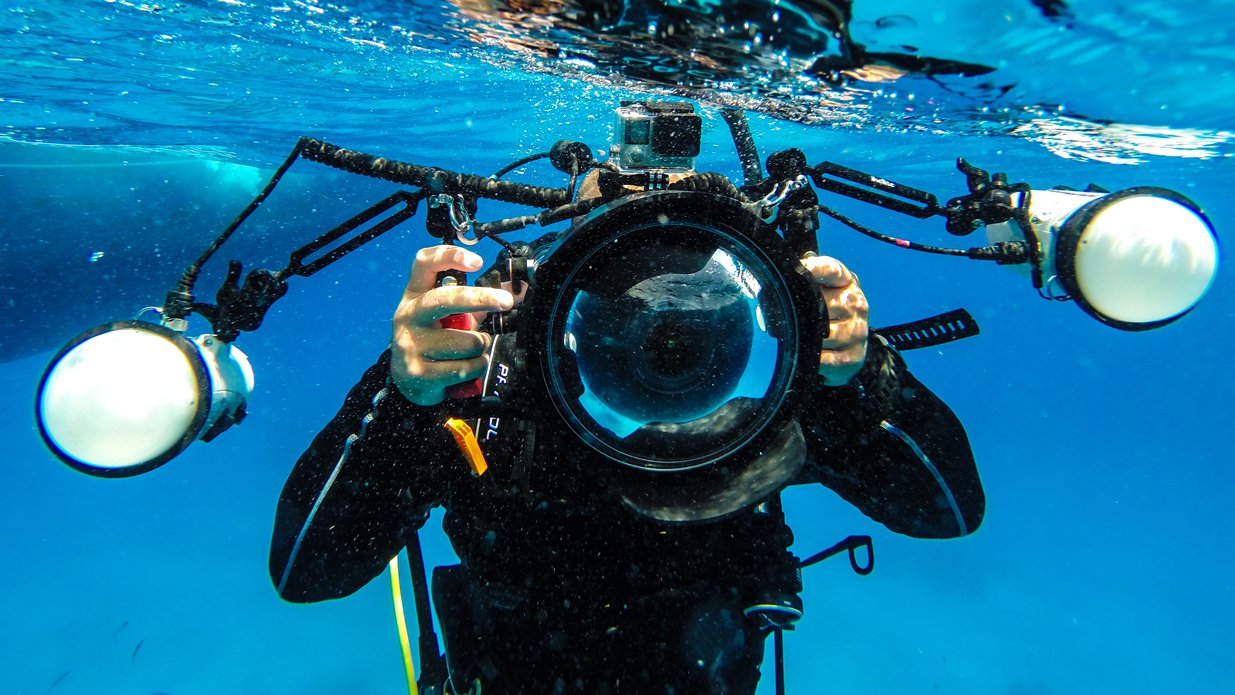
Try a dome
Taking a great half shot (or “split shot”) is easy, but it does involve investing in a canopy that removes water from the lens, thereby increasing the field of view. This is so fun! It is not necessary, but you will get good shots. By placing your lens at the waterline, you get an image that shows both above and below the water.
Some of these domes are just for that, half and half images, and some can also be used underwater. Check which one you have before you take it on your dive, because if you have a surface canopy it will leak during your dive and not allow you to continue taking good photos. One thing to keep in mind when taking these shots is to try not to get the top of the door wet. If it does then you will have droplets on the lens. To avoid this, you can spit out the canopy or even grate a potato first!
Use the correct lens
Underwater, you should definitely use a wide angle lens. However, the perfect portrait lenses are wide but not too wide. A lens that is too wide can distort your subject and create an unflattering image for your model. If you want to photograph the entire model, we recommend using a 24mm canopy. You can create a beautiful environment, with horizontal or vertical poses, depending on the dimensions of the pool you use.
This setting is the easiest way to get started with underwater portrait photography. Another option, and my favorite, is to use a 35mm flat port lens. There is visual magnification but portraits are sharper and less distorted, we use it for commercial photography to bring our subject into focus.
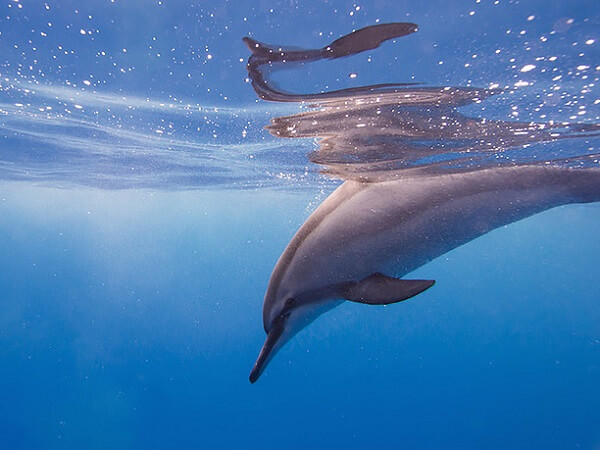
Get acquainted with marine life
Each marine life reacts differently to foreign visitors. To get the best shots, it’s imperative to know what problems you’ll encounter. Smaller fish, like a clown fish, frequent the same places, so it’s your job to keep coming back so they know you won’t hurt them and that you’re just a friendly fan.
With the largest creatures in the sea, it may be our fear that prevents us from taking the picture of a lifetime. You may need a few meetings to get comfortable with sharks or whales. Once you overcome your fear, one breath at a time, you will realize how drastically your photos improve by trusting and understanding your subjects.
Use underwater mode
The further you go underwater, the less colorful things appear, as the wavelengths of colored light gradually filter out: red disappears first at 5 meters, followed by orange (10 meters), yellow (20 meters ), green (30 meters) and blue. at 60 meters. . This means that without fixing it, anything you shoot will tend to look blue-green.
Unless you’re shooting too close, don’t try to point the flash at the camera, as this will illuminate the myriad of tiny particles floating in the water (trust us, it’s there, even if your eyes don’t see it, your camera). Read More…