How to shoot and edit double exposure photography
-
 Loading...
 - Eidi Kinuthia
- 28 Sep 2022
- 71 Views
- 0 Like
- 0 Comment
As a technique, double exposure photography is nothing new. It has existed since the early days of film when, traditionally, the same slide was exposed twice to produce a superimposed image. In the digital age, the effect can be reproduced using one of the best professional cameras(opens in new tab) with a dedicated Multiple Exposure mode. However, if your camera doesn’t have a dedicated mode, or you want more creative control over the final image, you can also mimic the effect in Adobe Photoshop(opens in new tab) – which is what we'll do here.
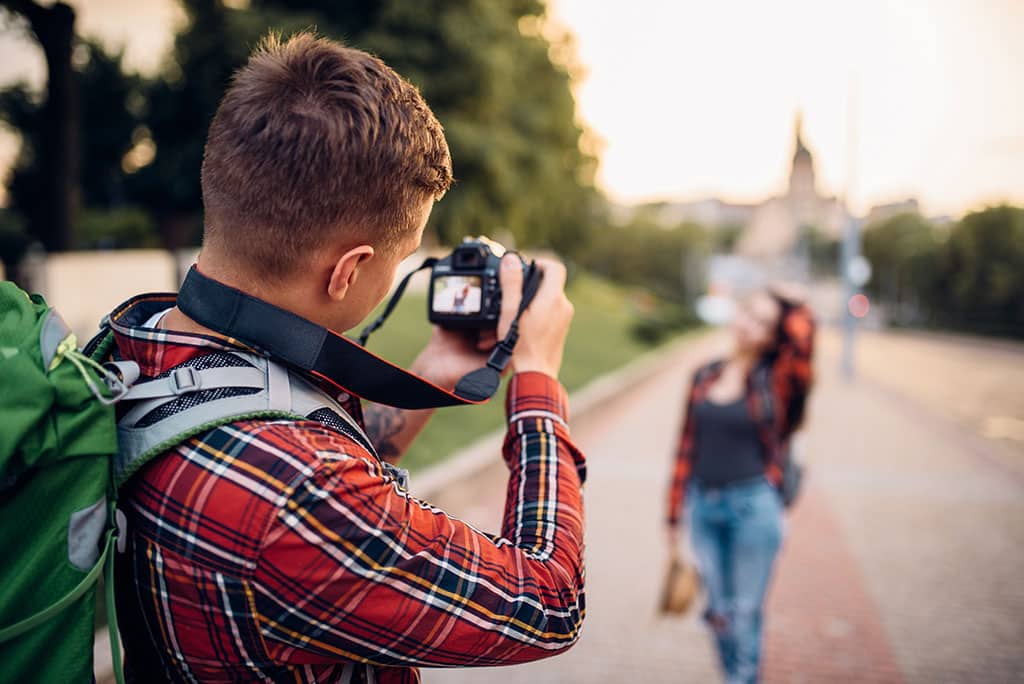
In this tutorial, discover how to shoot the best initial portrait image for this technique, as well as how to edit the two images in Photoshop for a striking and abstract result. One of the great things here is you don’t have to shoot your portrait and overlay images at the same time. If you have the perfect fill-in image within your archive, it’s easy to have a go – provided you have a camera with manual shooting modes and a willing subject.
Follow this step-by-step tutorial, as we go through both the shooting and editing steps you need to merge two photographs together, with the help of some simple Photoshop blending modes.
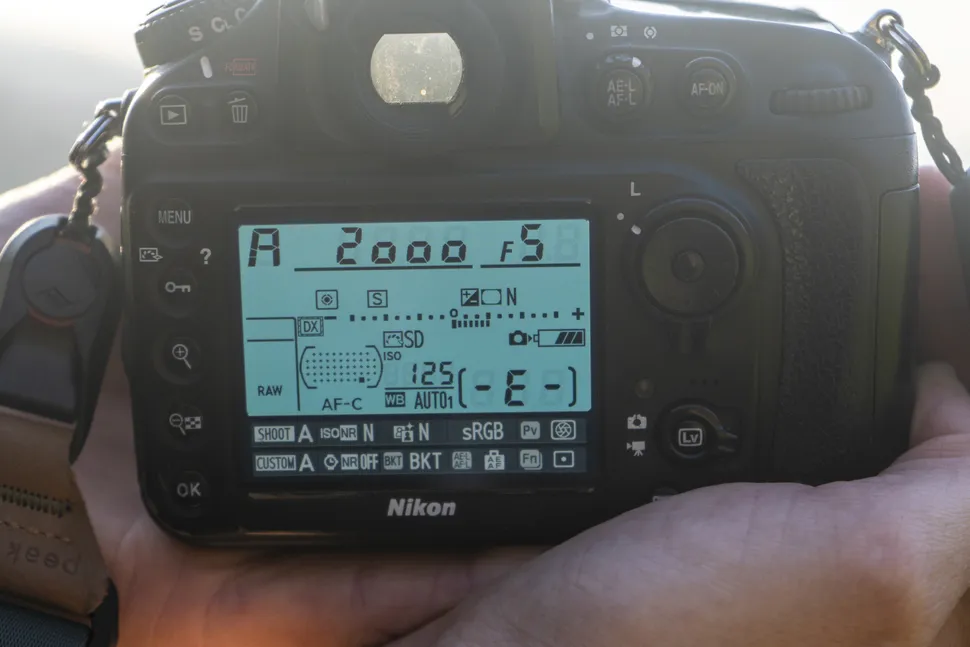
1. Set up camera
Switch your camera to Aperture Priority using the top dial. Select centre-weighted or spot metering – an easy way to expose the shot correctly for the subject. Make sure you’re using a suitable lens, a 50mm prime works well for this type of portrait shot.
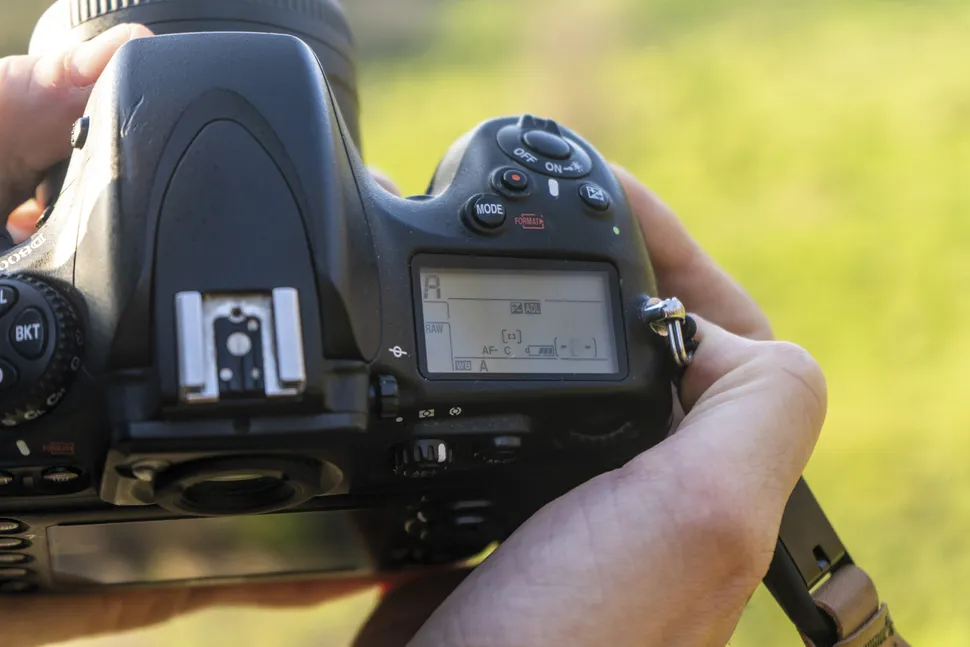
2. Dial in settings
Set the ISO to the lowest value possible. You’ll be shooting against a bright background, so shouldn’t need to raise it any higher. Next, select an aperture of around f5, ensuring that your model’s whole face is in focus. If the exposure is too bright and the shutter too fast, narrow the aperture.