How to Take Light Streak Photos in Three Easy Steps
-
 Loading...
 - Derek Allen
- 07 Nov 2022
- 72 Views
- 0 Like
- 0 Comment
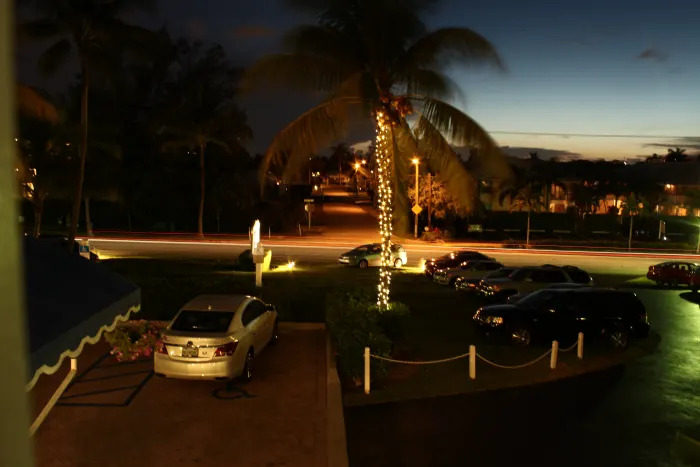
A fun way to enjoy beautiful evenings is by going outdoors and taking light streak photos.
Light streak photos turn out the most dramatically in conditions with little to no light and no background lights. Waiting at least an hour to an hour and a half after sunset will help ensure you don’t have any extra light from the sky.
What You'll Need
· Camera
· Sturdy surface (e.g., table or tripod)
· Any portable, steady source of light (e.g., flashlight or glow stick)
· Optional: A remote shutter release button can be helpful so you don’t accidentally jiggle the camera when you’re taking the picture. It can also be helpful to have a friend on hand.
Step 1: Set Up the Camera
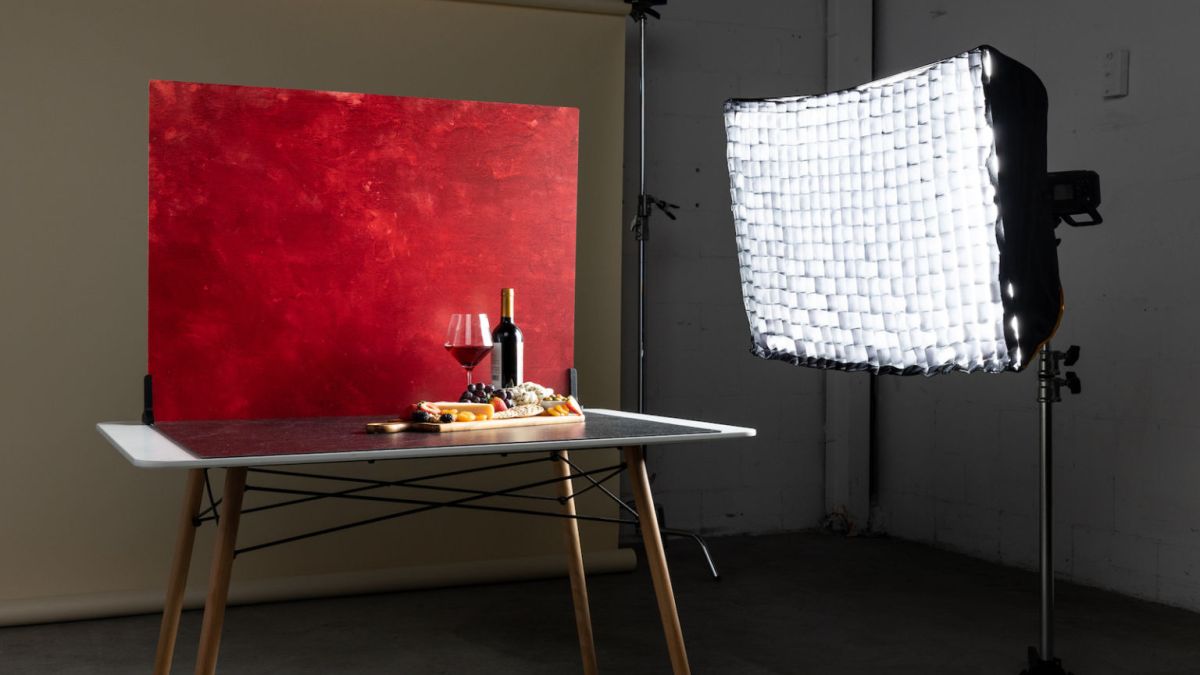
The first thing you’ll want to do is to set your camera on a tripod or other sturdy surface. Since the shutter will be open for several seconds, the slightest movement will result in a blurry photo, making a sturdy surface imperative. This is why a remote shutter release can help you avoid accidentally bumping the camera when you press the shutter.
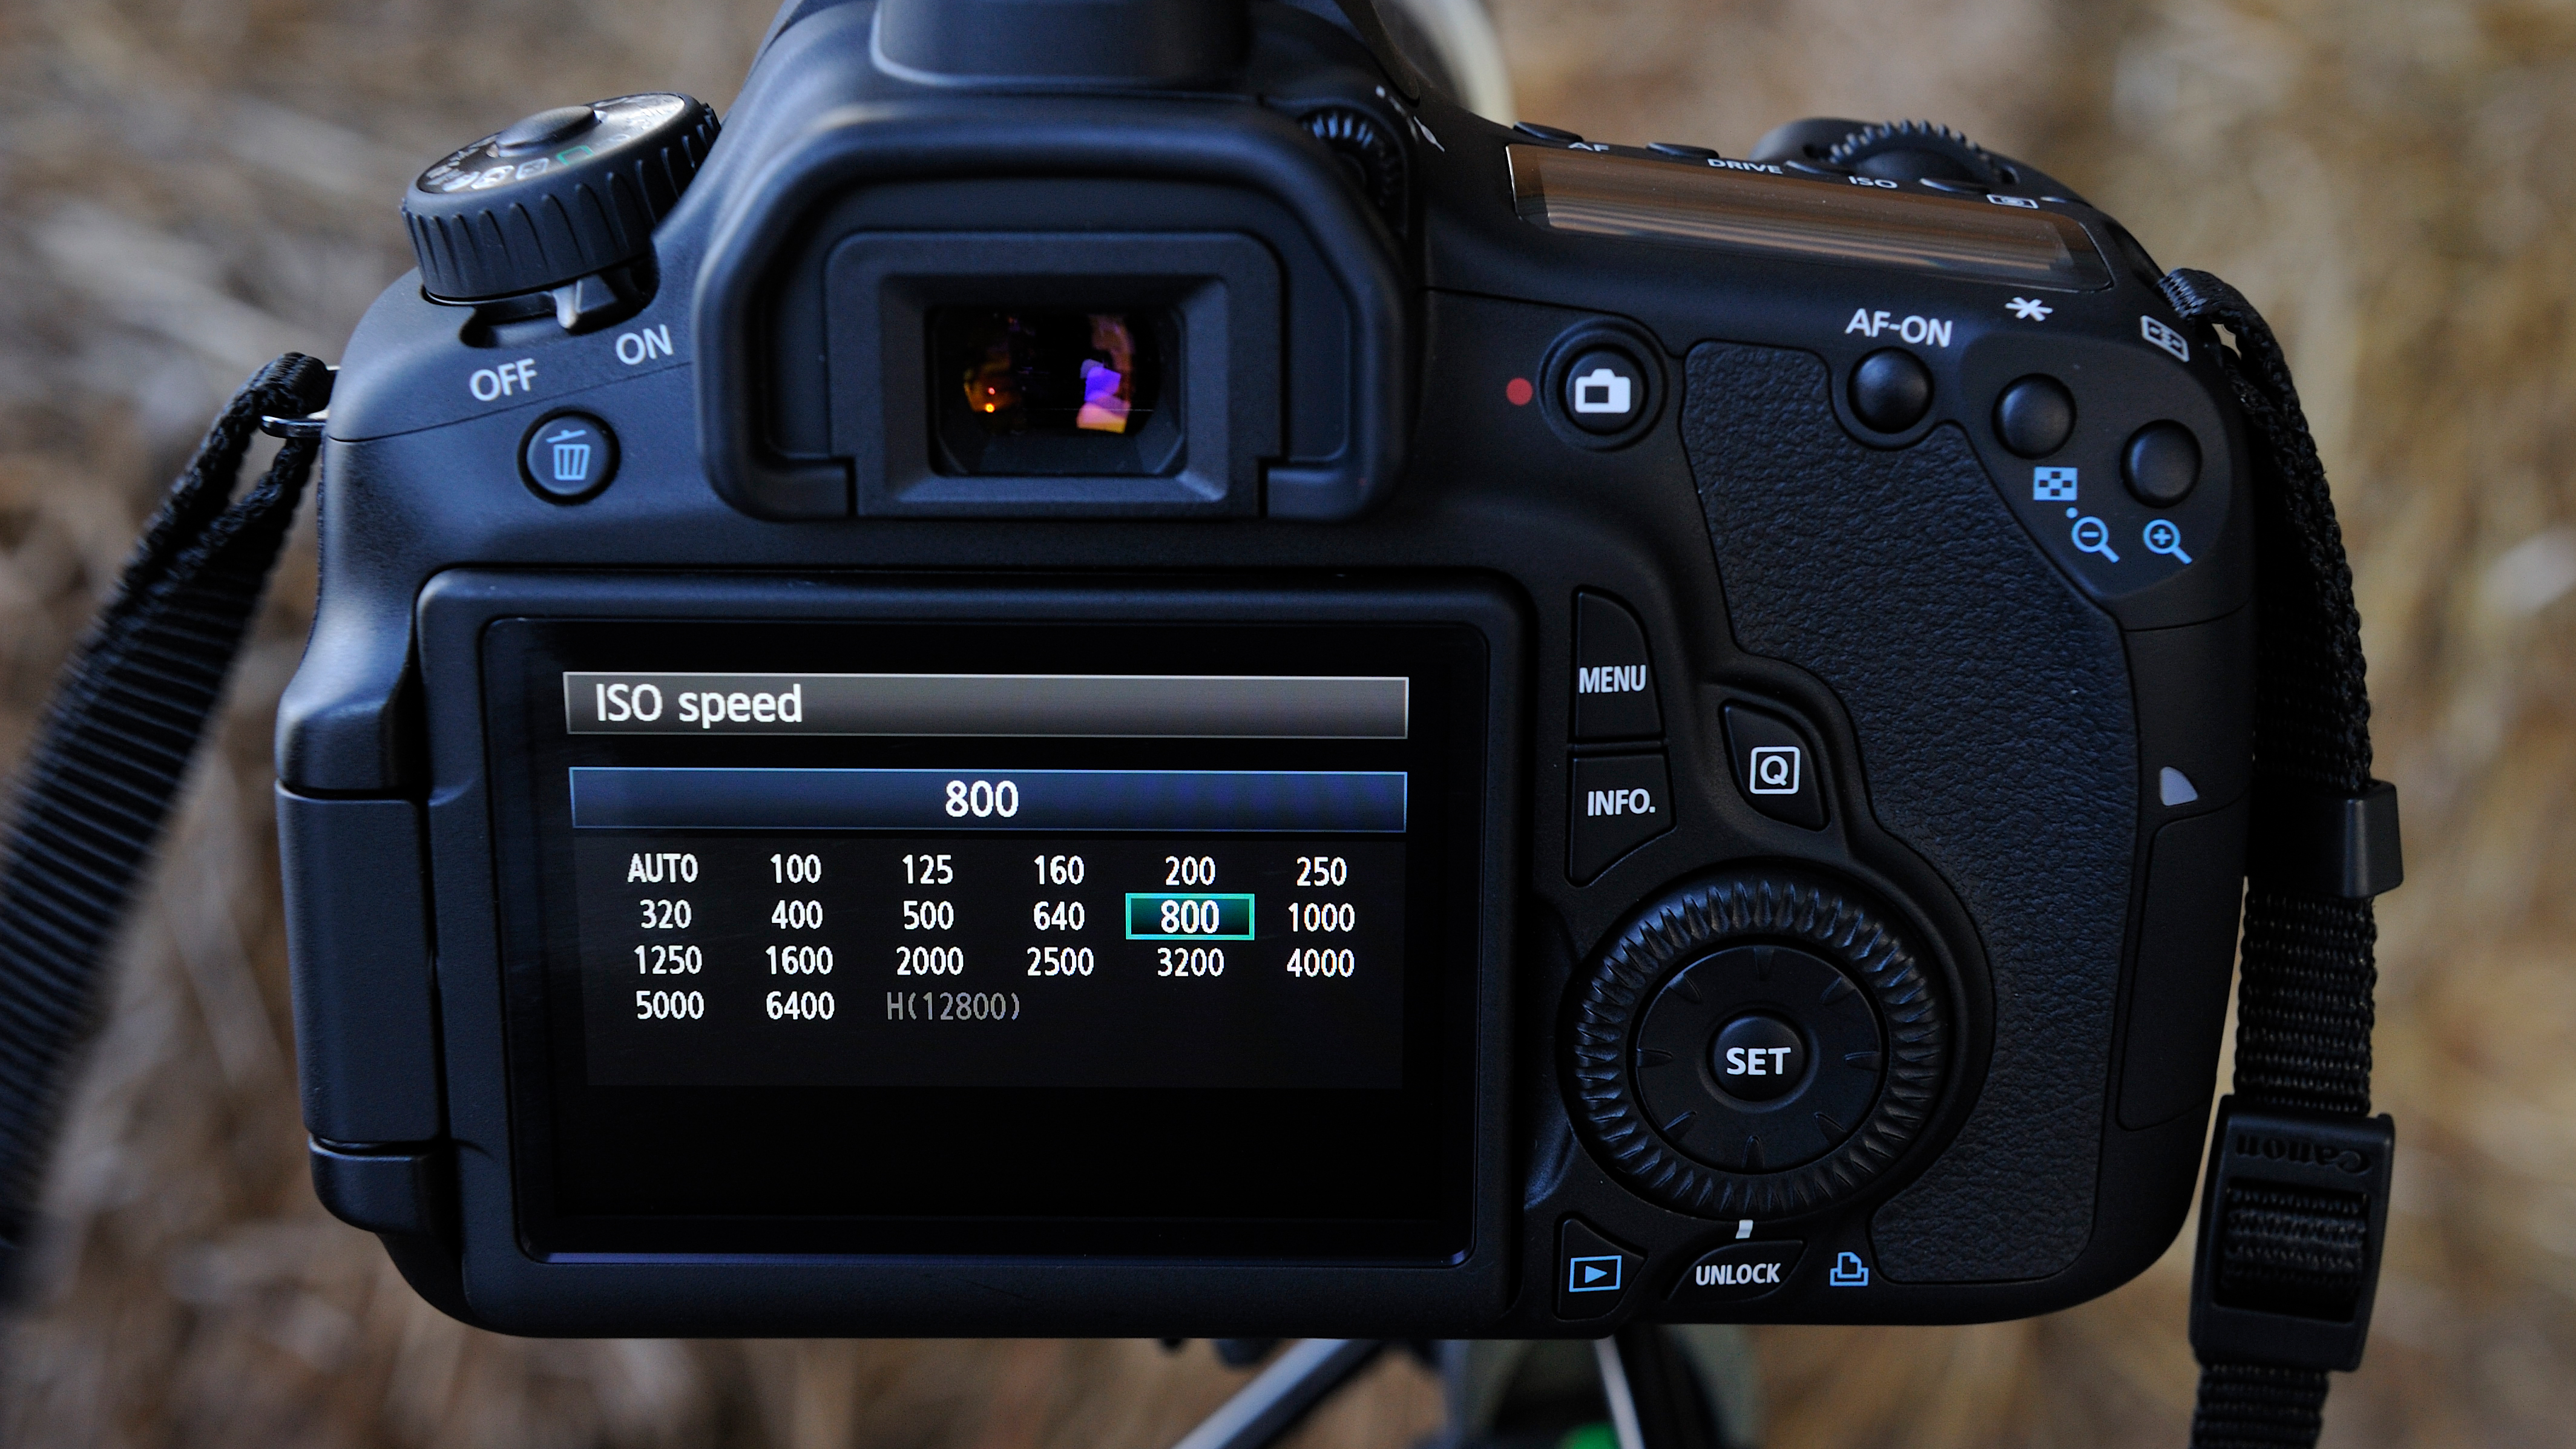
Step 2: Adjust the Camera Settings
The next step is to go under your camera’s settings and set the shutter speed to about 10-15 seconds. Different shutter speeds will give you different effects in your photos. You’ll have to turn the camera off Auto to do this. Usually, Shutter Speed Priority is good because it will allow you to set the shutter speed while the camera takes care of the rest of the settings for you.
When deciding how long to set your shutter speed, one thing to keep in mind is that if the shutter speed is long enough, moving subjects will become completely invisible in the photograph. This can be useful to know if you have people walking around in the background.
While you’re under the settings, turn the self-timer on if you aren’t working with a friend. I usually use a self-timer of about five seconds to allow me enough time to get far enough away from the camera. Read More…