How to Use the Auto ISO Setting in the Best Possible Way
-
 Loading...
 - Sissoko Boubacar
- 02 Feb 2023
- 67 Views
- 0 Like
- 0 Comment
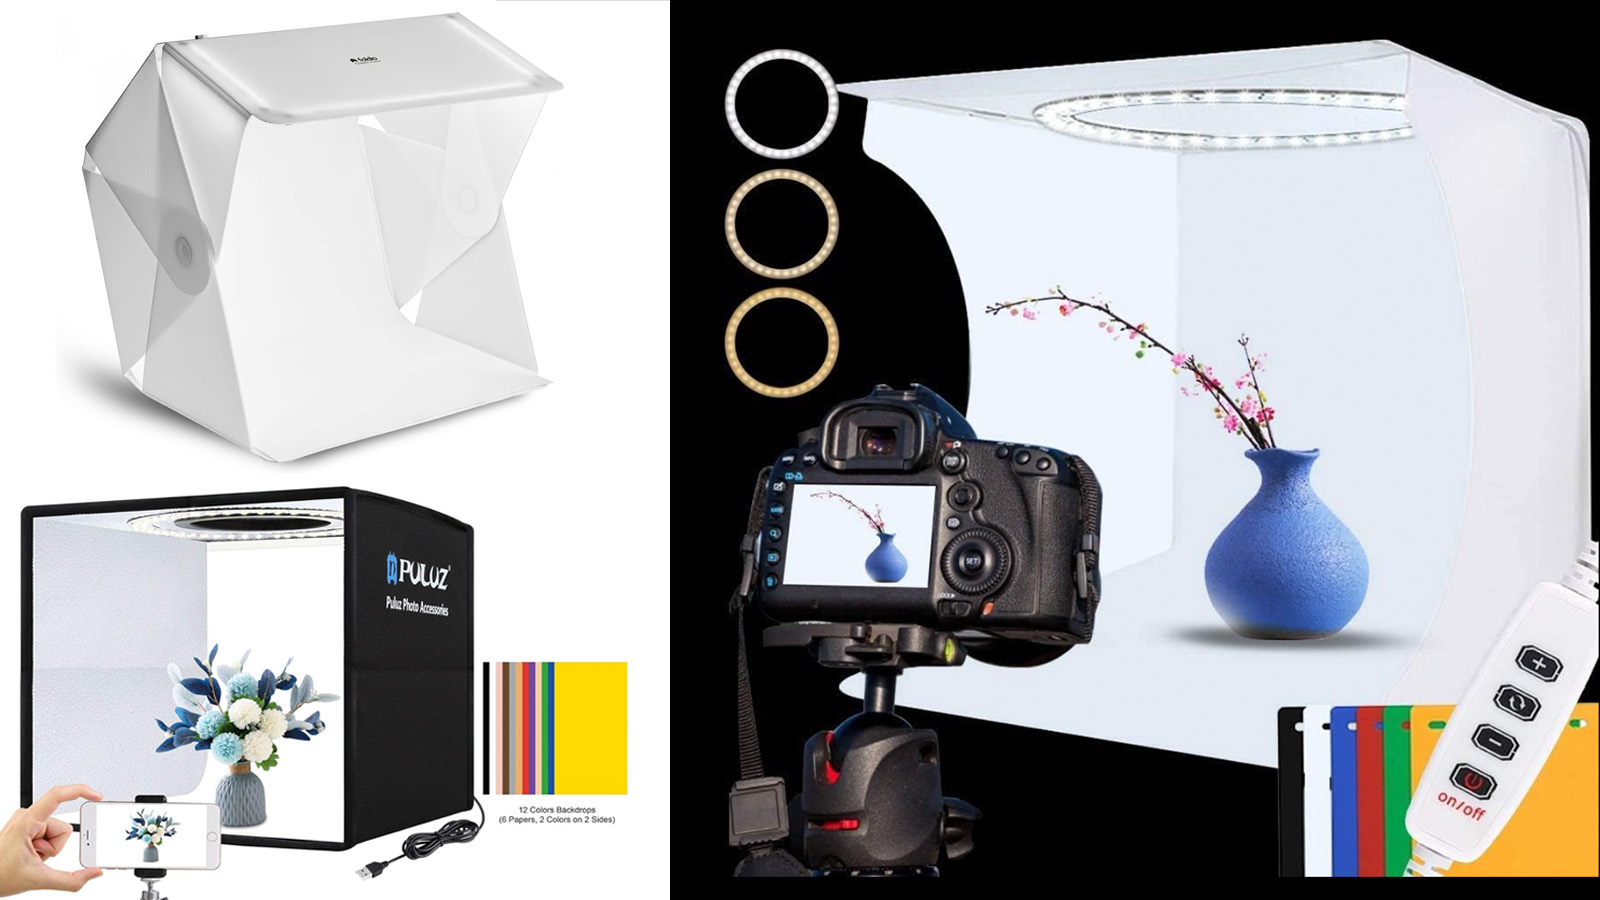
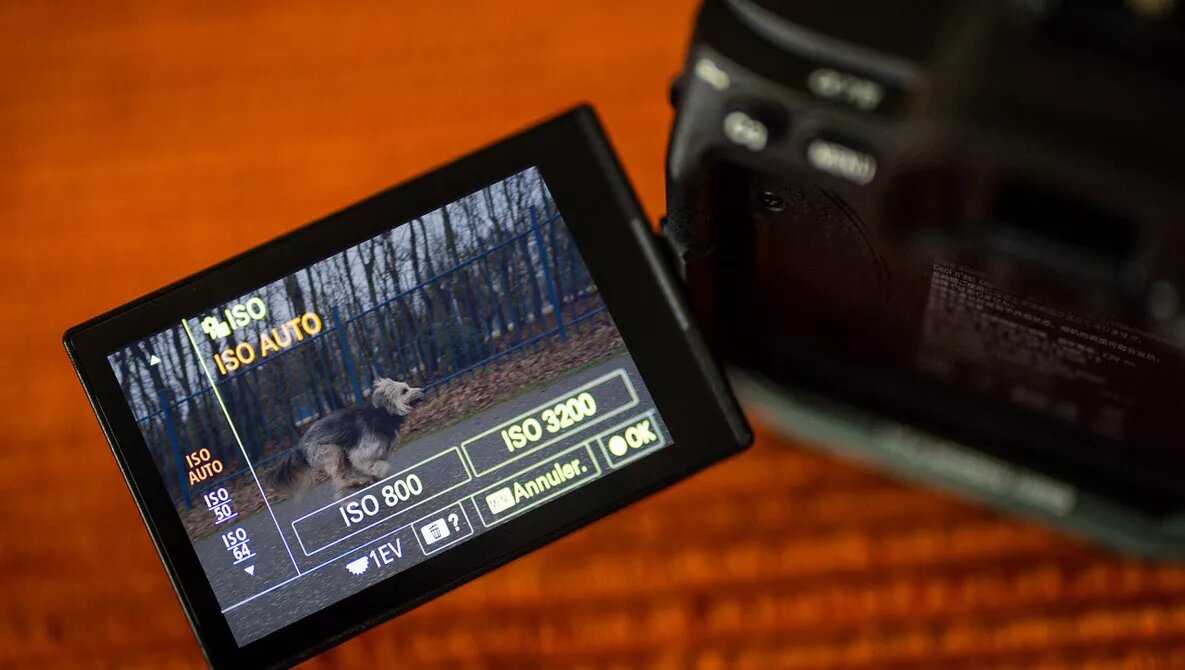
ISO can be used as a tool to adjust exposure, and you can even use an automatic ISO setting. I’ll explain how you can use auto ISO in the best possible way.
Today, we take auto ISO for granted and see it as a tool to achieve a correct exposure. It is the digital counterpart to the ASA/°DIN that indicated the sensitivity of negative film and slide film. Although the ISO setting on our digital camera has nothing to do with the sensitivity of a sensor, it does work in a similar way. With a high ISO setting, you need less light compared to a low ISO setting.
Compared to film photography, we now have three settings to think of when acquiring a correct exposure. The aperture controls the amount of light that goes through the lens. The shutter controls the time that the sensor is exposed to light, and the ISO determines (the digital version of) sensitivity. Each value can be set differently for each shot.
Auto Aperture and Auto Shutter
I remember my first camera that had the ability to set an auto shutter. This setting had the letter "A" on the shutter dial. It meant the camera could set the correct shutter speed for me, according to the light value it measured with the built-in light meter. Back then, the letter "A" could be considered the abbreviation of "auto shutter," but now, it's commonly known as "aperture priority." Read More…