
Window Light Photography: 8 Tips for Stunning Results
-
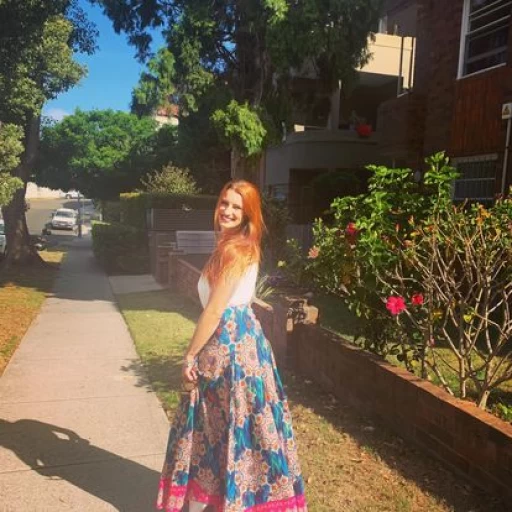 Loading...
 - Alina Cadar
- 02 May 2023
- 60 Views
- 0 Like
- 0 Comment
If you want to create gorgeous images, then window light photography is a great option.
For one, windows are always available, no matter your location. Plus, windows are completely free! There’s no need to spend hundreds (or thousands) on lighting equipment when you have a good window or two. But how do you capture gorgeous shots with window light? How do you get truly stunning results?
That’s what this article is all about. So, if you’re ready to discover everything you need to know for amazing window light photography, then let’s get started.
1. Use a North- or South-Facing Window for Beautiful Soft Light
Windows let in the sun. Which means that, depending on the direction of the window, you’ll get more or less sun–and you’ll get harsher or softer light. Now, east and west windows will give you very direct light, with the sun shining through in the morning or the evening.
And while this can work for very contrast-heavy, dramatic images, I generally recommend avoiding it, for two reasons. First, direct sunlight creates harsh shadows–shadows that just aren’t very flattering for portrait, still life, or product photography.
Instead, you want soft, even lighting, that offers very gradual transitions as it moves across your subject.
And second:
East- and west-facing windows only offer direct light for half the day. The other half of the day, the sun is in the complete opposite direction, which limits the amount of light you have to work with, plus it just makes working out photoshoot times a lot harder; instead of having the whole day to shoot with consistent results, you have to figure out how the lighting changes (dramatically!) over the course of the day. Read More…


