5 Tips for Eye-Catching Smartphone Food Photography
-
 Loading...
 - Janet Parker
- 03 Jun 2022
- 263 Views
- 0 Like
- 0 Comment
While it’s pretty easy to pull out your iPhone and snap a few shots of your dinner, if you want beautiful food photos – the kind that’ll make viewers stop and stare – then you need to master your camera settings, lighting, composition, and much more.
I’ve been doing smartphone food photography for a long time, and in this article, I share my best five tips for eye-catching smartphone shots (with a special focus on lighting and composition).
So if you’re ready to level up your images, then let’s dive right in, starting with my first tip:
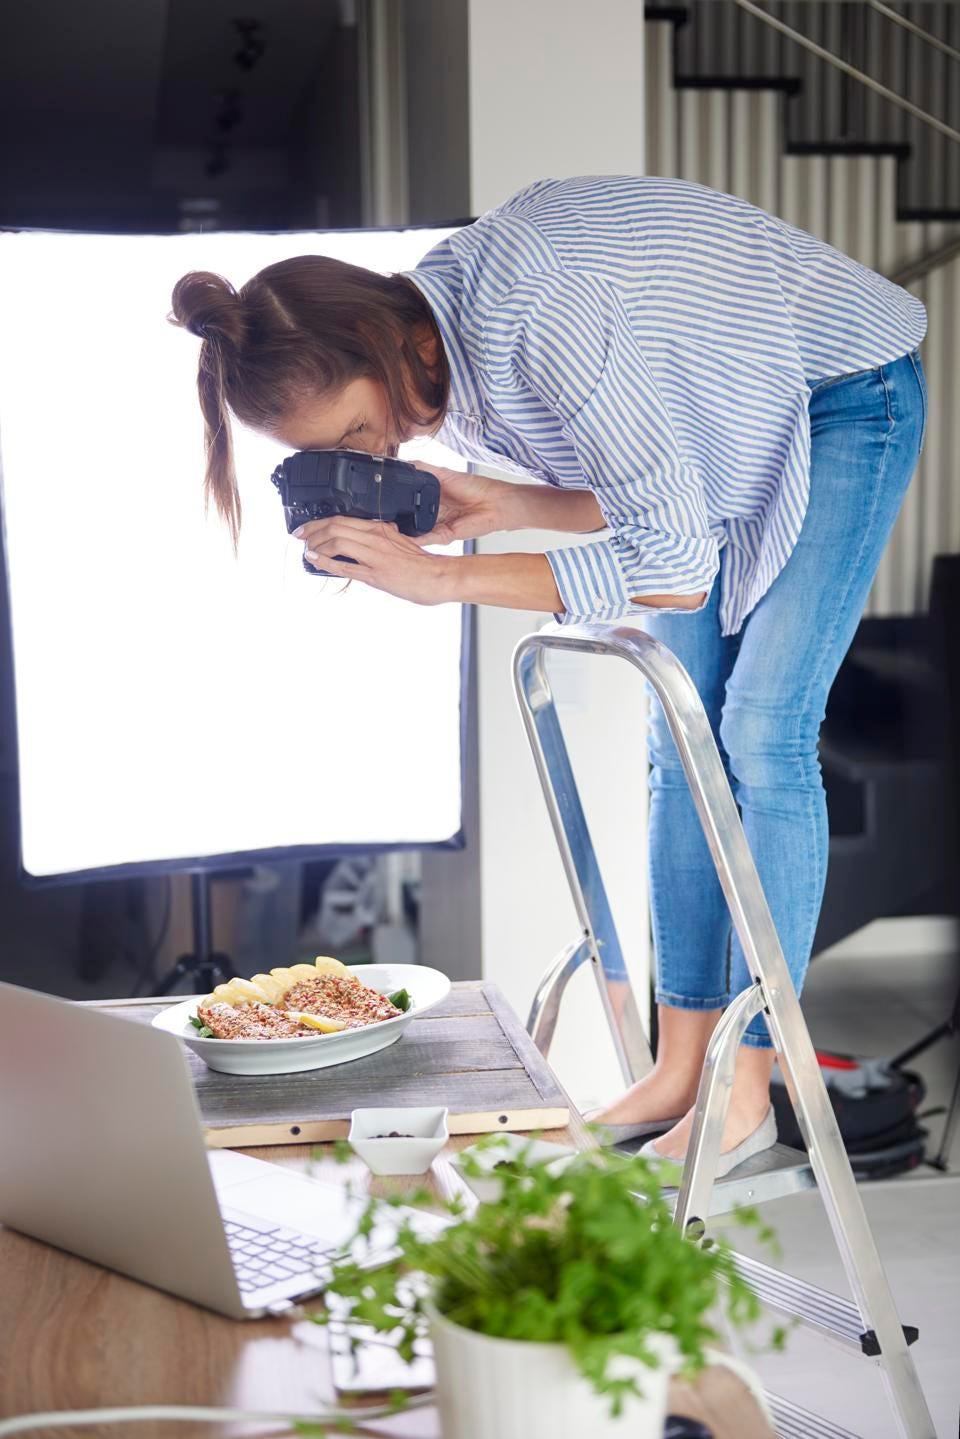
1. Use natural lighting whenever possible
When it comes to food photography, lighting is everything. Knowing how to use the light is what separates the amateurs from the pros.
Now, most smartphone food photos are taken in restaurants, and they tend to look terrible for one major reason:
Restaurants generally use fluorescent lighting, which is hard and unflattering. (It’s also often tinged with a green or yellow color cast.)
Fortunately, this is easy to fix:
Instead of relying on artificial light, position your food near a window. And snap a few shots using its soft, flattering light.
Just be sure the sun isn’t too bright; you don’t want it to cast harsh shadows that are unflattering to your dish. If you are sitting near a too-bright window, you can place a small scrim between the window and the food, or you can simply move the food until it’s out of the direct sunlight.
By the way, once you’re positioned near a window, notice the precise direction of the light. The best lighting generally comes from the side or behind the food, so reposition your smartphone until you get the perfect angle.
This next shot features beautiful sidelight, which came in from the back left:

2. Choose the right angle
When you take smartphone food photos, does your plate ever look like it’s sliding off the table? Does your food ever look too big or too small?
That’s because most smartphone cameras use wide-angle lenses – and when you’re shooting wide-angle, the wrong camera angle will make your food look distorted.
In other words, you can’t just pick your angle based on convenience. Instead, to achieve the most natural results, you need to carefully choose an angle, one that will help prevent perspective distortion.
My recommendation? Get down low over the table and shoot your scene at 90 degrees. This will create a beautiful image with lots of depth and minimal visible distortion.
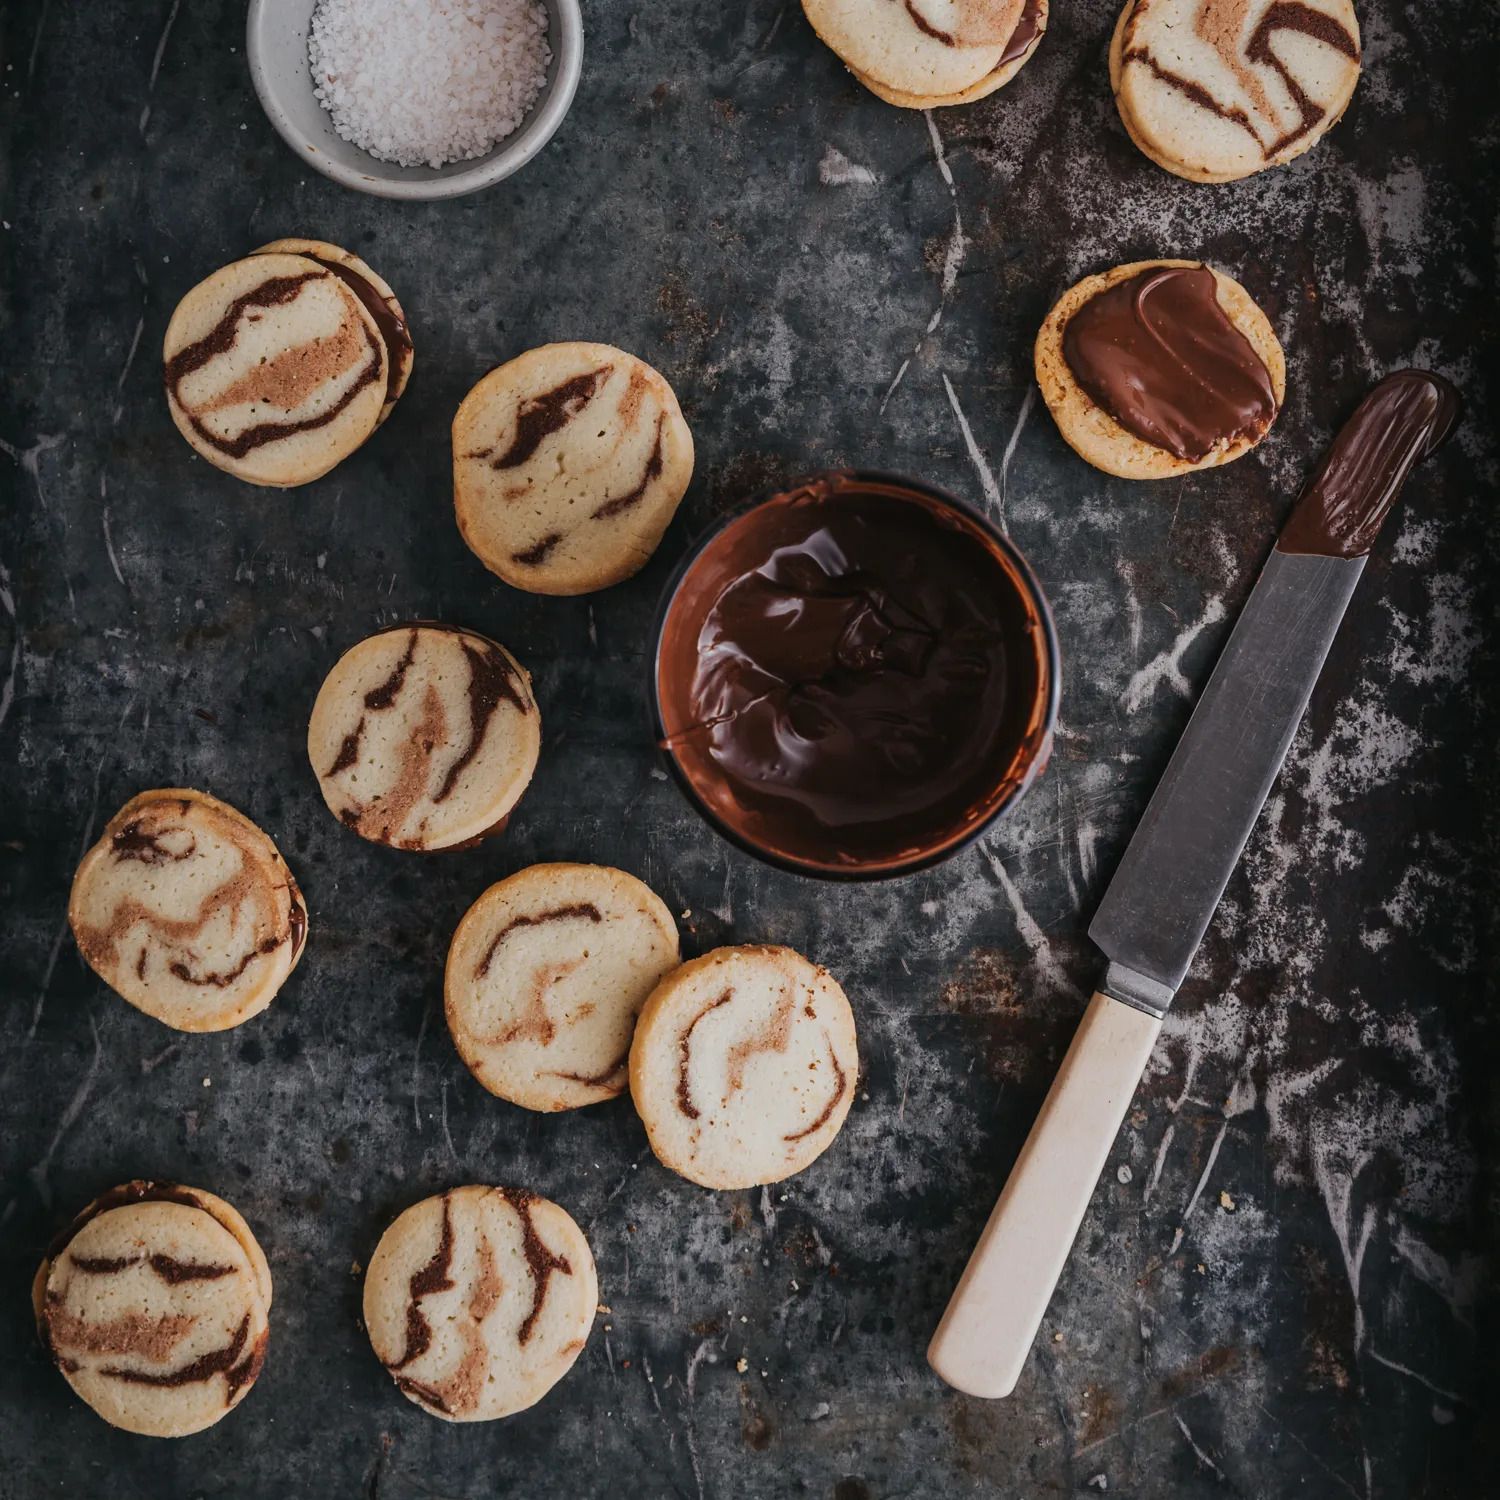
Alternatively, you can shoot from directly over the food, looking down; this will reduce depth for a cool graphic effect:

A 90-degree approach also lets you show more food in the frame, which is great for shooting full table spreads. Note, however, that 90 degrees is not a great angle for tall food, like burgers or stacks of pancakes. Shoot those subjects from low down over the table so you can show off their layers!
Unfortunately, a 3/4 angle – where you shoot from around 45 degrees above the food – rarely works. It’s an easy way to create distortion issues, so I recommend you avoid it whenever possible. (If you really want to proceed with a 45-degree angle, try taking a step back and switching over to your smartphone camera’s telephoto lens.)
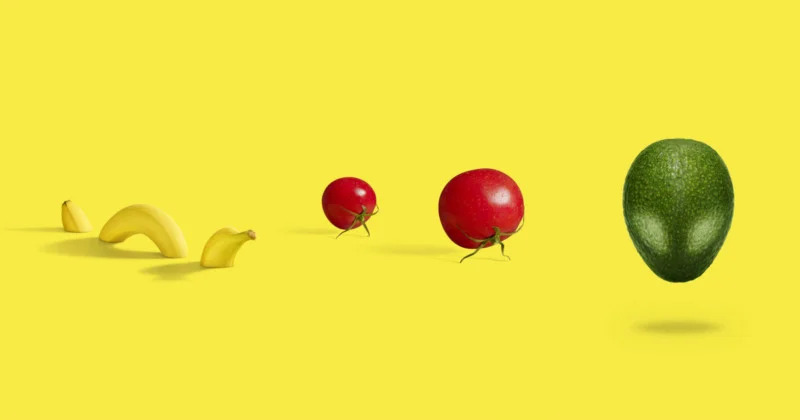
3. Use minimalistic compositions
Complex tablescapes are fun and look appealing, but they’re often difficult to photograph.
It can take a lot of careful arrangement to make a pleasing composition, and by the time you get it right, the food may no longer look appetizing.
So instead of relying on wide, sophisticated compositions, go minimalist. In other words, keep it simple.
Feature a couple of food items and a prop or two (like a utensil or a piece of linen). Spread them out across the table so the eye is drawn around the frame.
This minimalist approach usually works well, especially if you’re a beginner. It’ll keep the focus on specific items of food, and it’ll help you create graphic compositions like this one:

Pro tip: If you have the time, experiment with different background colors. Bring fabric or poster board that complements the food and plates, then have fun trying out different combinations of food items and props. Read More…