iPhone HDR Photography: The Ultimate Guide
-
 Loading...
 - amie jasmine
- 25 Jul 2022
- 96 Views
- 0 Like
- 0 Comment
The HDR technique, popularized by photographer Trey Ratcliff, previously required heavy DSLR cameras, expensive software, complicated exposure calculations, and a huge amount of patience to get right. It was difficult, time-consuming, and involved a lot of manual editing in Photoshop or other post-processing applications.
But these days? HDR photography is as simple as pressing a button on your iPhone!
However, there are a few things you need to know in order to create beautiful HDR iPhone pictures, and that’s what I share in this article.
What is iPhone HDR photography?

HDR stands for high dynamic range. An HDR photo generally features very bright and very dark areas, but – this is critical! – the brightest portions are not overexposed and the darkest portions are not underexposed. In other words, HDR files include detail in the shadows, midtones, and highlights.
How does this work?
The basic HDR process involves capturing multiple images with different exposures, then blending the images together for one perfectly exposed final photo. When working with your average DSLR or mirrorless body, you’ll need to do this manually – but thanks to the computational powers of modern iPhones, it’s pretty much automatic.
You see, when your iPhone captures an HDR image, you only need to press the shutter button once, yet the phone camera fires off several pictures. Some of these photos have the bright parts toned down, others have the dark parts lightened up, and some are, like Goldilocks and her porridge, just right. Then a host of software algorithms combine all the images into one gorgeous shot that has the best of every exposure baked into a single file.
(The iPhone HDR process happens so fast that it’s completely invisible to users; all you see is the final result!)
“But wait!” you might be saying to yourself. “I’ve never used an HDR setting on my iPhone, and my pictures turn out just fine. Right?”
Well…not exactly. You see, iPhone photography processes have gotten so good that HDR imaging is usually turned on by default. So the likely reason your pictures are full of detail? Your iPhone was shooting in HDR mode all along! It’s thanks to something called Smart HDR:
What is Smart HDR?
iPhones have been capable of capturing beautiful HDR images for several years, but HDR photography used to work via a setting that users would enable and disable at will.
Things are much different in today’s high-powered mobile devices. Your iPhone now does all the heavy lifting for you so you can focus on the actual photography.
Smart HDR, which is enabled by default on most iPhones, automatically analyzes the scene in real time as you prepare to capture an image. Then, if it notices that some parts are excessively bright, Smart HDR tweaks the image-capture process to make sure those areas look good in the final shot.

If you want greater control over the process, you can disable Smart HDR and then enable HDR on a per-shot basis in the Camera app. Personally, I prefer to leave Smart HDR on all the time. I never know when HDR might be useful, and I’d rather err on the side of caution and use it more often than not. Plus, Smart HDR means I worry less about the technical particulars of each shot and can focus more on composing interesting images.
When is HDR technology useful?
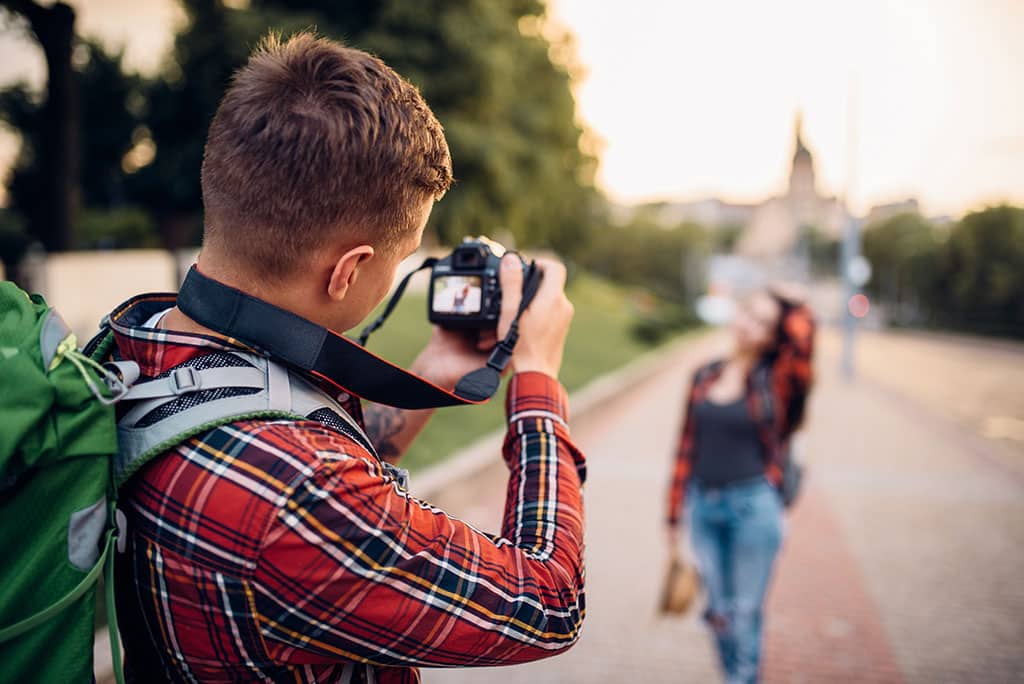
iPhone HDR photography is most useful when you have a foreground subject that you want to properly expose and you have a very bright background. This type of scene can occur in plenty of situations, but it happens most often out in nature, usually when the subject is under a shadow or just backlit by the sun.
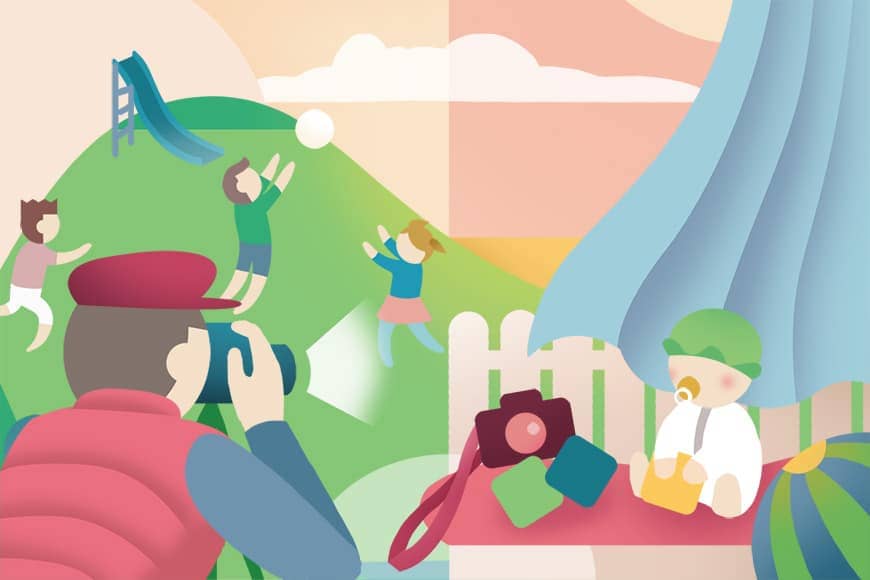
You’ll also appreciate the benefits of HDR imaging if you take pictures against a bright window or a large light source.

The above example is artificial but not uncommon; I end up in situations like this all the time, and with a traditional DSLR or mirrorless camera, I have to decide which part of the image to expose. Happily, iPhone HDR photography more or less eliminates that decision from the entire process, and I can always capture a nice image.
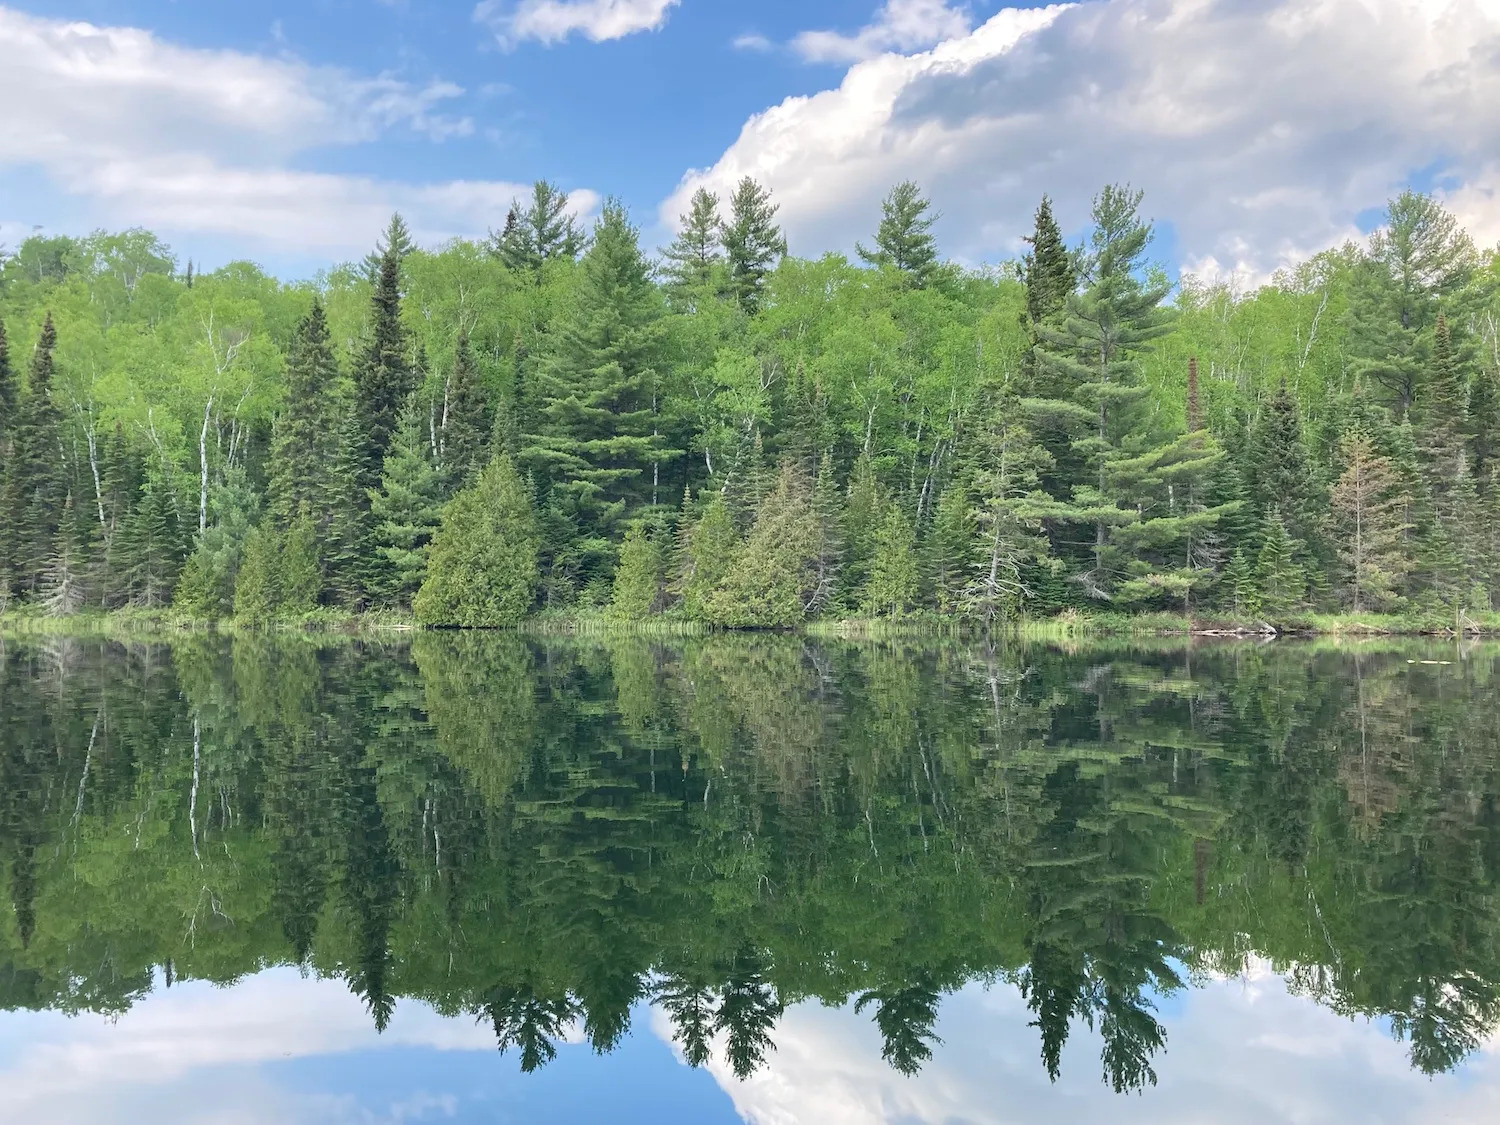
By the way, when shooting without HDR on an iPhone, you can always tap different parts of the image to set the exposure. For this next shot, that’s exactly what I did: I tapped on the sky, which ensured that there was plenty of cloud detail. Unfortunately, it also meant that the animals were too dark: