Product Photography for Clothing: It's All About the Details
-
 Loading...
 - Mia Graham
- 07 Oct 2022
- 69 Views
- 0 Like
- 0 Comment
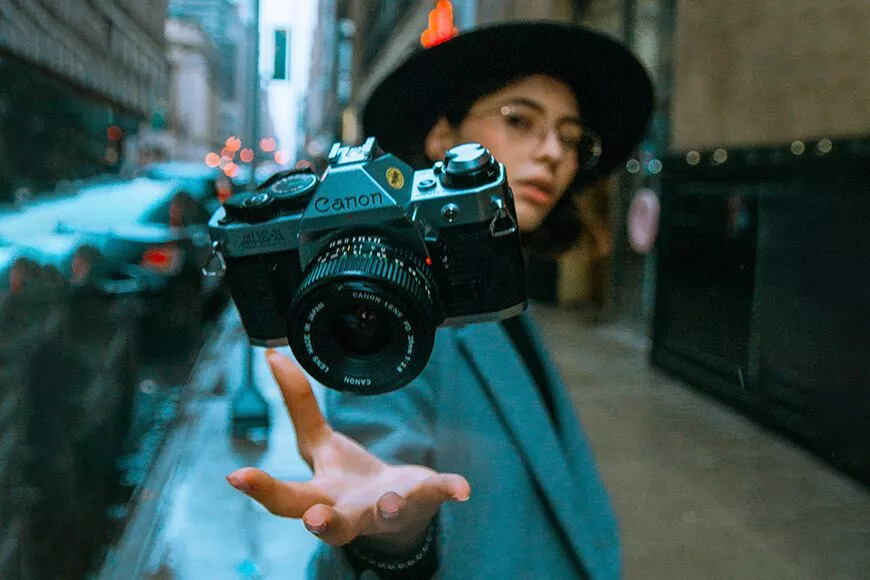
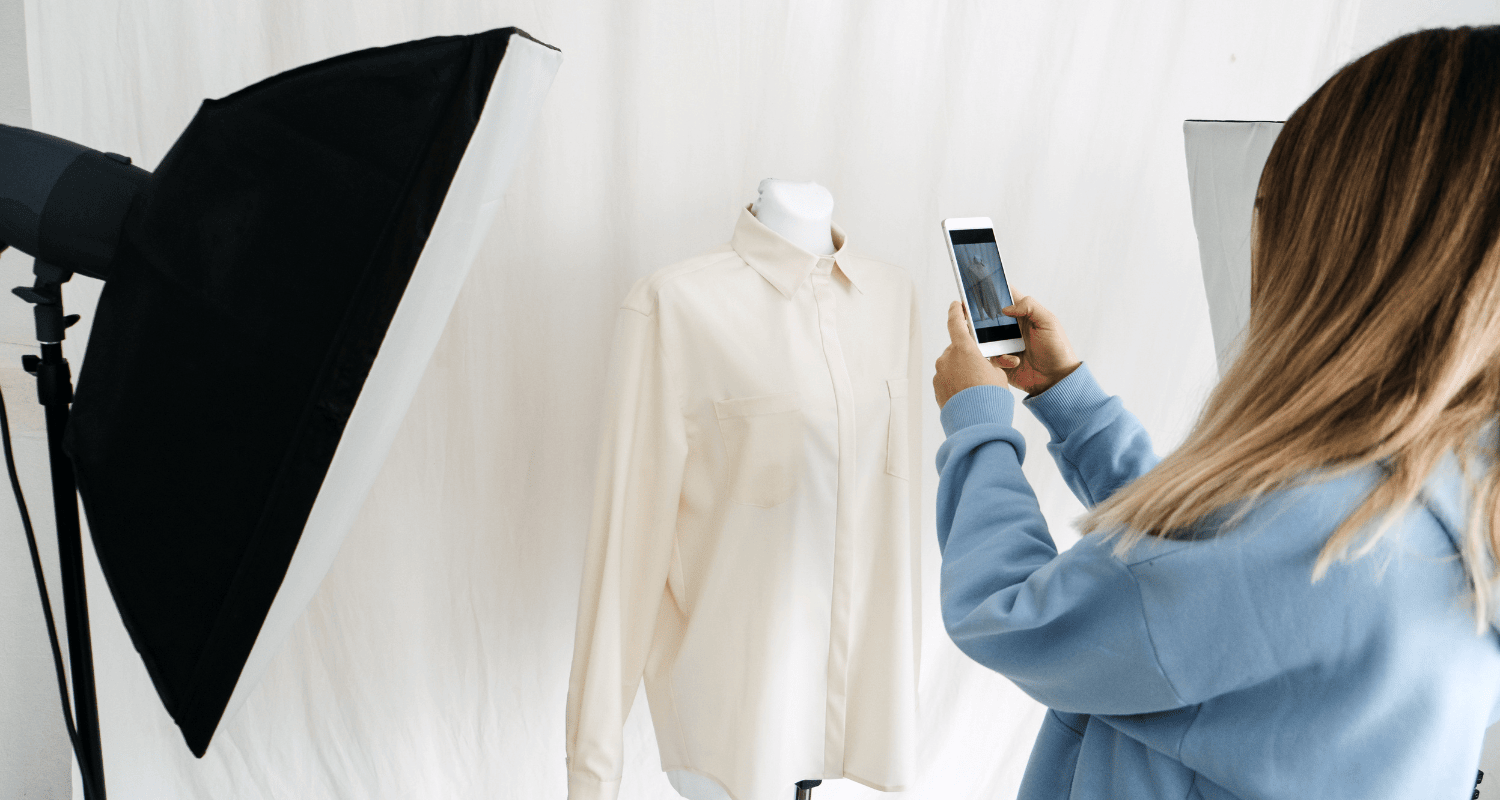
When it comes to selling apparel online, your images are the most important part of your product page. No matter how well you describe your product, nothing will convert a shopper to a customer better than good apparel photography.
For this reason, it’s important to get the photo right. I can’t tell you how many times I’ve gone through an entire shoot only to discover that one detail was out of place: a button, a thread, or a wrinkle I didn’t catch. Going back to reshoot is not only frustrating but is also a waste of time and money, so plan ahead!
In the following post, I’ve compiled a list of details that can be easily overlooked when shooting clothing. With a little study and a lot of practice, you’ll be able to train your eye for photographic success.
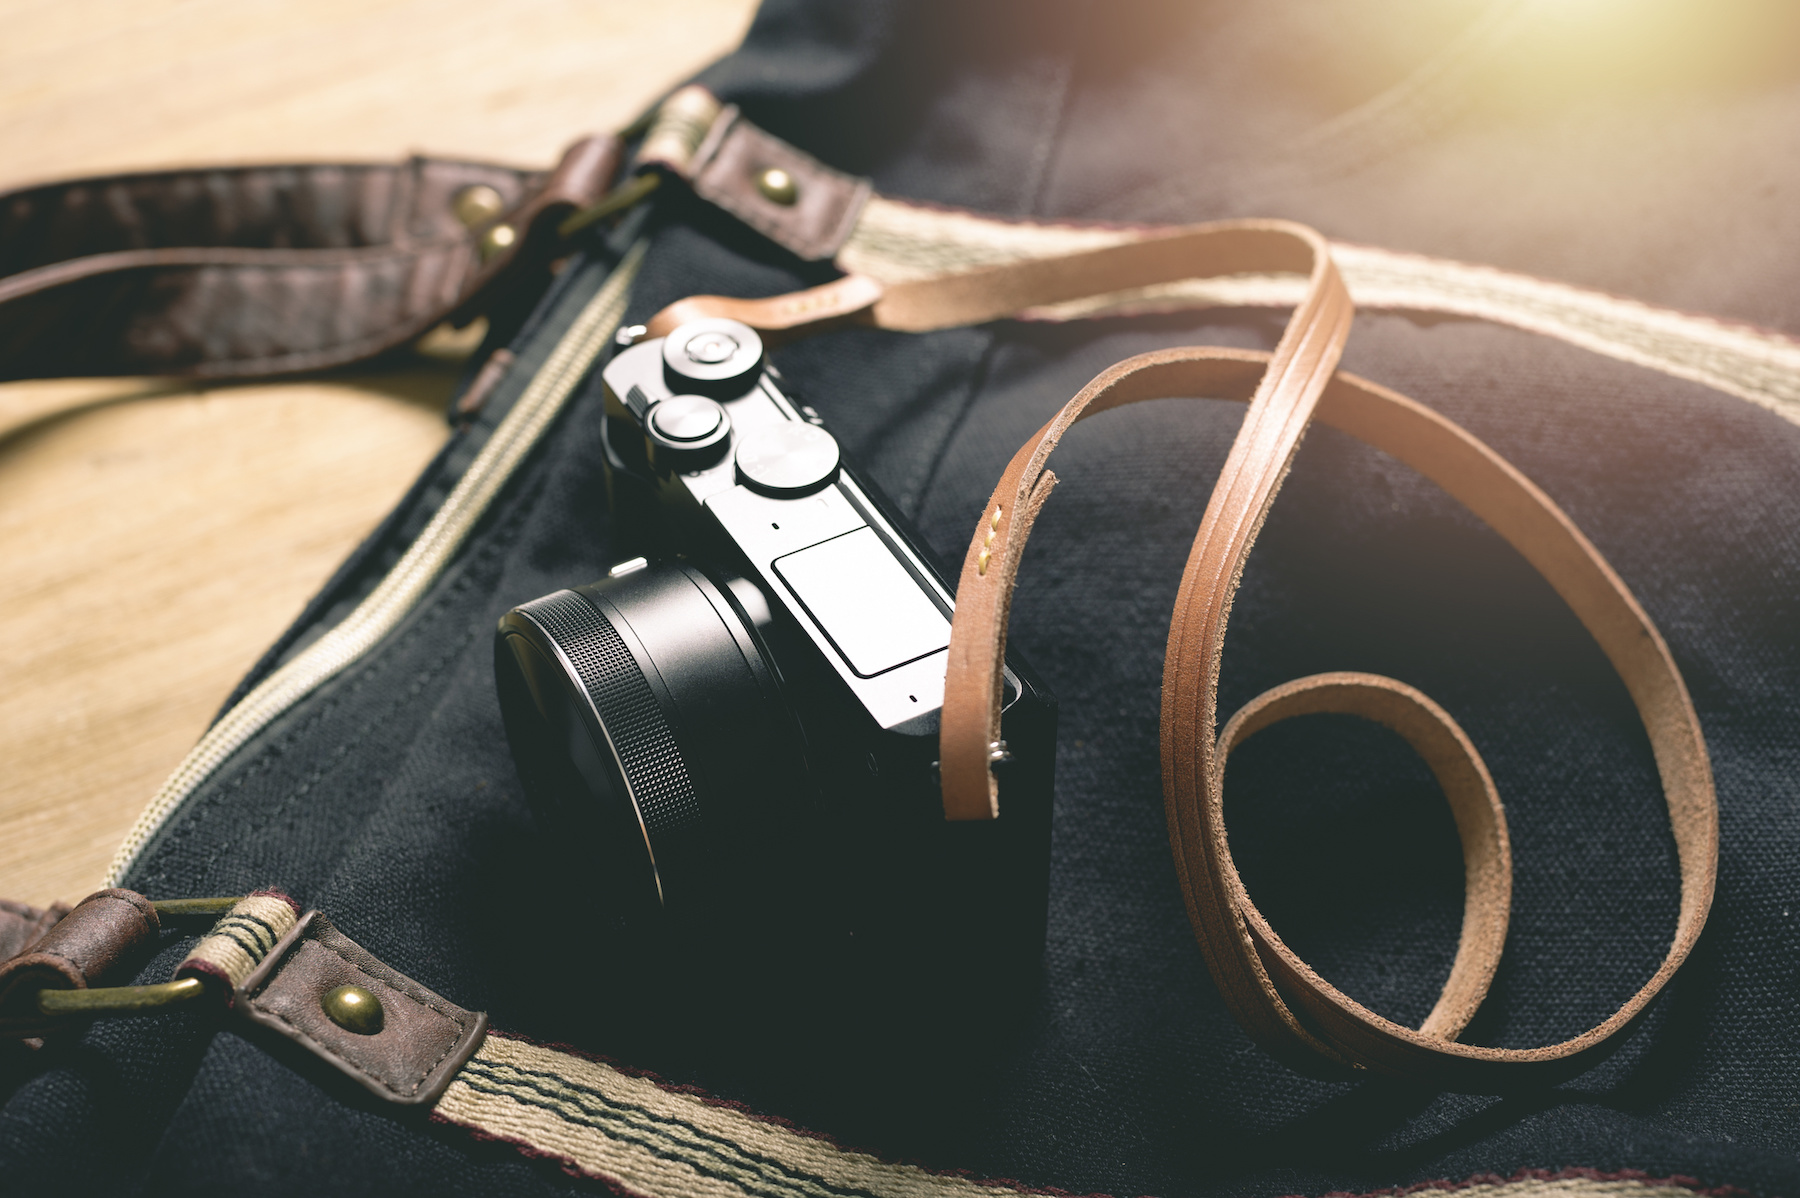
But before I get into the details, let’s quickly go for a few things you might need apparel photography.
· Mannequin or model
· Tripod
· Camera
· Lighting equipment
· Backdrop
· Pins, tape
· Appropriate camera settings
We have a whole other blog that gives step-by-step advice on how to photograph clothing and why each thing above is necessary. Be sure to give that a look.
Now let’s get into showing off the details.
Buttons
First and foremost, check to see that all of your buttons are accounted for and buttoned up. This can be trickier than it sounds so it’s always good to have someone helping you double-check these details as you shoot.
Ties
If your article has tassels or ties, make sure they’re styled neatly and consistently. It’s a good idea to practice beforehand to avoid possible frustration and wasted time. There are many great YouTube videos on tying the perfect knot, so take some time to plan ahead, and your shoot will go much smoother! Read More…