Low Light Photography: Which Are The Best Camera Settings?
-
 Loading...
 - Audrey Davis
- 07 Oct 2022
- 68 Views
- 0 Like
- 0 Comment
Struggling with low light is a photographer’s worse nightmare.
Yes, I know someone in the crowd will tell you to just use a flash, but that isn’t the case here; while the flash or Speedlight will provide us with artificial light, it will also cause some other issues in return.
Photographing in low-light situations can be difficult and challenging, but that, at least for me, is part of the fun and what I enjoy about photography.
In today’s article, we’ll go over some techniques on how to improve our low-light photography.
Before we start let’s figure out the meaning of low-light for those who are not familiar with it.
What Is Low-Light in Photography?
As the name implies, it means that there’s not enough light.
We all are aware that the camera sensor works with light, which implies that if the sensor doesn’t get enough light to absorb, the image quality suffers.
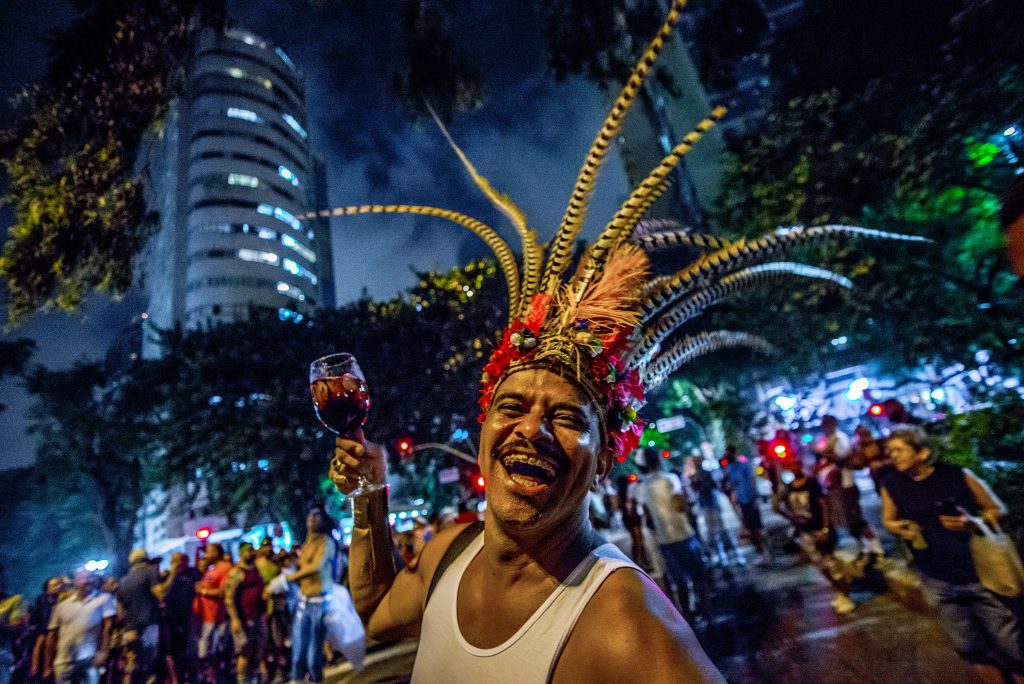
Low light photography refers to any scenario in which there is a shortage of available light.
For example, indoor photography with little ambient light as well as night photography with light that is hardly visible to our eyes.
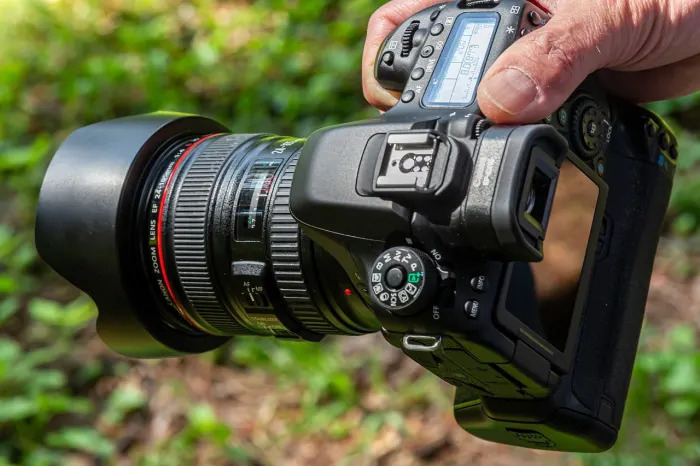
Know Your Camera Settings and Set Them Up for The Best Low-Light Outcome

The settings I’m about to share are the result of a few hours of research and general knowledge. These are the settings that most photographers prefer to use in low-light situations:
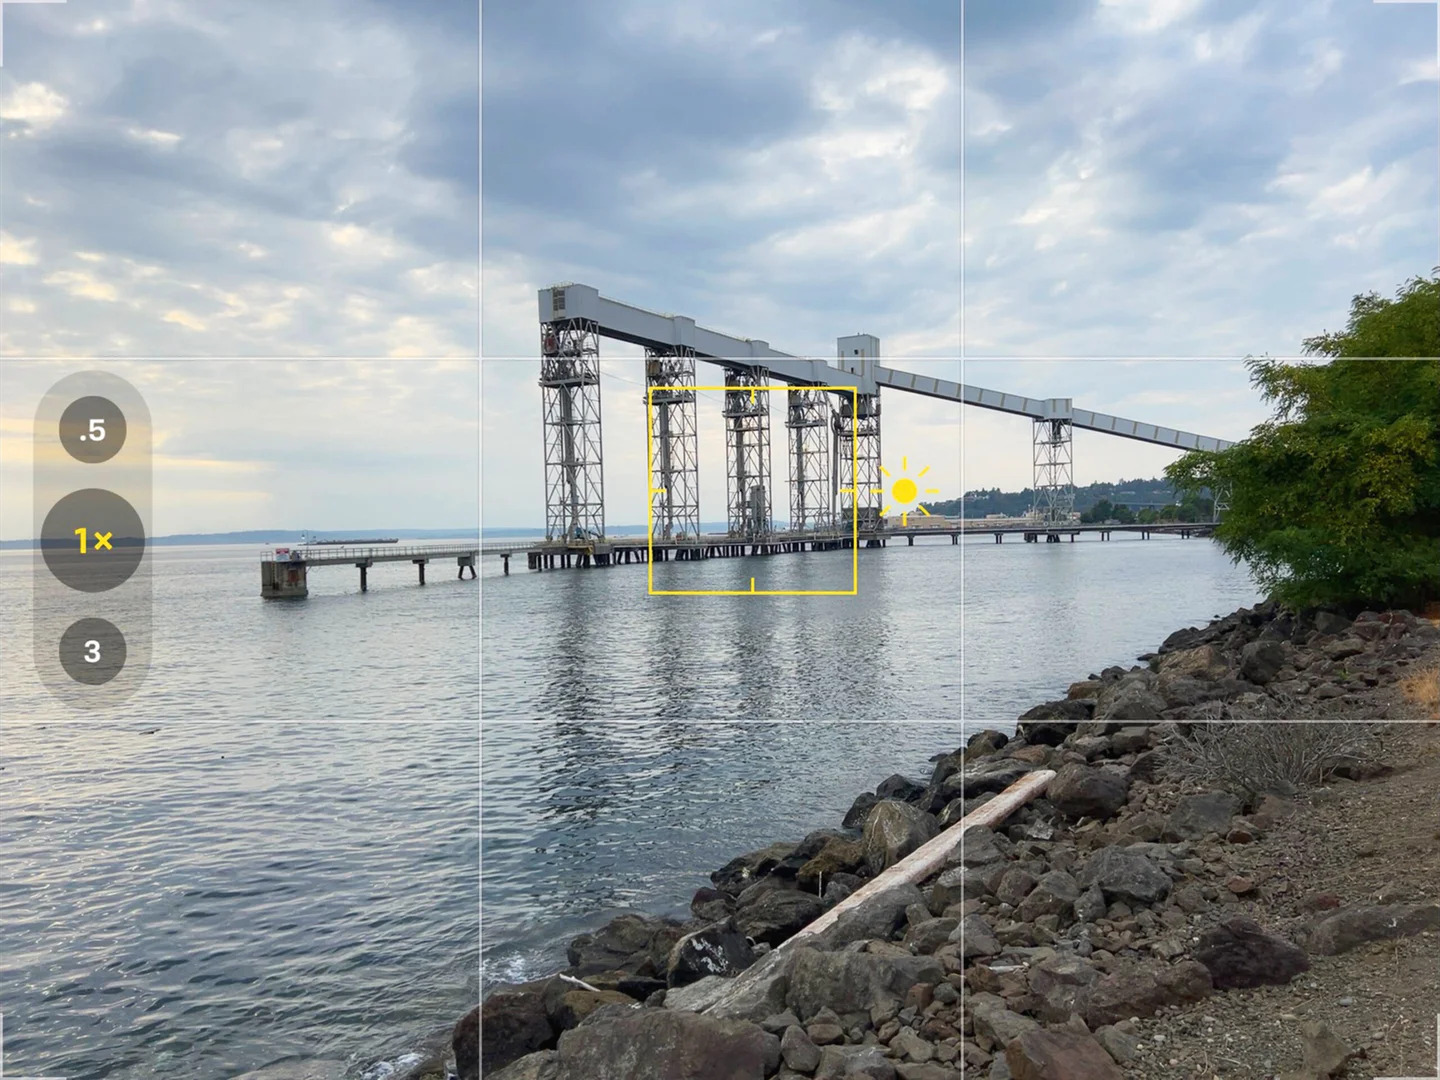
ISO

ISO is basically what defines how light-sensitive your camera sensor is.
To simplify things, increasing the ISO to 600 or 800 indicates allowing more light to pass through the camera sensor, but setting it to 100 or 200 suggests the reverse.
It’s understandable if you tell me to just keep ISO at the highest level. However, high ISO comes with a drawback, which is noise (grain) and less sharp images.
In my opinion, the best ISO level would be around 1200 – 1800.