Street Photography: Mastering the Best Camera Settings
-
 Loading...
 - Ryker Dube
- 12 Aug 2024
- 46 Views
- 0 Like
- 0 Comment
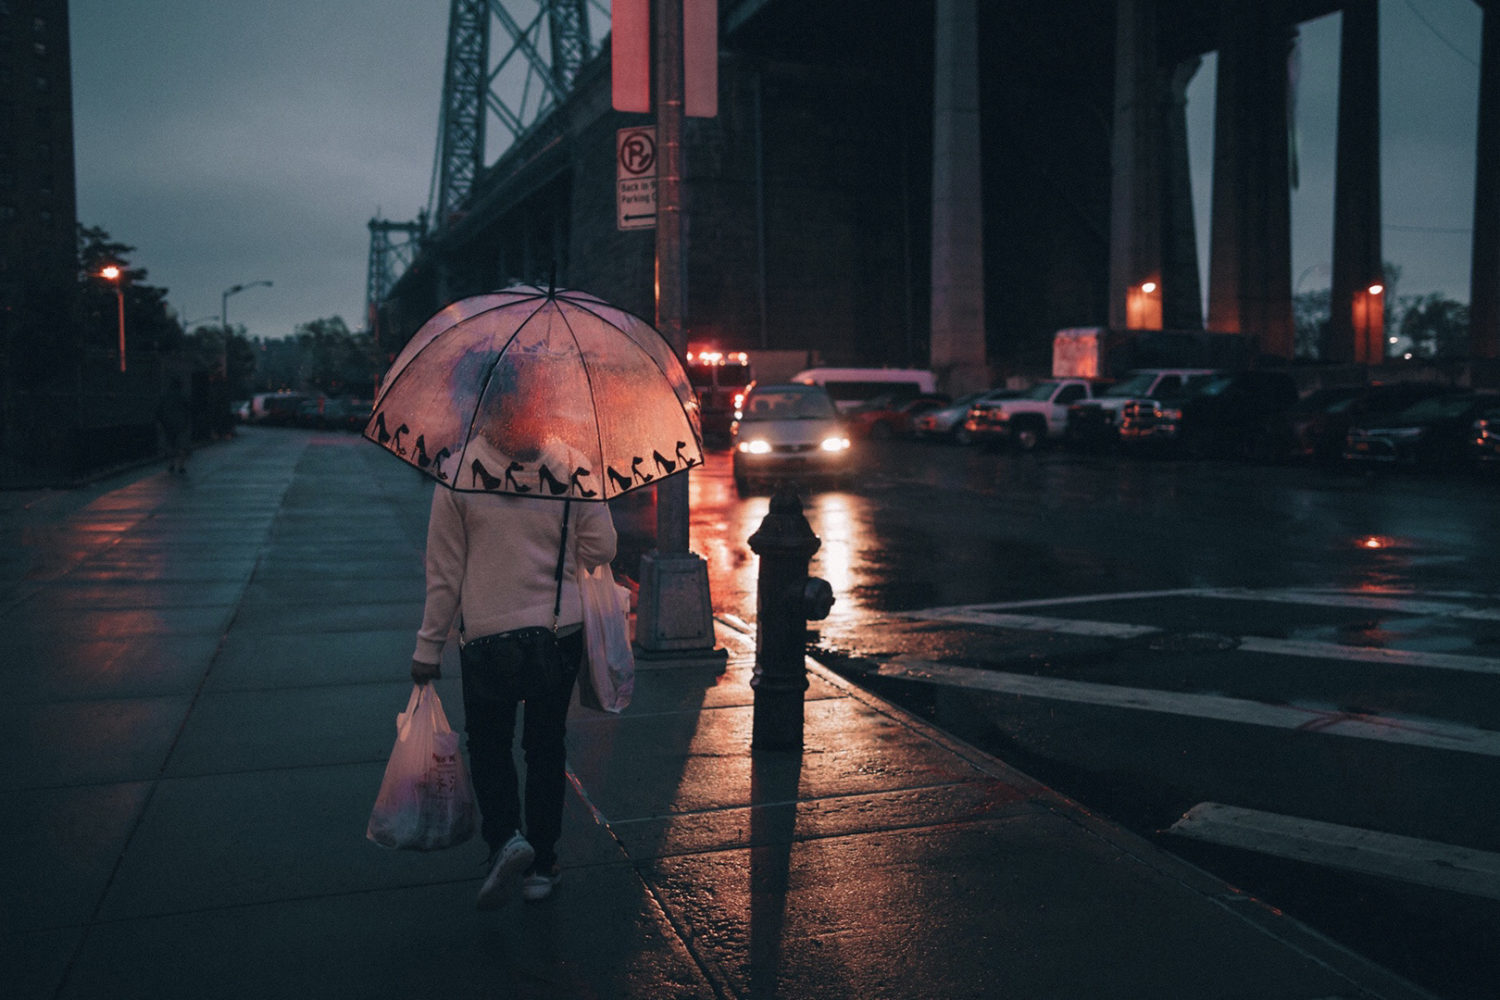
As a street photographer, you know that the key to capturing those fleeting, spontaneous moments lies in your camera settings. The right combination of shutter speed, aperture, and ISO can mean the difference between a blurry, uninspired shot and a captivating, frame-worthy image.
In this comprehensive guide, we'll dive deep into the best street photography settings to help you take your skills to the next level. Whether you're a seasoned pro or a budding enthusiast, you'll learn how to fine-tune your camera to adapt to the ever-changing urban landscape and become a master of the candid, decisive moment.
Shutter Speed
In street photography, the name of the game is speed. Your subjects are constantly on the move, so you need a shutter speed that can freeze the action without sacrificing image quality.
A minimum shutter speed of 1/250th of a second is often recommended by enthusiasts, but it may be necessary to go even faster depending on the scene. Try increasing the shutter speed to 1/500th or even 1/1000th of a second if you're taking a picture of a moving subject, like a cyclist or a jogger, to get a clear, blur-free image.
Remember, the faster the shutter speed, the more light you'll need to compensate. This is where adjusting your aperture and ISO come into play.
Aperture
The aperture setting on your camera is crucial for street photography, as it determines the depth of field in your images. A wider aperture (lower f-number) will create a shallower depth of field, allowing you to isolate your subject and blur the background, while a smaller aperture (higher f-number) will keep more of the scene in focus.
For street photography, a good starting point is to shoot with an aperture between f/5.6 and f/8. This will give you enough depth of field to keep your subject sharp while still creating a pleasing, blurred background. If you're looking to get even more creative, try experimenting with a wider aperture, like f/2.8 or f/4, to really make your subject pop.
ISO
The final piece of the puzzle is the ISO setting, which controls the camera's sensitivity to light. In the fast-paced world of street photography, you'll often find yourself shooting in less-than-ideal lighting conditions, so it's important to find the right balance between sensitivity and noise.
As a general rule, try to keep your ISO as low as possible to minimize digital noise and grain in your images. However, if the lighting is challenging, don't be afraid to crank up the ISO to ensure you're getting a fast enough shutter speed to freeze the action.
A good starting point is to set your ISO between 400 and 800, and then adjust as needed based on the specific lighting conditions. If you find that you're still struggling with slow shutter speeds, you can push the ISO even higher, but be mindful of the trade-off in image quality.
White Balance
Street photography often involves shooting in mixed lighting conditions. Set your white balance to Auto or Cloudy to:
- Capture a more natural, warm tone
- Enhance the mood and atmosphere of the scene
- Reduce the need for post-processing corrections
Autofocus: Continuous AF or Zone Focusing
Use Continuous Autofocus (AI Servo or AF-C) to track moving subjects, or Zone Focusing to:
- Pre-focus on a specific area or zone
- Anticipate and capture the action
- Reduce autofocus hunting and missed shots
Camera Mode
Street photography is all about adapting to changing light and situations. To gain maximum control, shoot in Manual (M) mode or Aperture Priority (A/Av) mode. This allows you to adjust aperture, shutter speed, and ISO to suit the scene.
By mastering these street photography settings, you'll be better equipped to capture the beauty, humor, and complexity of everyday life. Remember to stay flexible, adapt to the situation, and always keep your eyes open to the unexpected. Happy shooting!